Jenkins is used to implement continuous integration and continuous deployment (CI/CD). You can deploy Jenkins in Container Service for Kubernetes (ACK) clusters to ensure high availability of services and reduce O&M costs. This topic describes how to deploy Jenkins in an ACK cluster, and then create and deploy a simple application.
Prerequisites
Before you begin, make sure that you have:
The Helm CLI installed. For more information, see Installing Helm
kubectl configured to connect to your ACK cluster. For more information, see Obtain the kubeconfig file of a cluster and use kubectl to connect to the cluster
Limits
Alibaba Cloud does not provide technical support for Jenkins. You are responsible for maintaining your Jenkins deployment.
The Helm charts and images for Jenkins are hosted outside China. Pulls may fail from China-based networks. Use one of the following workarounds:
Use Container Registry (ACR) to subscribe to images from sources outside China. For more information, see Subscribe to images from sources outside China.
Create a Global Accelerator (GA) instance to accelerate cross-region image pulls. For more information, see Use GA to accelerate cross-region pulling of container images for ACK.
Step 1: Add the Jenkins Helm repository
Run the following commands to add the Jenkins Helm chart repository and update the local chart index:
helm repo add jenkins https://charts.jenkins.io
helm repo update
Expected output:
Hang tight while we grab the latest from your chart repositories...
...Successfully got an update from the "jenkins" chart repository
Update Complete. Happy Helming!
Step 2: Install Jenkins
Create a namespace named
cicd:kubectl create ns cicdDeploy Jenkins to the
cicdnamespace: The following table describes the Helm chart parameters: For all available parameters, see jenkinsci/helm-charts.Parameter Description Required persistence.storageClassStorageClass for the persistent volume. alicloud-disk-essdselects an ESSD cloud disk to persist thejenkins_homedirectory.Yes persistence.sizeSize of the persistent volume. Elastic Compute Service (ECS) cloud disks require a minimum of 20 GiB. Yes controller.serviceTypeKubernetes Service type for the Jenkins controller. Default: ClusterIP. Set toLoadBalancerto expose Jenkins externally.No controller.admin.passwordAdministrator password. Default: randomly generated. No helm -n cicd install jenkins jenkins/jenkins \ --set persistence.storageClass="alicloud-disk-essd" \ --set persistence.size="20Gi" \ --set controller.serviceType="LoadBalancer" \ --set controller.admin.password="admin"Wait for the Jenkins pod to reach
Runningstatus: Expected output:kubectl -n cicd get poNAME READY STATUS RESTARTS AGE jenkins-0 2/2 Running 0 3m3s
Step 3: Access Jenkins
If you set controller.serviceType="LoadBalancer" during installation, the Jenkins Service already has an external IP. Skip to step 2.
If you used the default ClusterIP Service type, patch the Service to type LoadBalancer:
Change the Service type:
kubectl -n cicd patch svc jenkins -p '{"spec": {"type": "LoadBalancer"}}'Get the external IP address of the Jenkins Service: Expected output:
kubectl get -n cicd serviceNAME TYPE CLUSTER-IP EXTERNAL-IP PORT(S) AGE jenkins LoadBalancer 192.168.***.*** 8.222.***.*** 8080:30949/TCP 2d17h jenkins-agent ClusterIP 192.168.***.* <none> 50000/TCP 2d17hOpen
http://<EXTERNAL-IP>:8080in a browser and log in with your administrator credentials.
If you did not set a password during installation, retrieve the auto-generated password:
kubectl -n cicd exec -it svc/jenkins -c jenkins -- /bin/cat /run/secrets/additional/chart-admin-password && echo(Optional) Create a Pipeline job
When a build runs, Jenkins dynamically launches an agent pod in the ACK cluster. The agent pod is released after the build finishes. For more information about Jenkins configuration, see Jenkins documentation.
The following steps create a sample Pipeline job named first-pipeline:
In the left navigation pane, click New Item.
In the Enter an item name field, enter
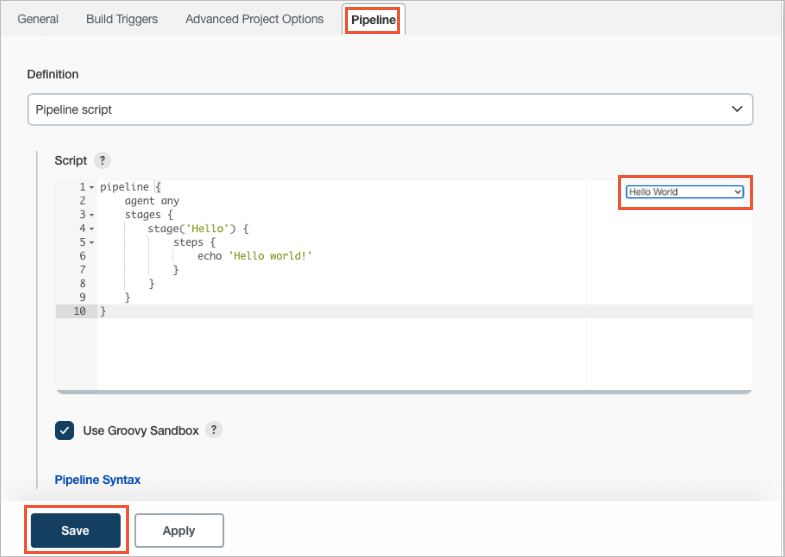
first-pipeline, select Pipeline, and then click OK.Click the Pipeline tab, select the Hello World template, and then click Save.
In the left navigation pane, click Build Now.
Under Build History, click #1 to open the build details, and then click Console Output to view the build log.