By: Jeremy Pedersen
Server Migration Center (SMC) is an Alibaba Cloud tool which helps users migrate existing infrastructure to the cloud as painlessly as possible.
With SMC, it's possible to manage the migration of multiple VMs to Alibaba Cloud from a "single pane of glass" within the Alibaba Cloud console. The migration itself is performed using a go2aliyun script installed on the VMs you plan to migrate, but the process can be monitored easily from the SMC web console.
The best way to get a feel for a feature like this is - of course - to try it for yourself!
Let's move an Ubuntu 20 web server from Oracle's VirtualBox to the cloud, just to test things out!
We will need an existing physical server or virtual machine which we can migrate to Alibaba Cloud.
This could be a VM on AWS, Azure, or GCP, or it could be a local virtual machine running in VirtualBox.
In my case, I have set up an Ubuntu Server VM in VirtualBox. If you want to replicate my setup, you'll first need to install VirtualBox, then get a copy of Ubuntu Server and install that inside your VirtualBox VM.
On my VM, I will install the Apache web server and create a small "placeholder" web page, which I will use to prove that the migration has succeeded (the site should be up and working after migration).
Step 1: Create A New VM
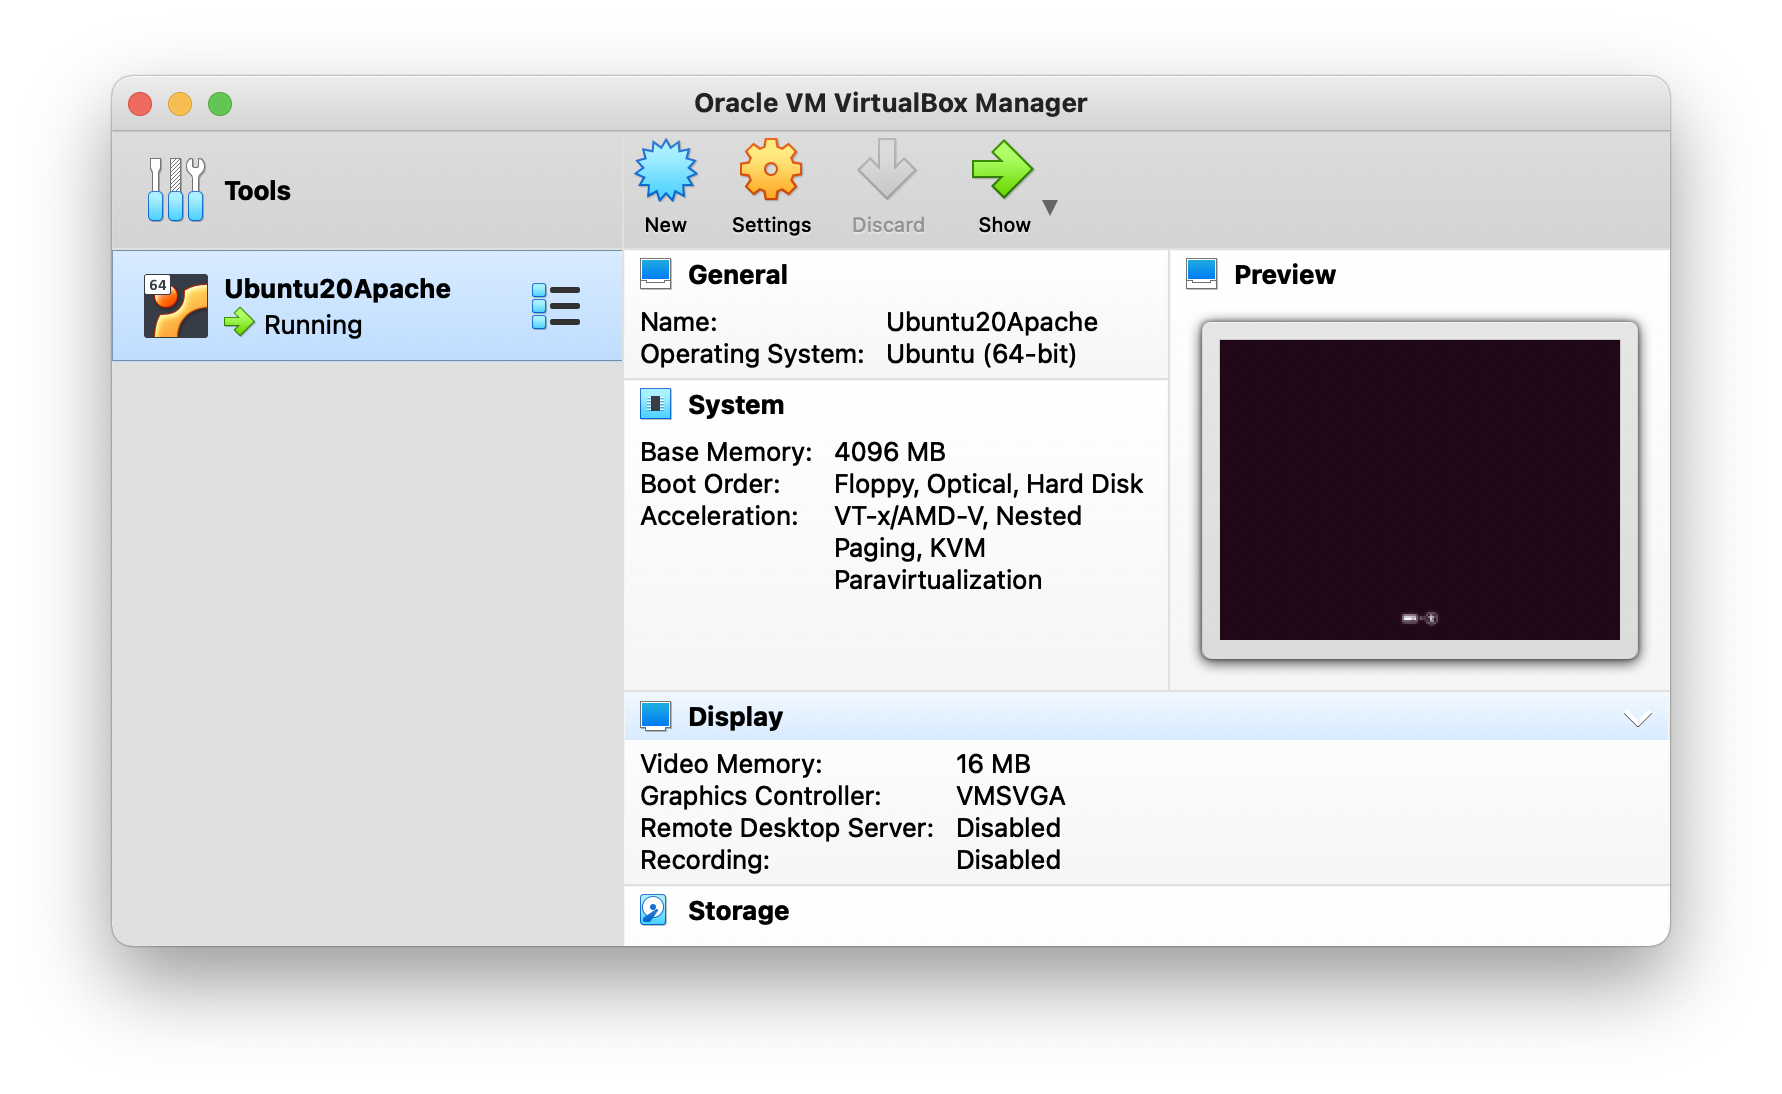
Step 2: Install Ubuntu & Apache
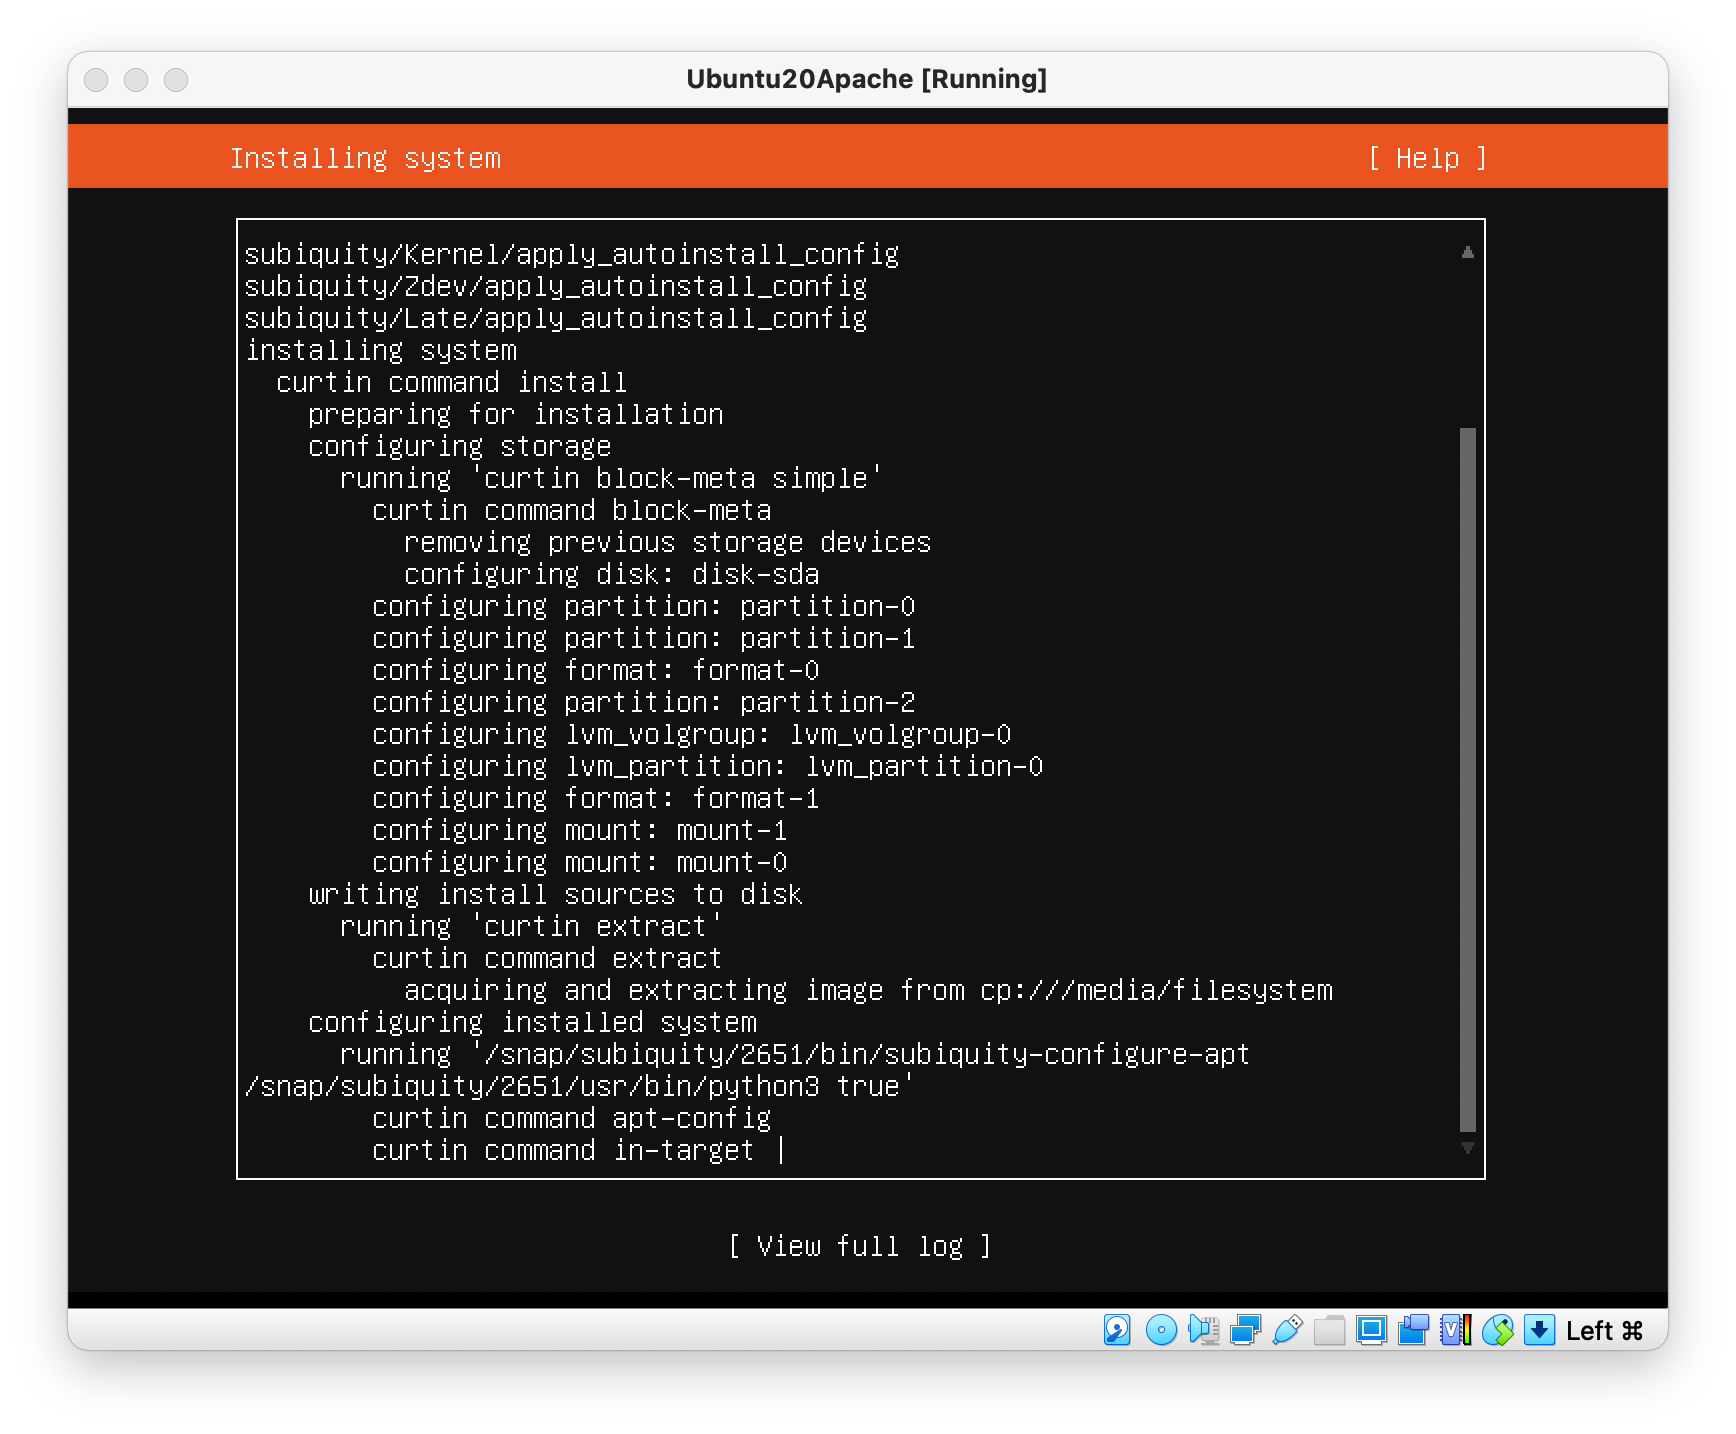
Note: You can install Apache on Ubuntu with the command:
sudp apt-get install apache2Once Apache is installed, we can enable it to start at boot with:
systemctl enable apache2We also need to navigate to /var/www/html and create a new index.html file with our test site:

Not much to look at, but it will at least help us judge whether the migration process has been successful!
Now we're ready to try out an actual migration! First, navigate to the SMC console:
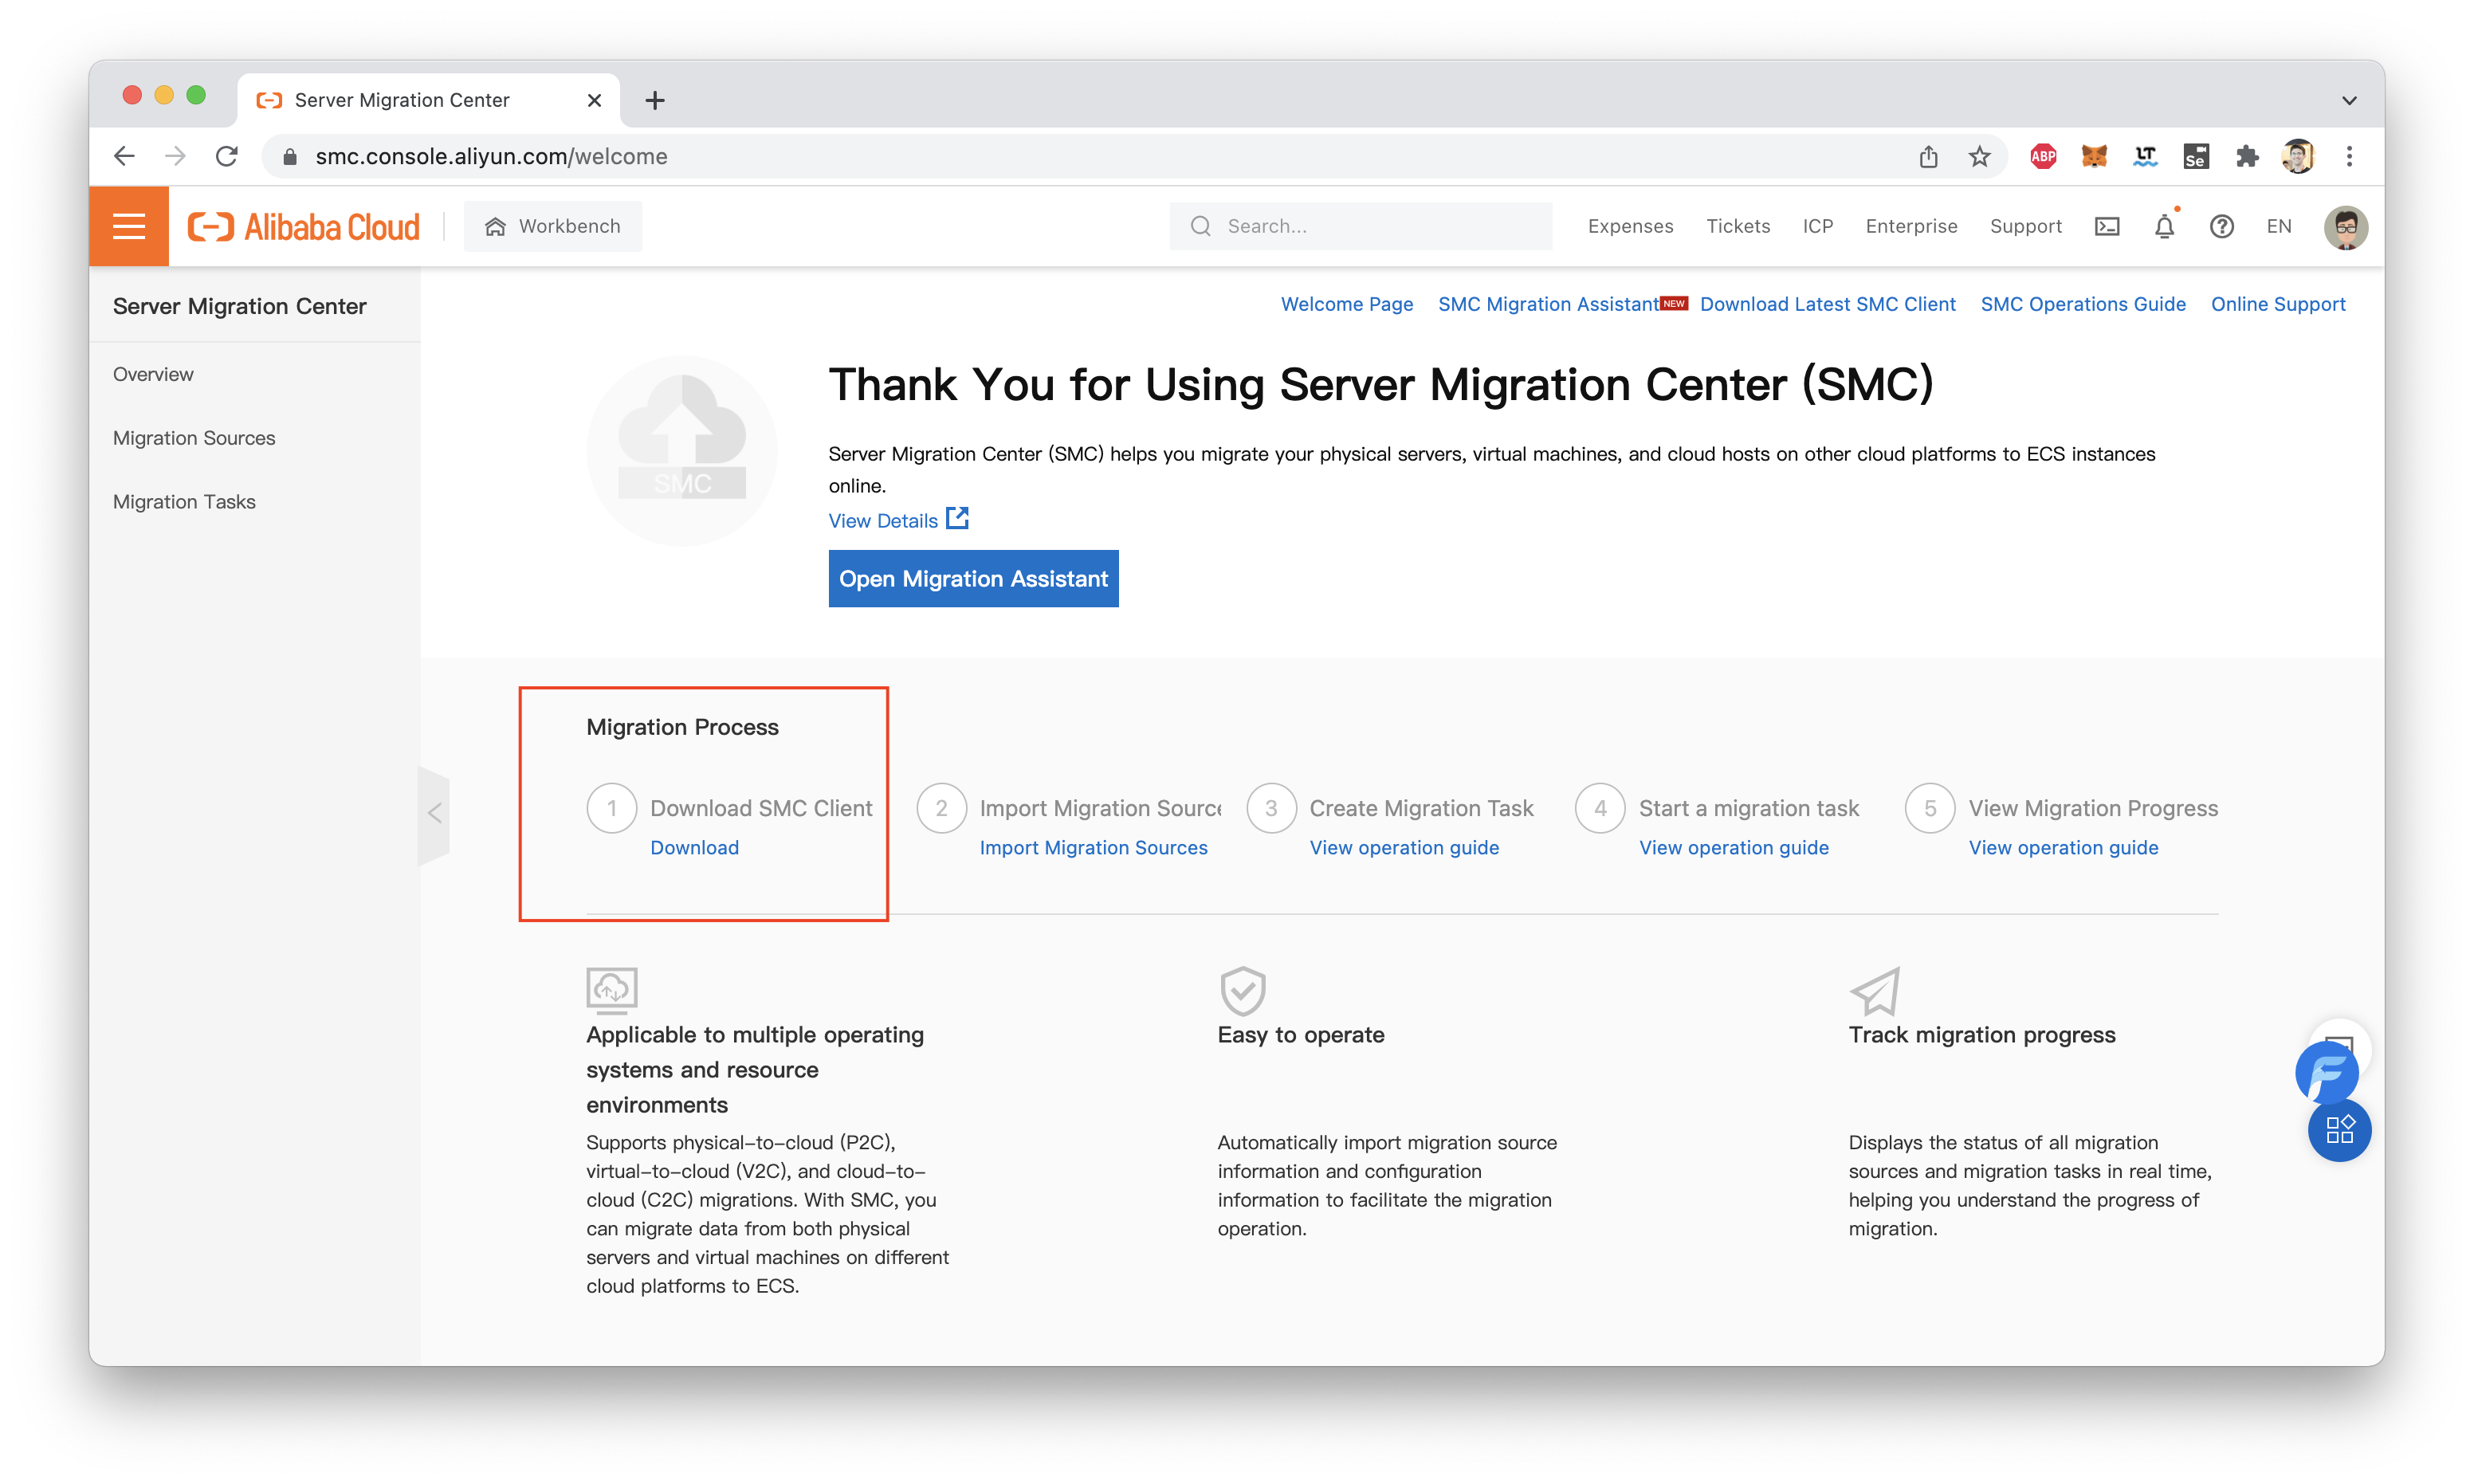
You'll notice there's a "Download" link for the SMC client itself. The SMC Client needs to be installed on the VM or physical server we are planning to migrate to Alibaba Cloud.
Since my Ubuntu Server VM is headless, I used wget to download the client, rather than a web browser:
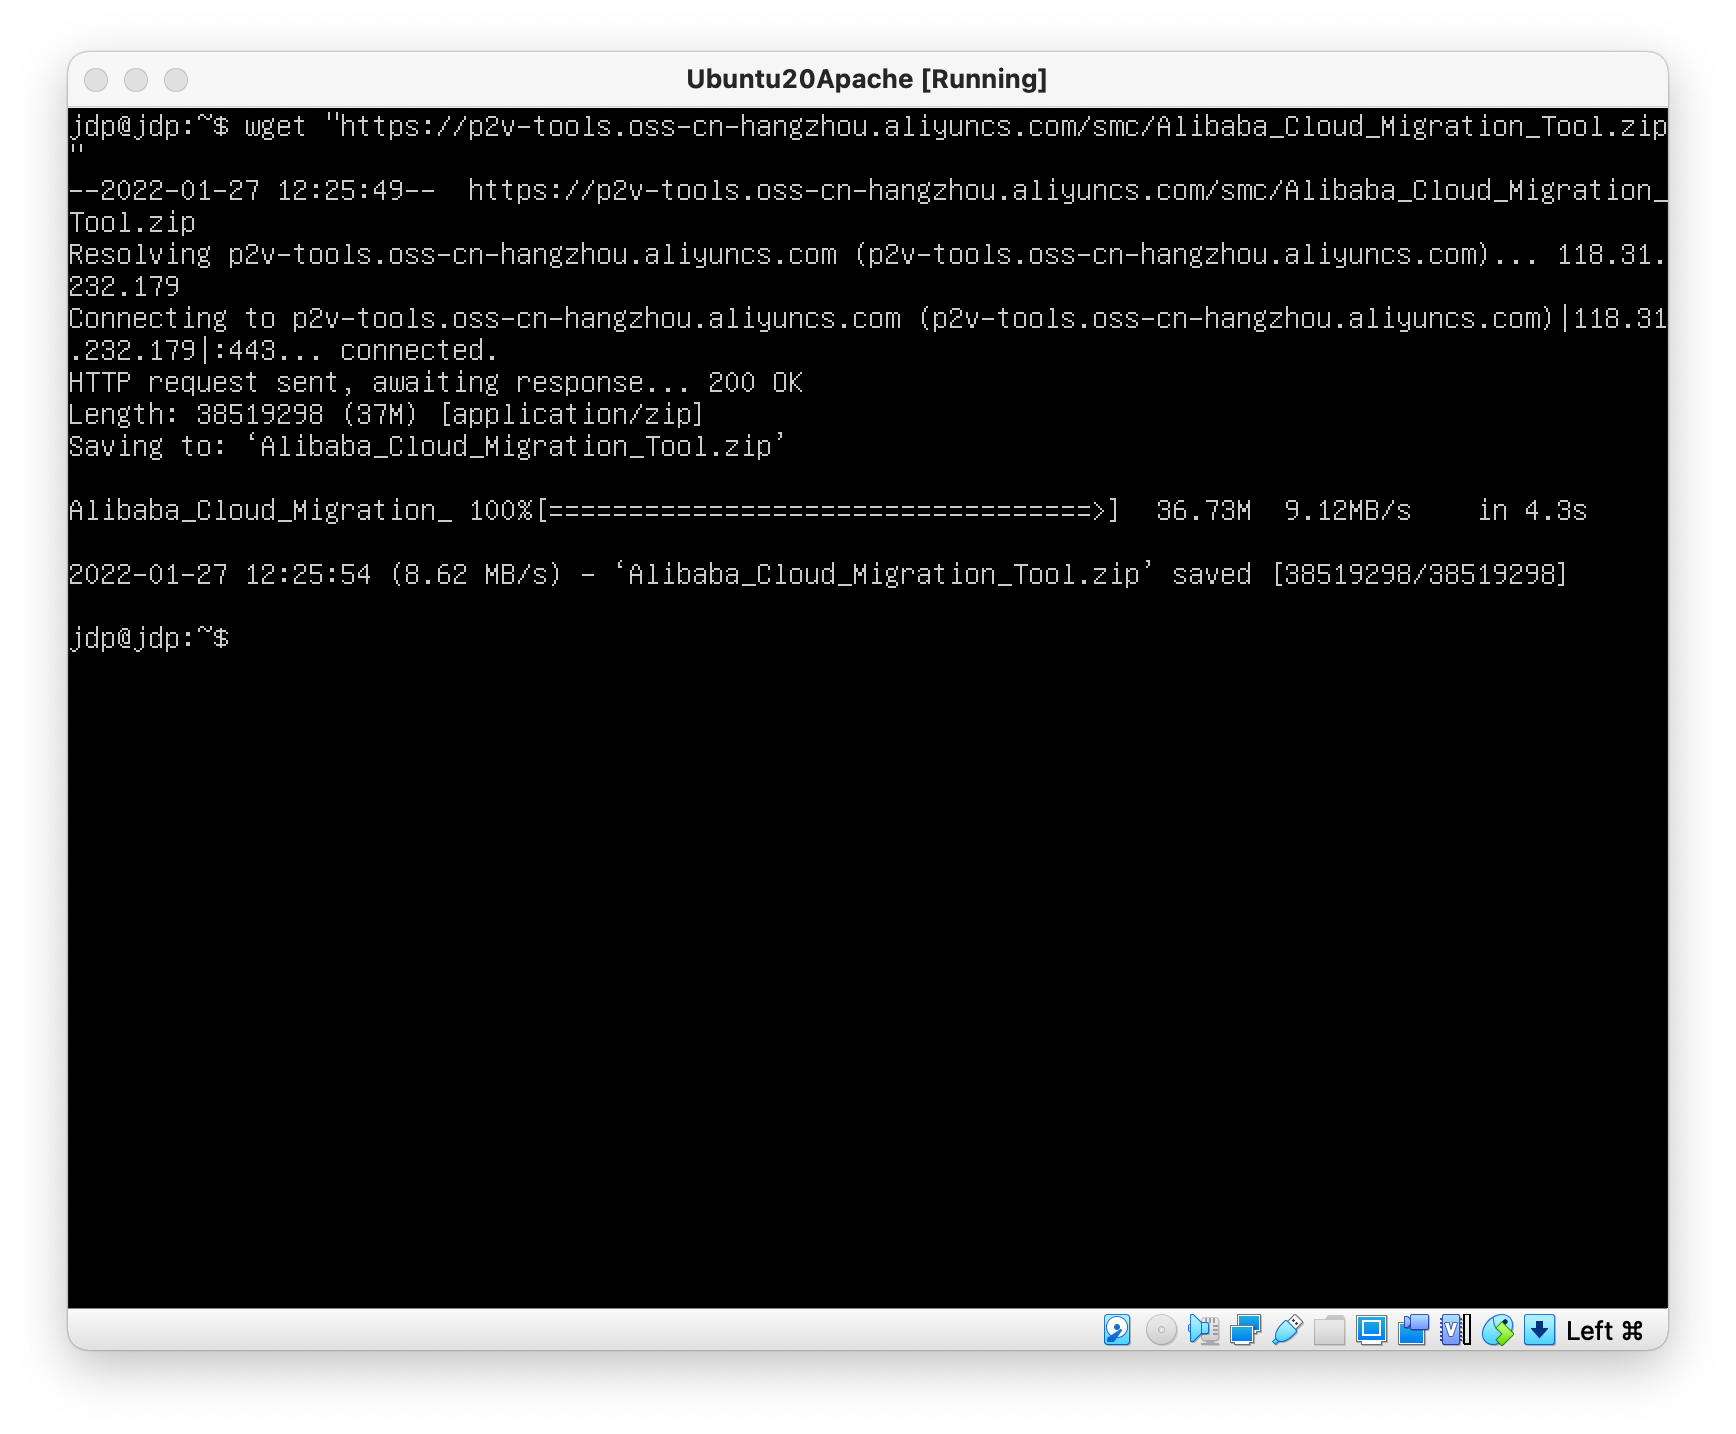
Unzipping the .zip archive, we find it contains several more .zip files:
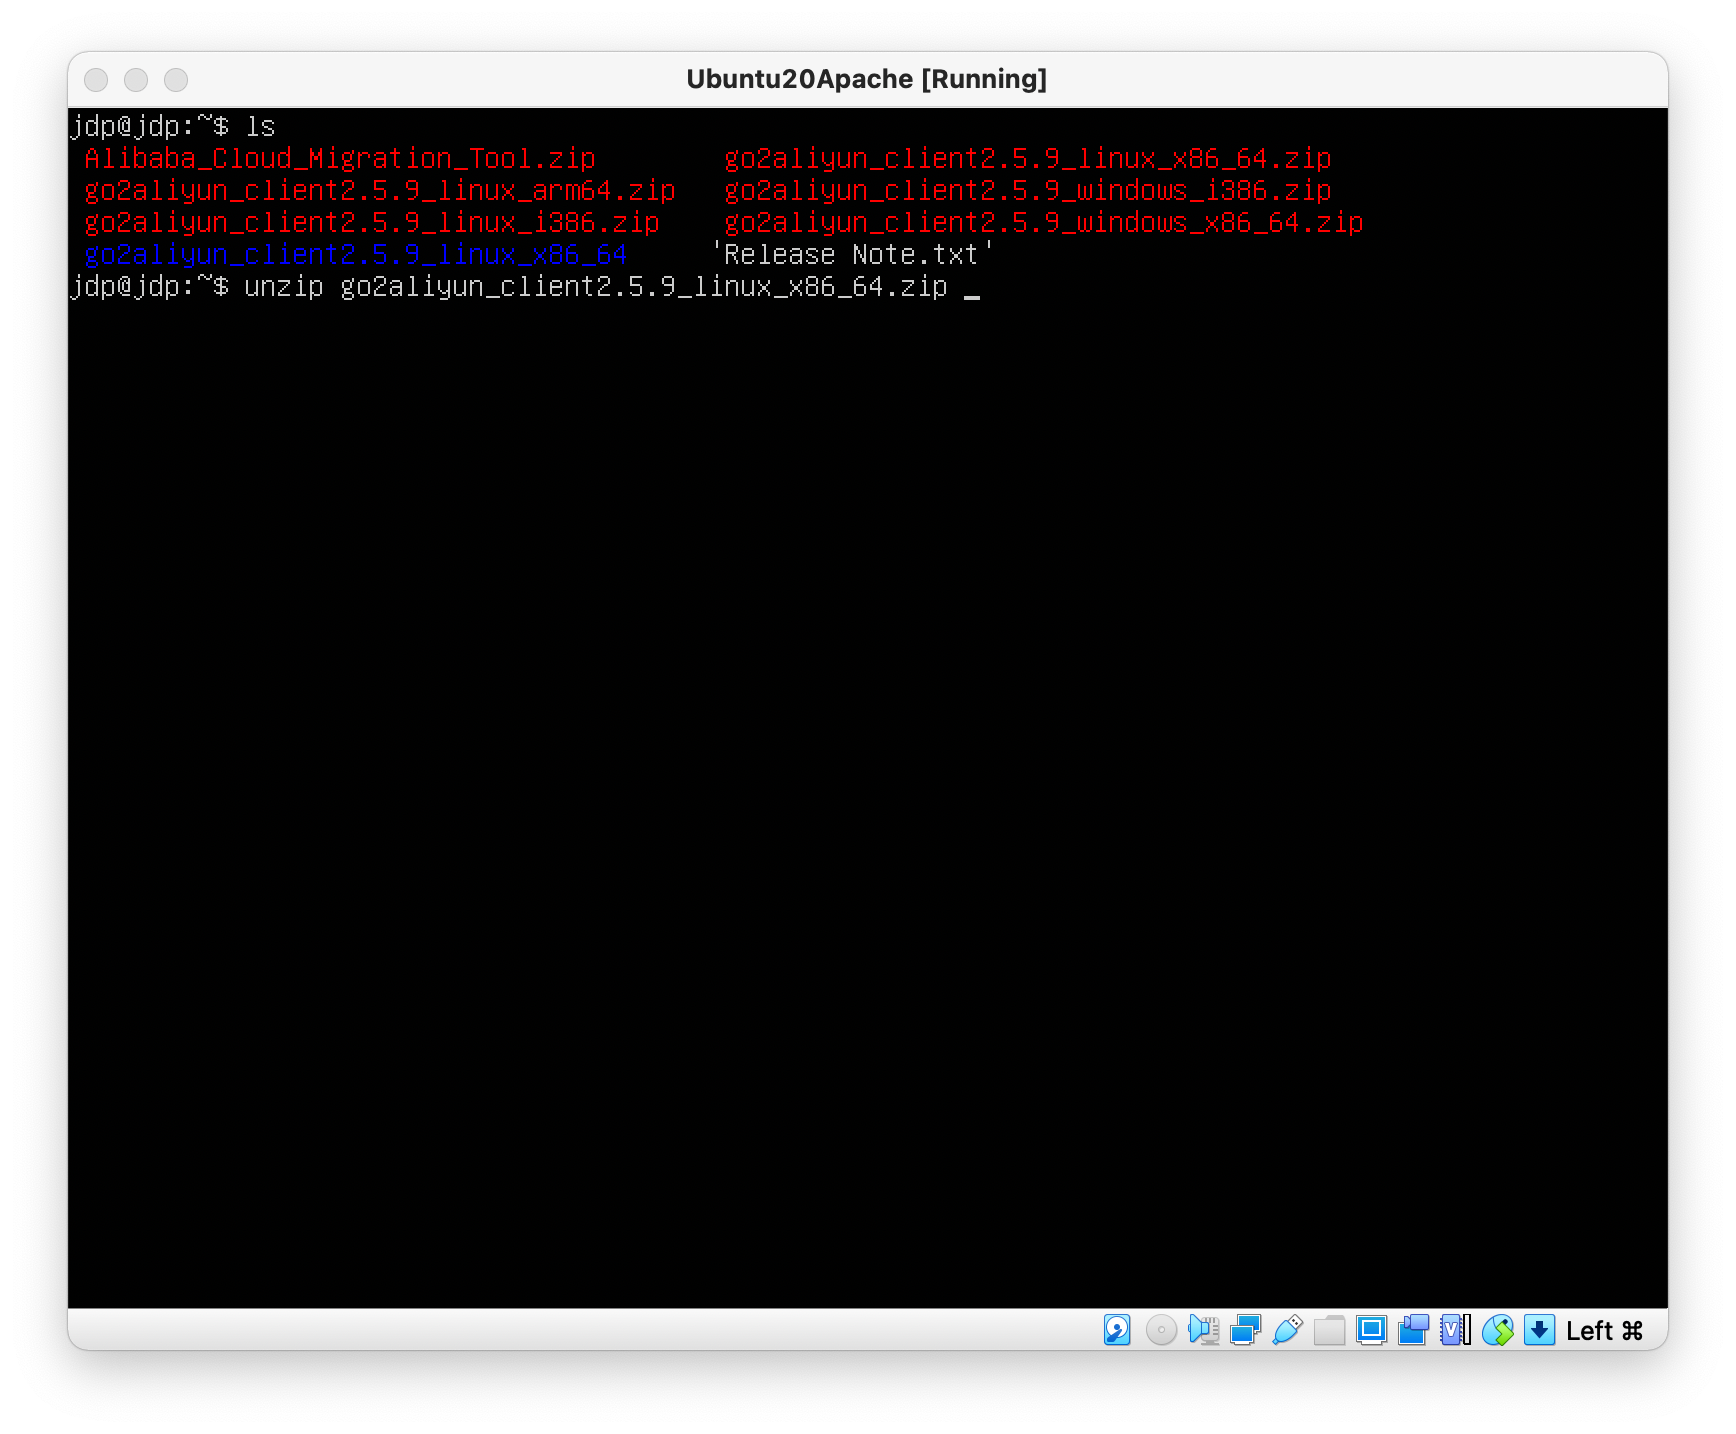
There are clients for 32-bit and 64-bit Windows and Linux systems. In my case, I have a 64-bit Linux VM, so I want to unpack and use the go2aliyun_client2.5.9_linux_x86_64.zip client.
Unpacking that .zip file creates a new directory:
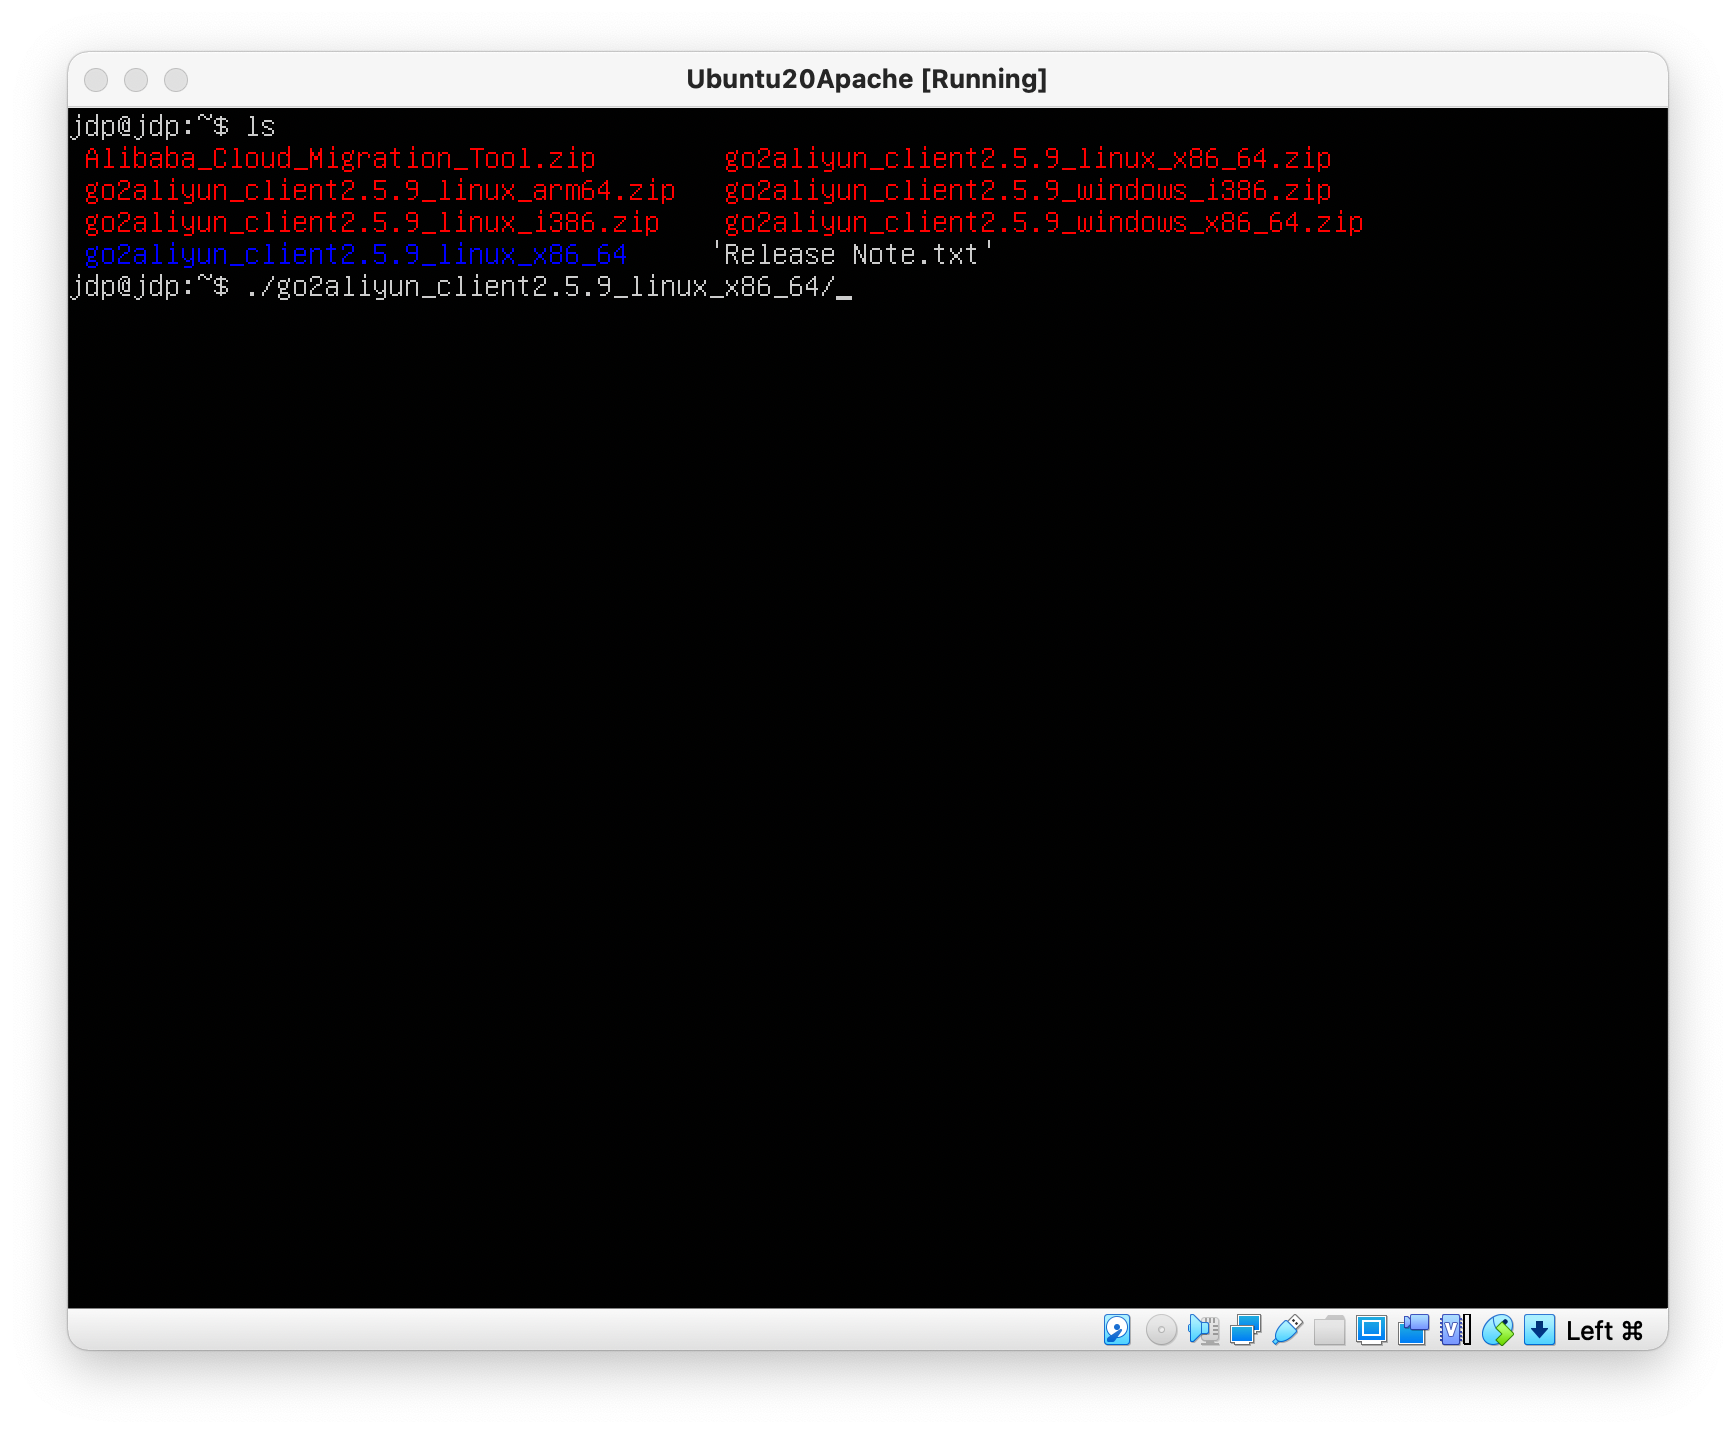
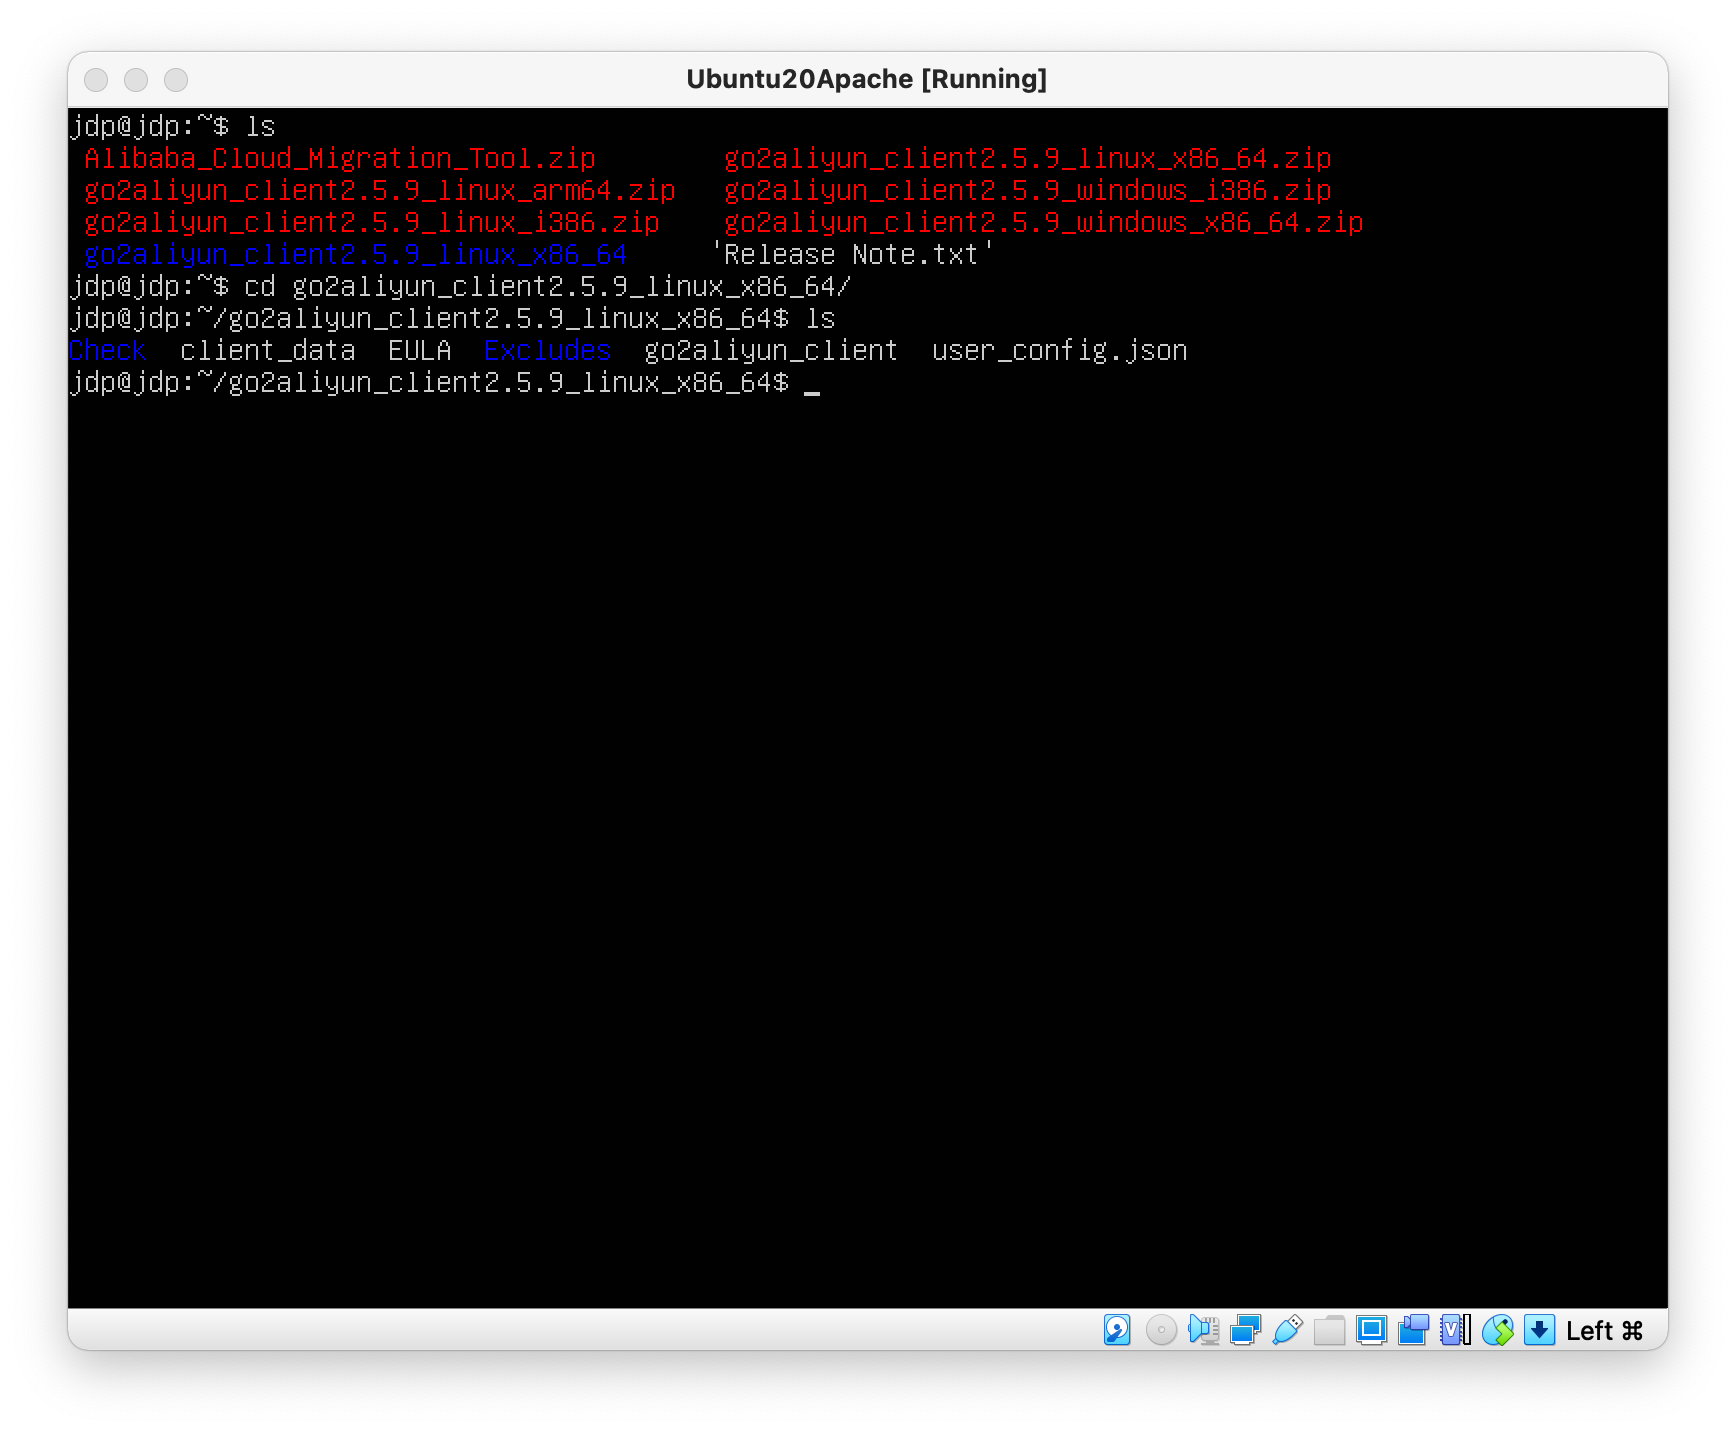
Navigating into the directory shows that it contains the go2aliyun_client executable, as well as some supporting files. The most important of which is user_config.json:
To complete the migration, we will need to edit the user_config.json file by adding an Access Key and Access Key Secret, like this:
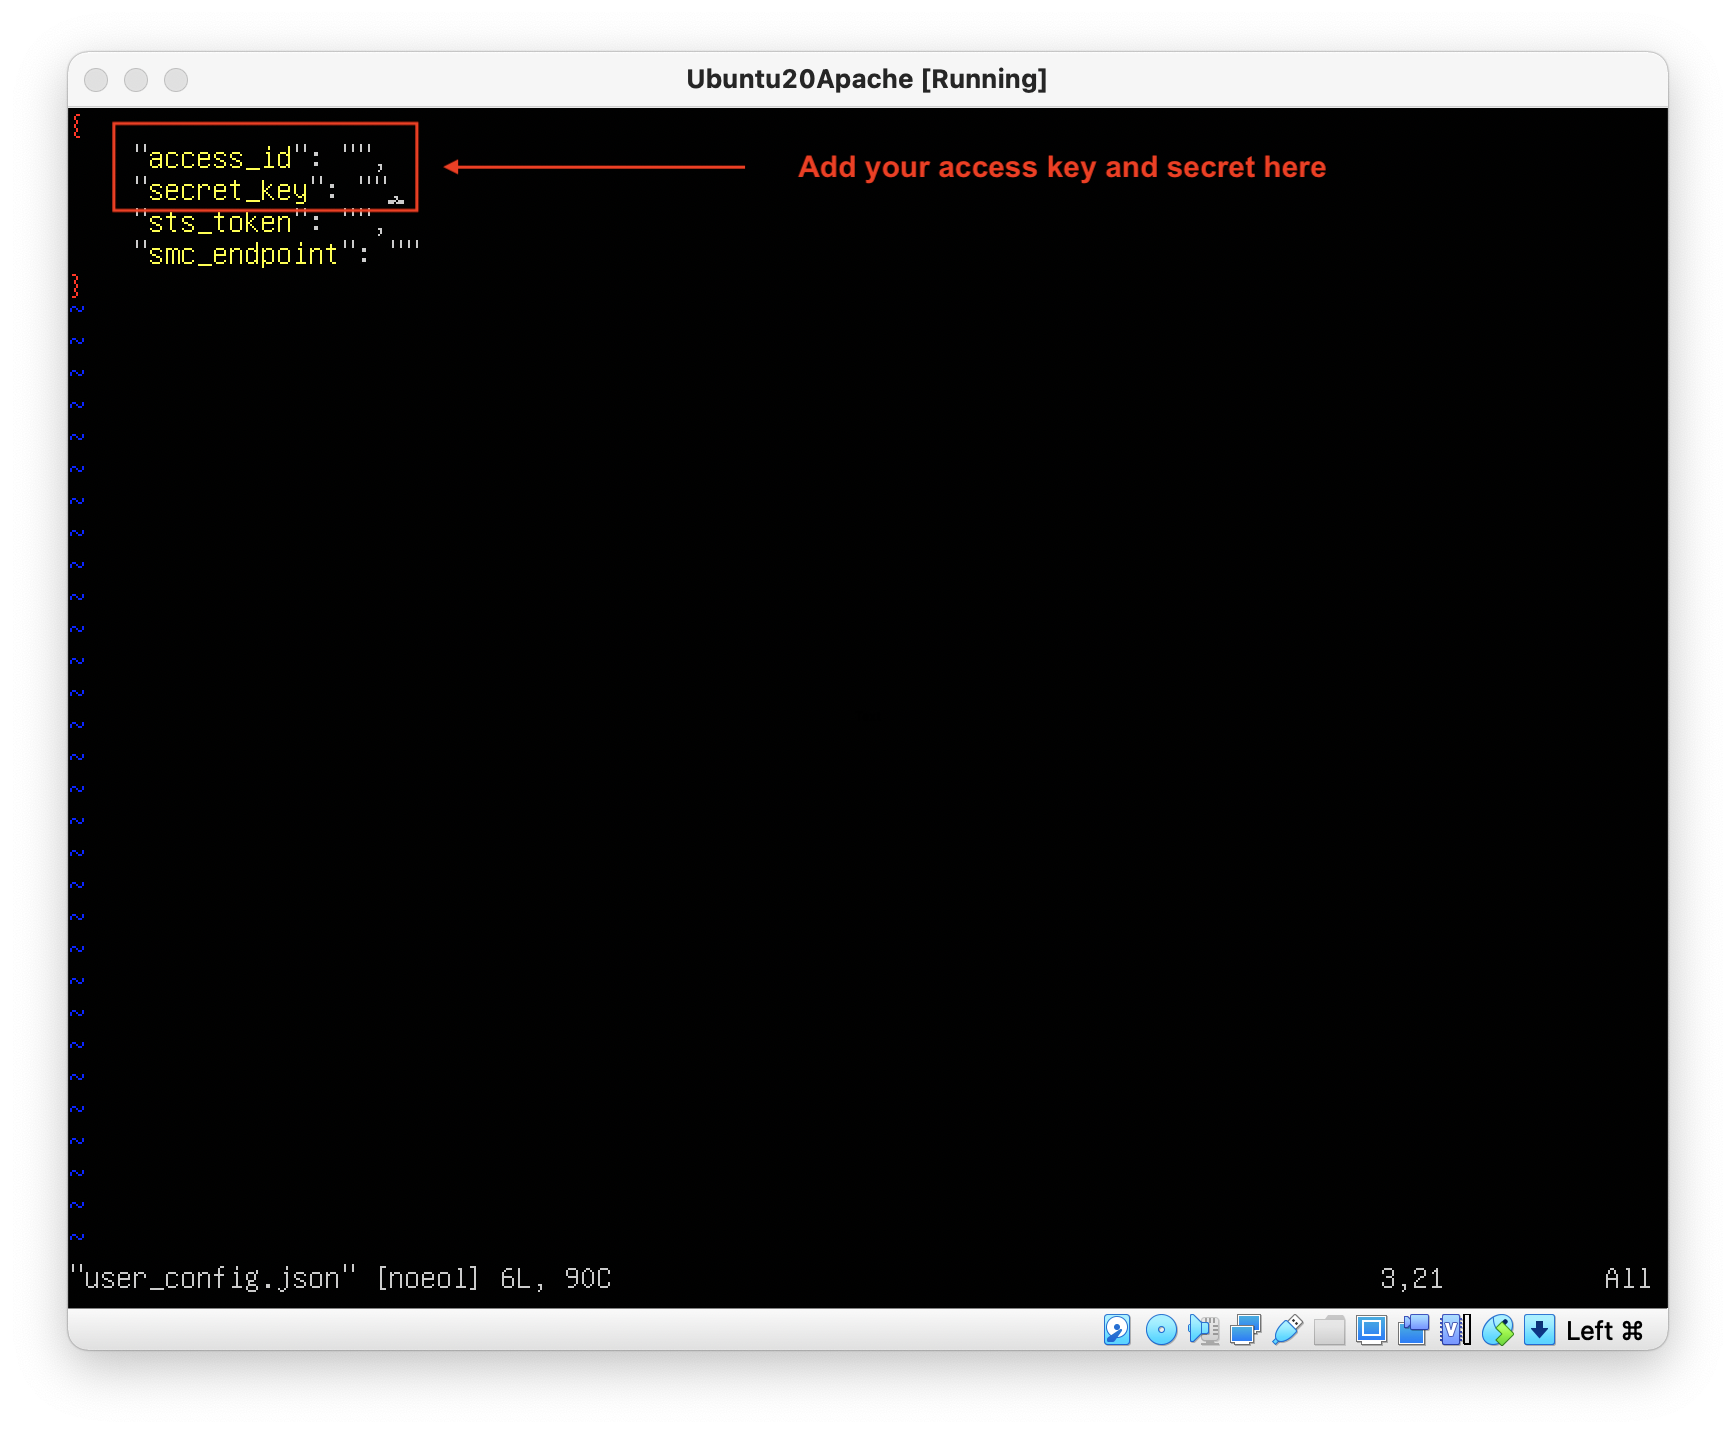
If you'd rather not add your access key to this file, you can also specify it on the command line when you run the go2aliyun tool, like this:
./go2aliyun_client --accessid=<AccessKey ID> --secretkey=<AccessKey Secret>If you have never created an Access Key before, you'll need to follow these steps. The process is outside the scope of today's blog post, but essentially you need to:
With our Access Key ready to go and our user_config.json file updated, we can now run the go2aliyun_client command. This will not start the migration, but it will send information about our VM to the SMC console (we will start the migration from there, in the next step).
Before we can run the script, we need to make it executable:
chmod +x go2aliyun_clientWe then run the client with:
./go2aliyun_clientNote that the client must be run as root.
The tool will run some initial checks (and may ask us to install snapshot support):
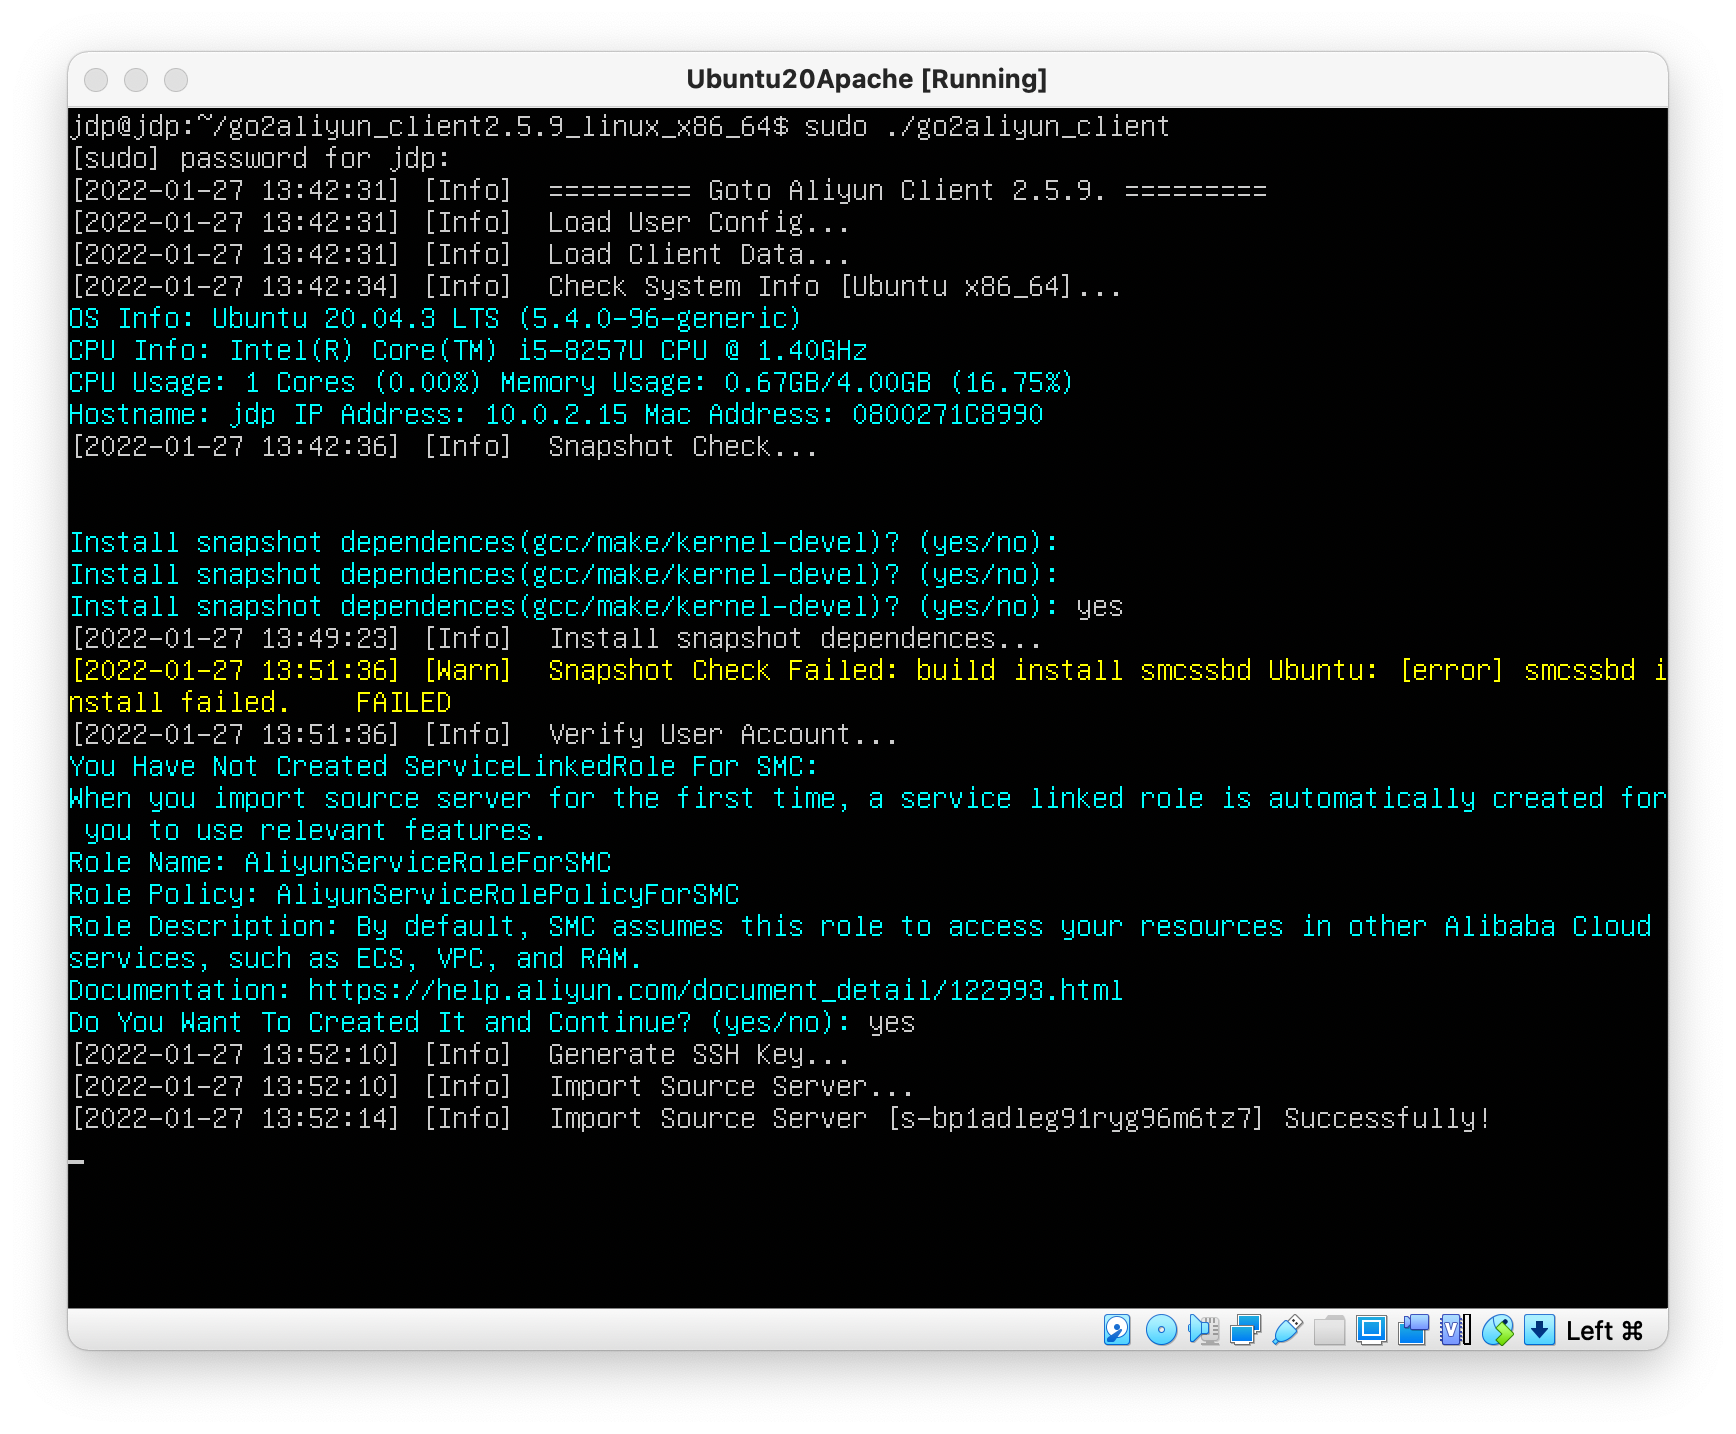
Once we see "Import Source Server Successfully!", we can switch over to the SMC console and create a migration task!
Note: do not kill the go2aliyun_client script. We need it to stay running, so it can receive commands from SMC and start the migration process.
If we switch back to the SMC console, we should now see a new "migration source":
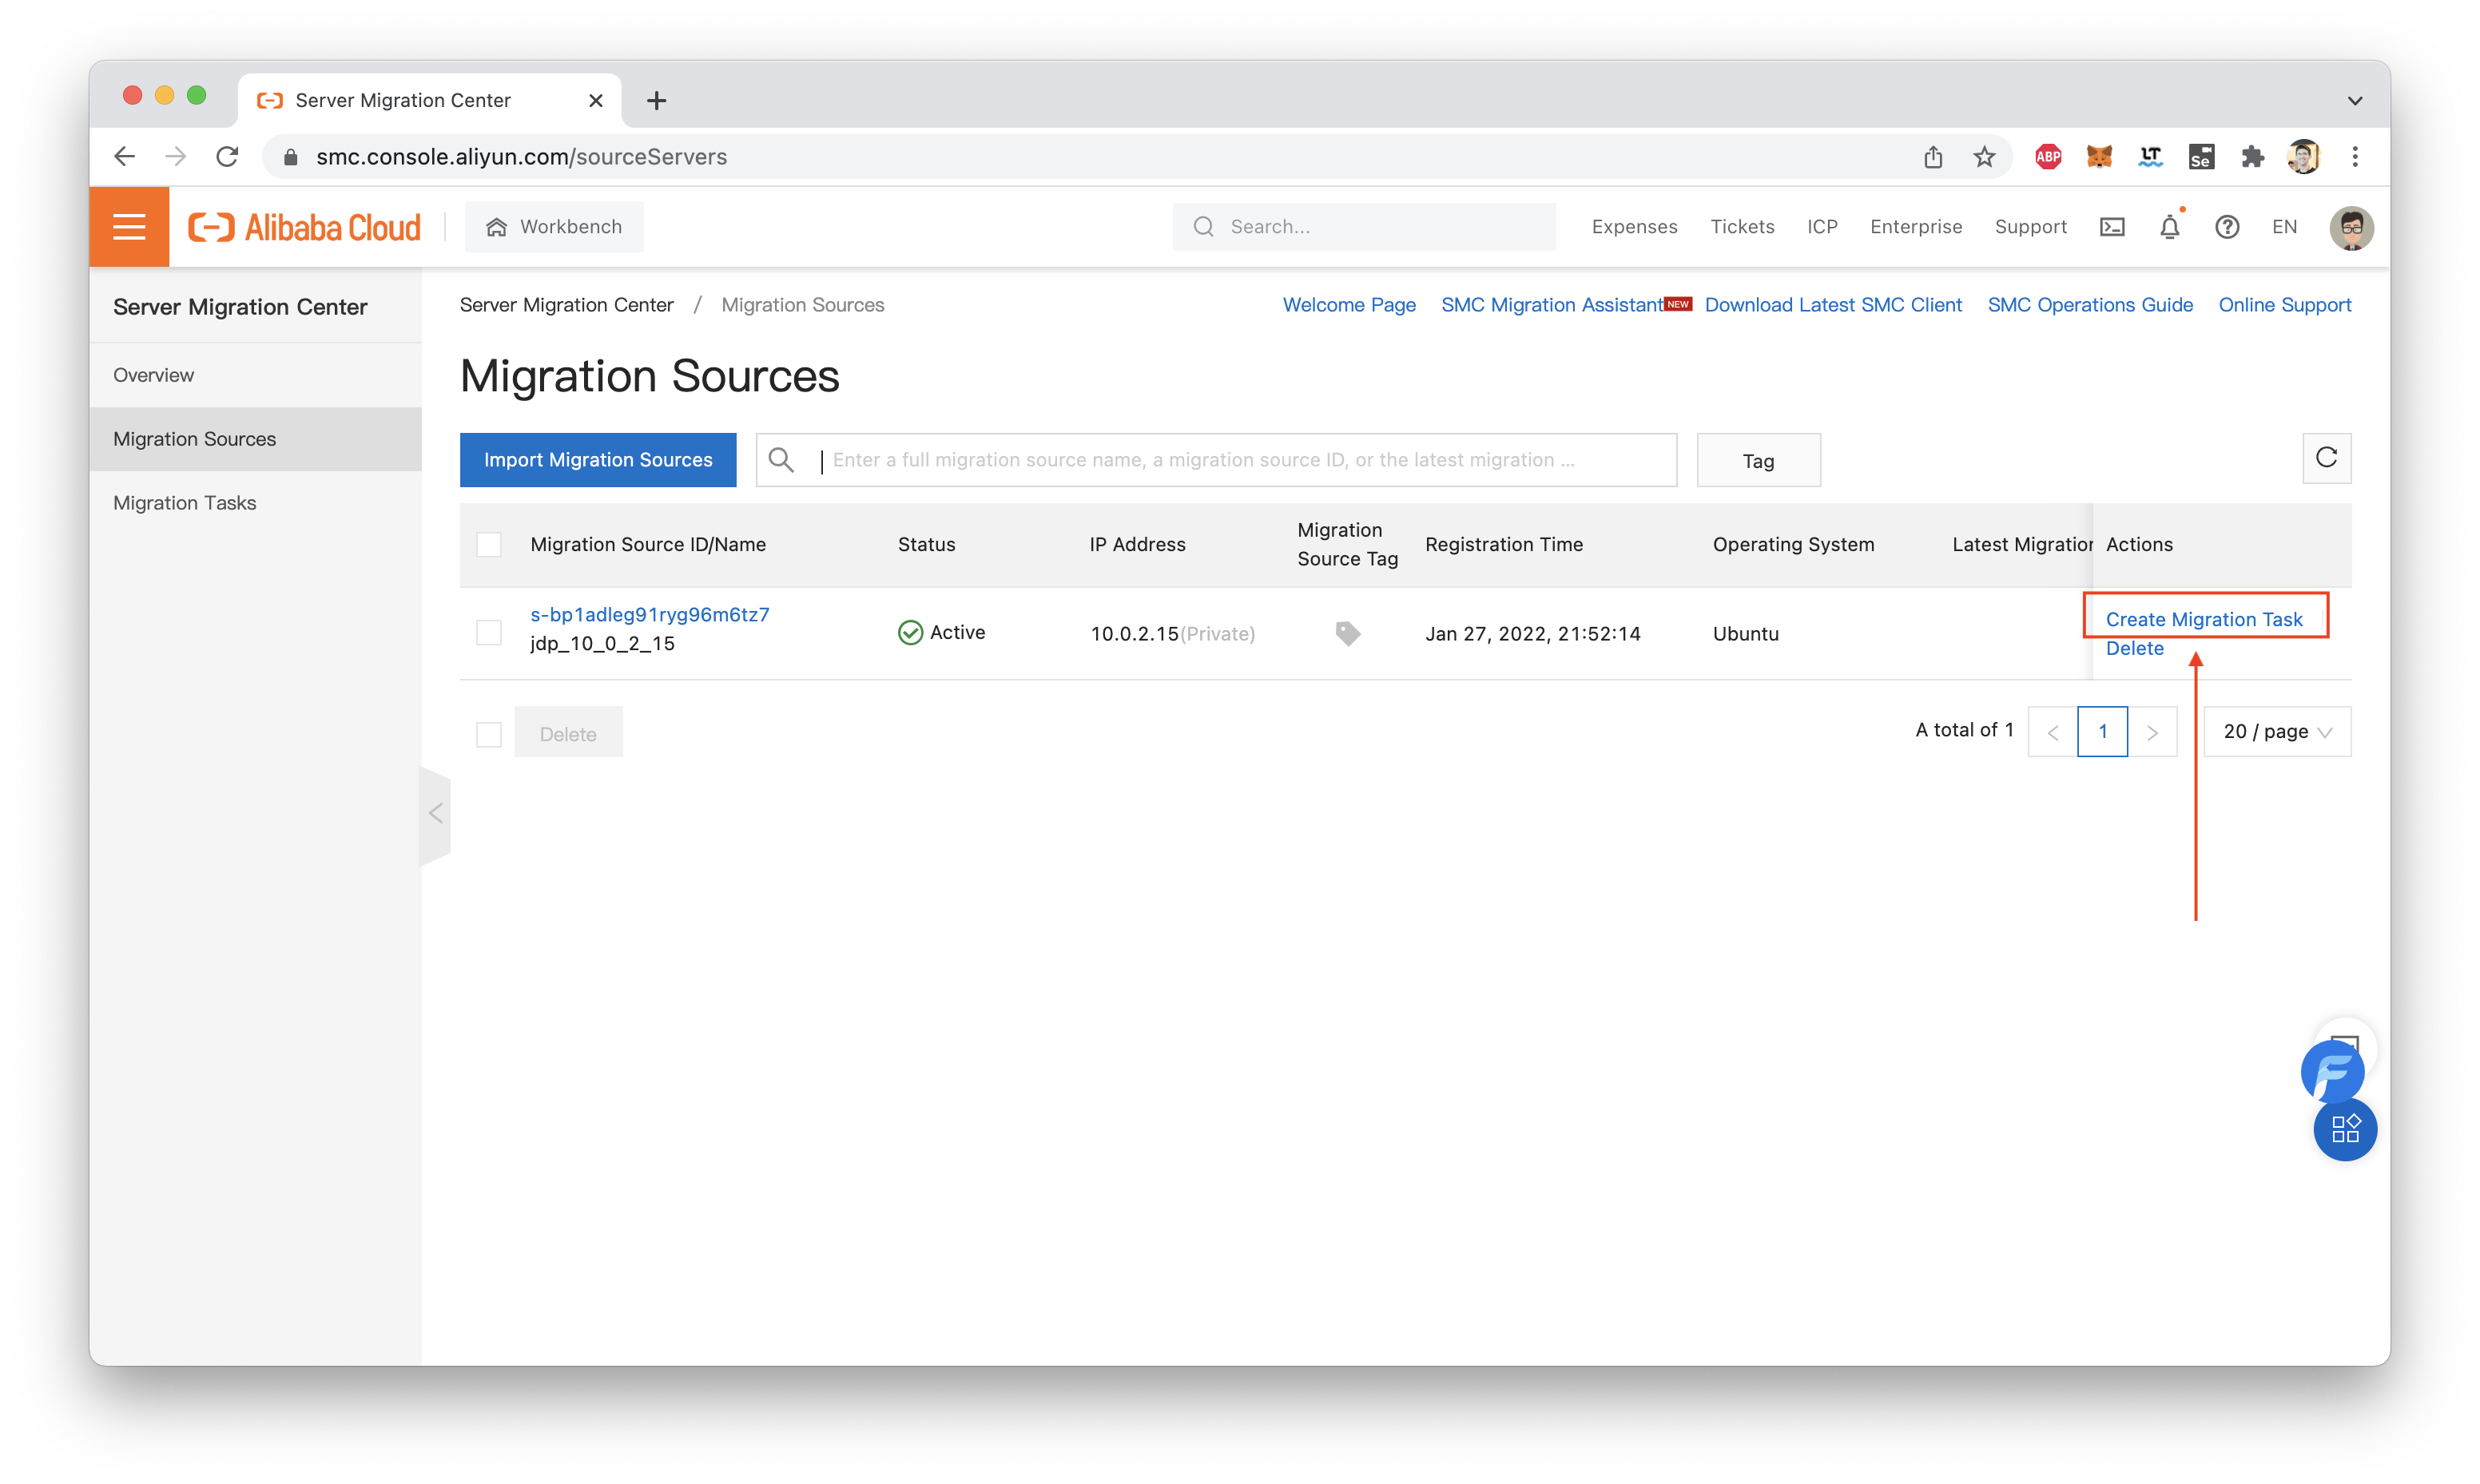
Clicking on "Create Migration Task" will allow us to configure a new migration job:
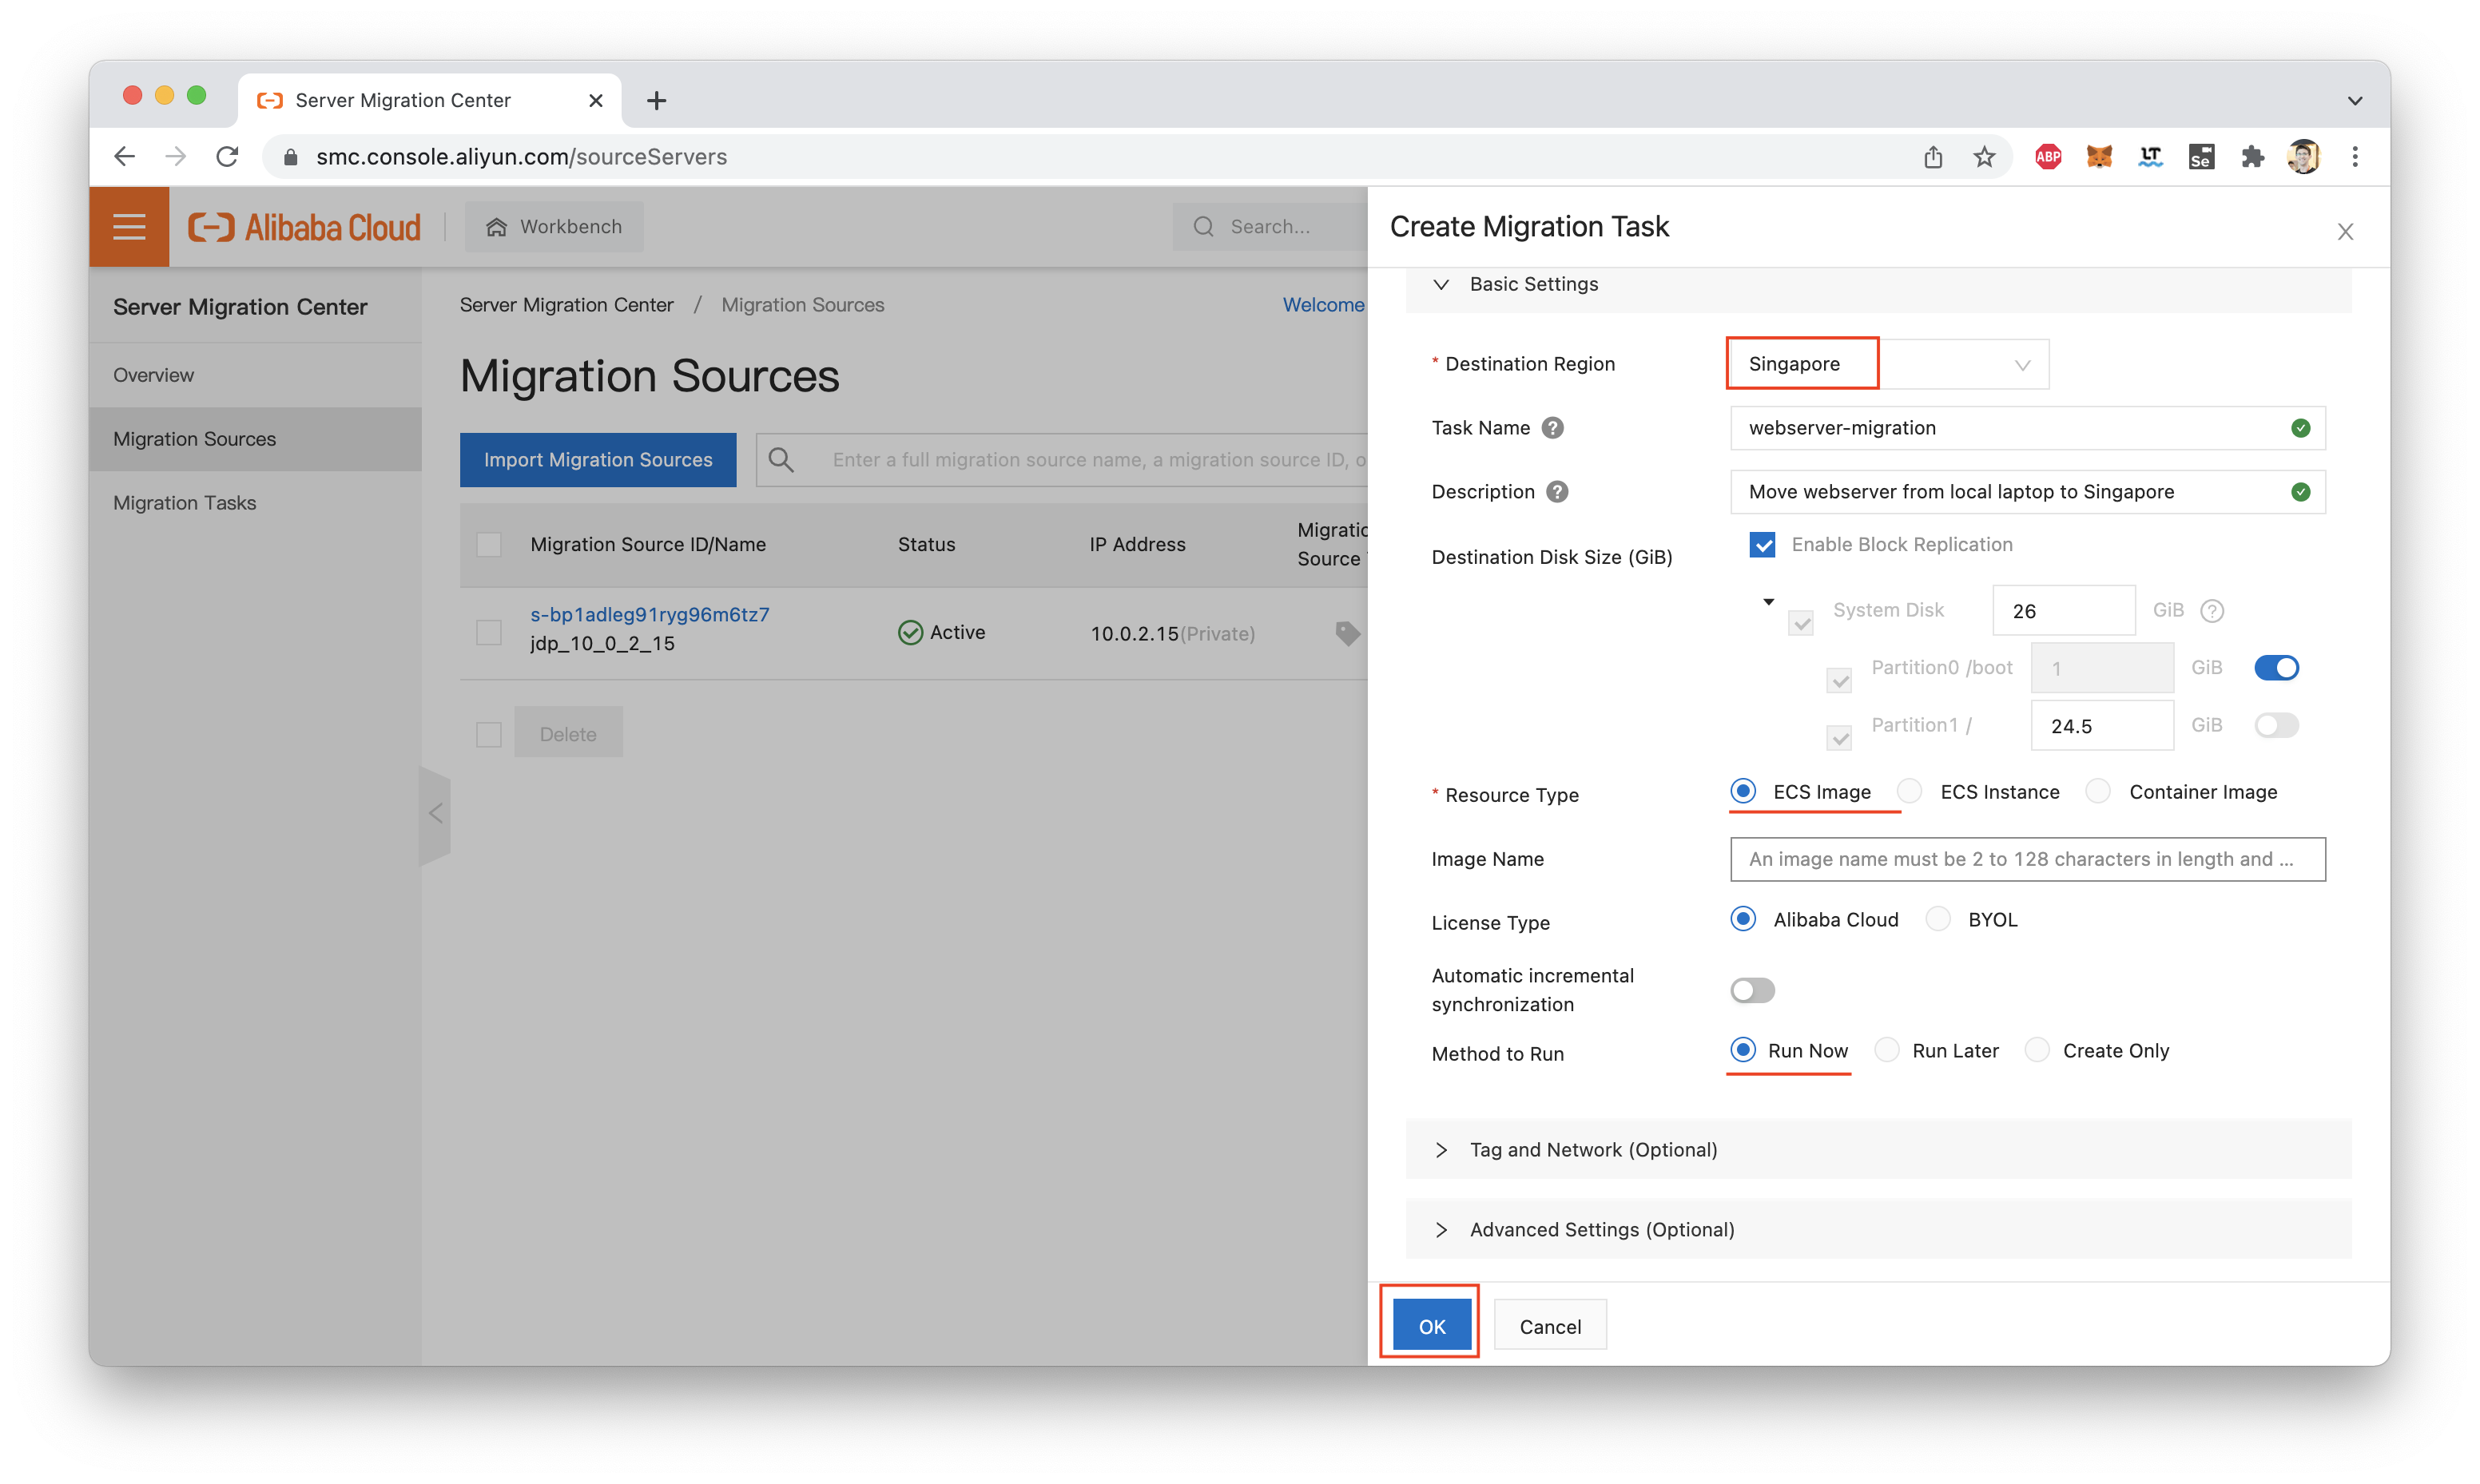
Here, we need to choose a destination region for the Alibaba Cloud disk image that will be created as part of the migration.
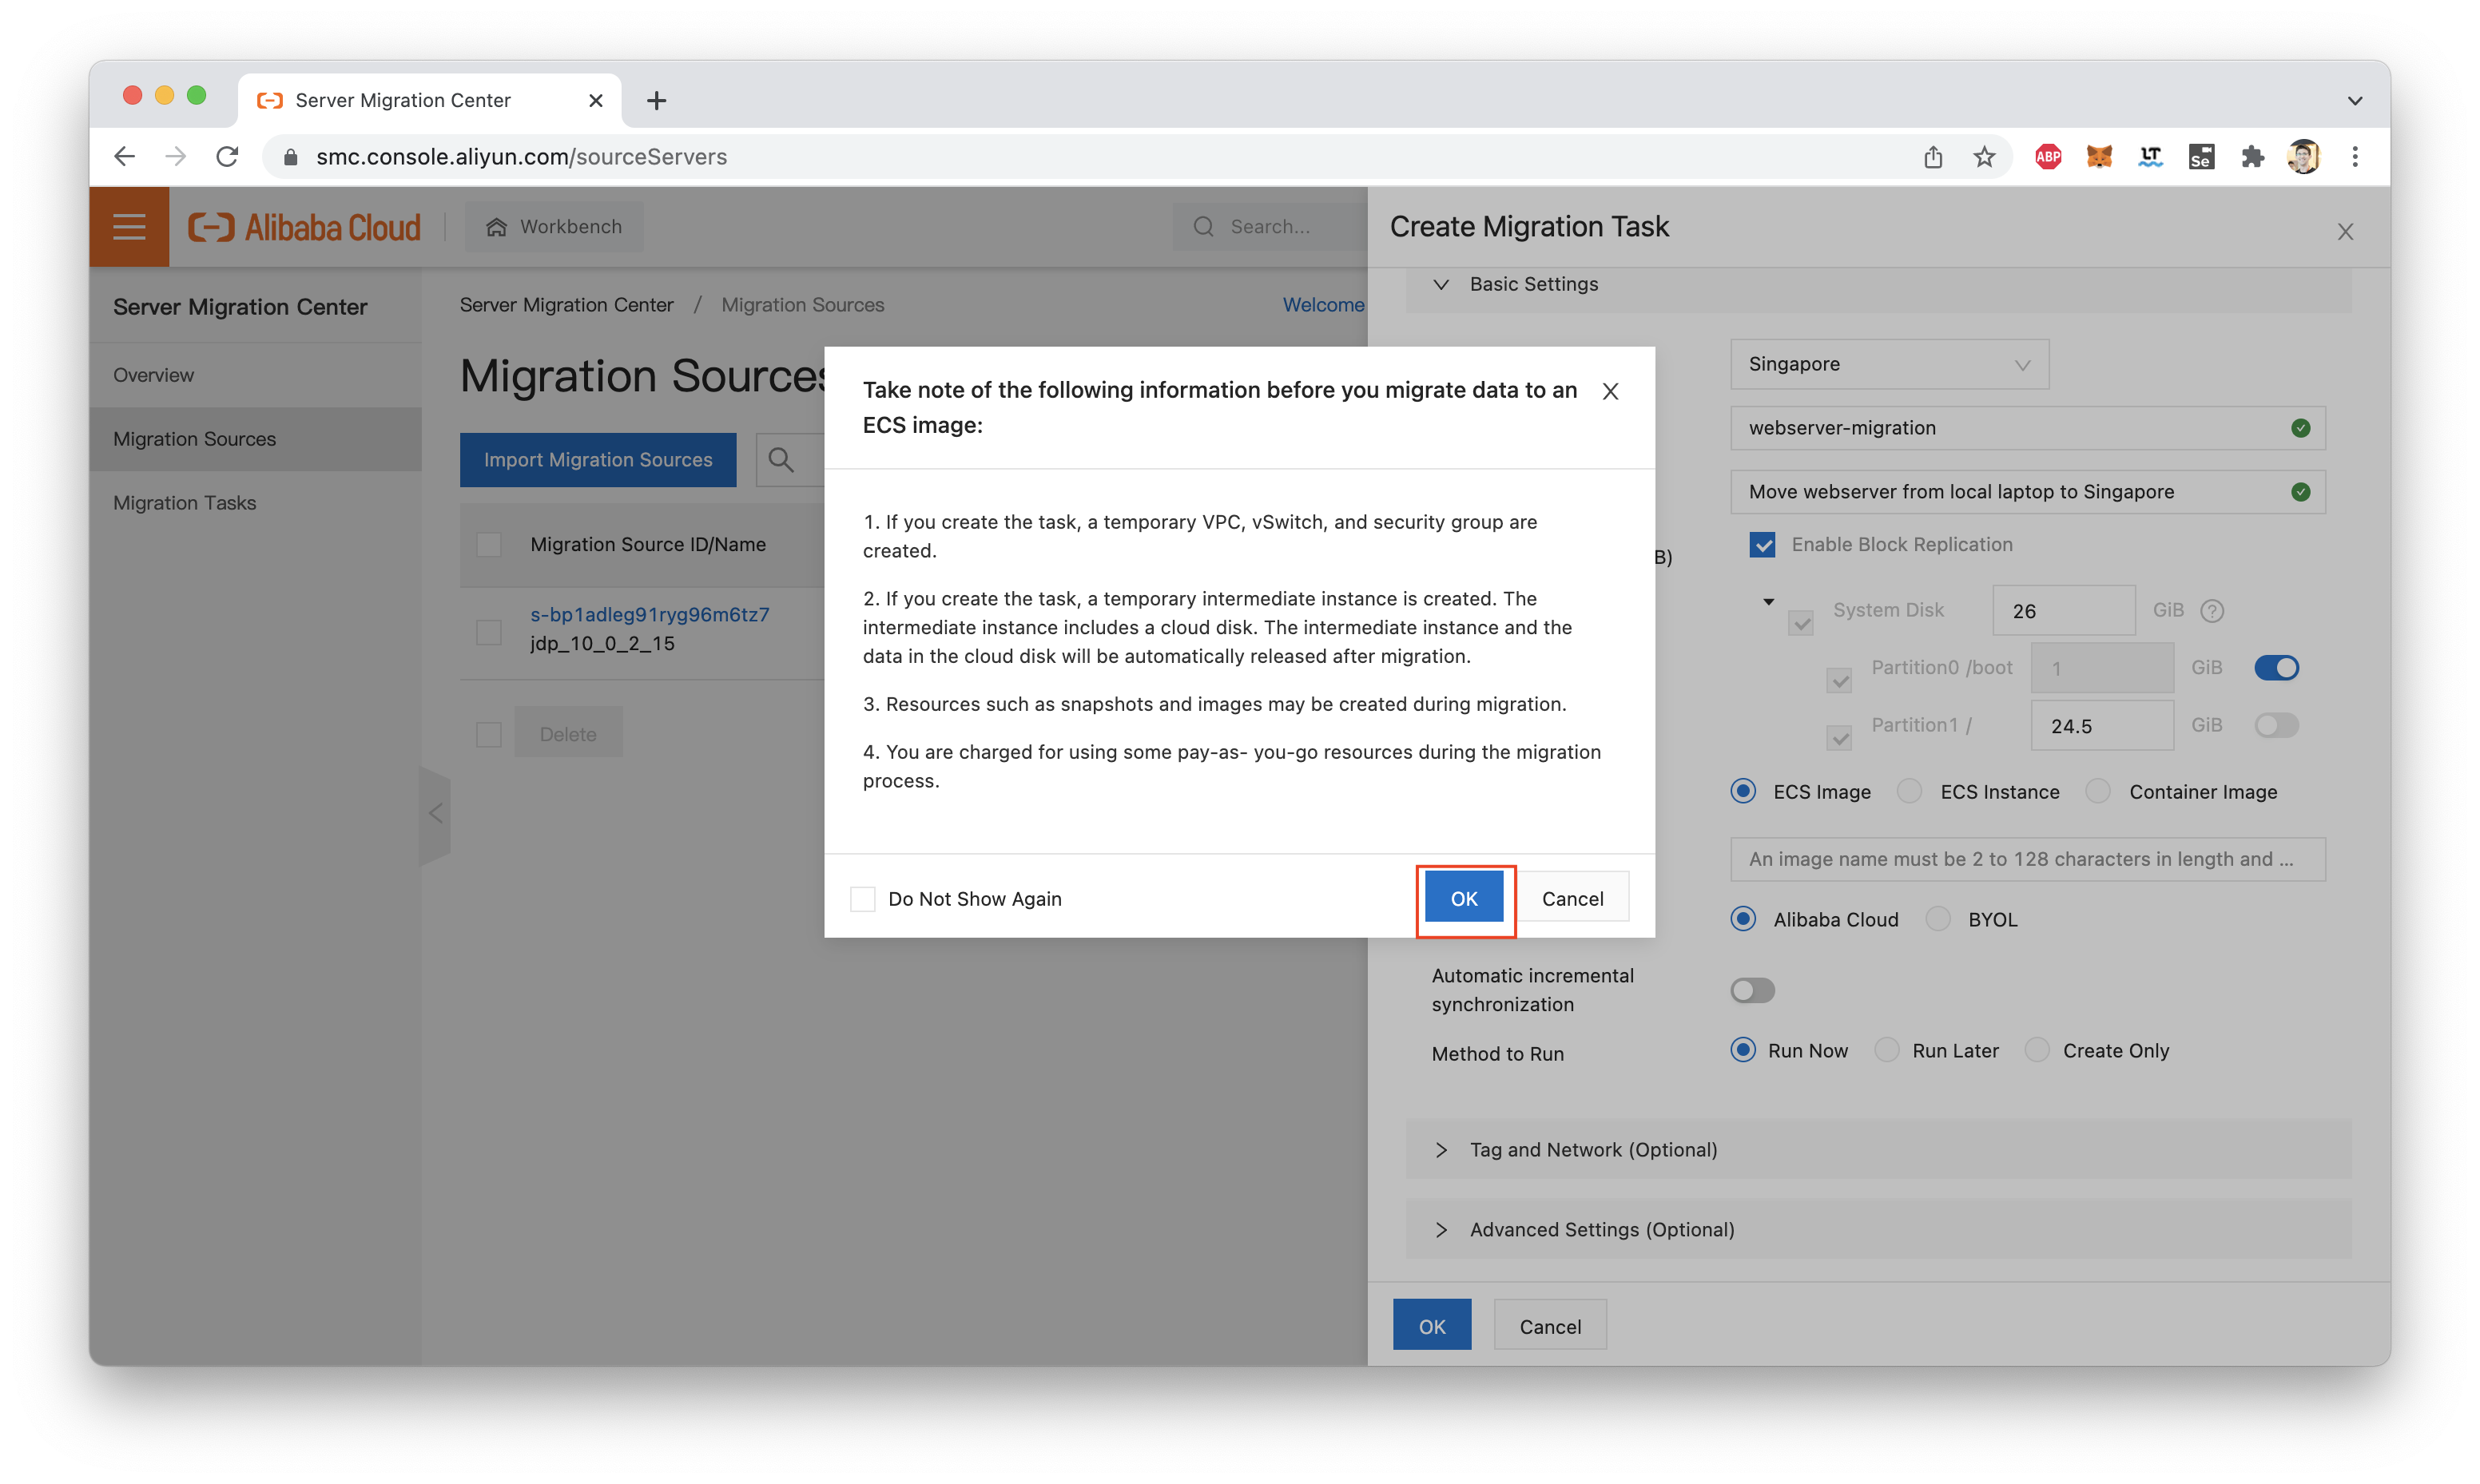
If this is the first time we have used SMC to perform a migration, a warning message will appear, informing us that SMC will need to create some temporary resources (a VPC group and ECS instance) to perform the migration. We can just click "OK" here:
If everything went well, we should see a "Success" screen, like this one:
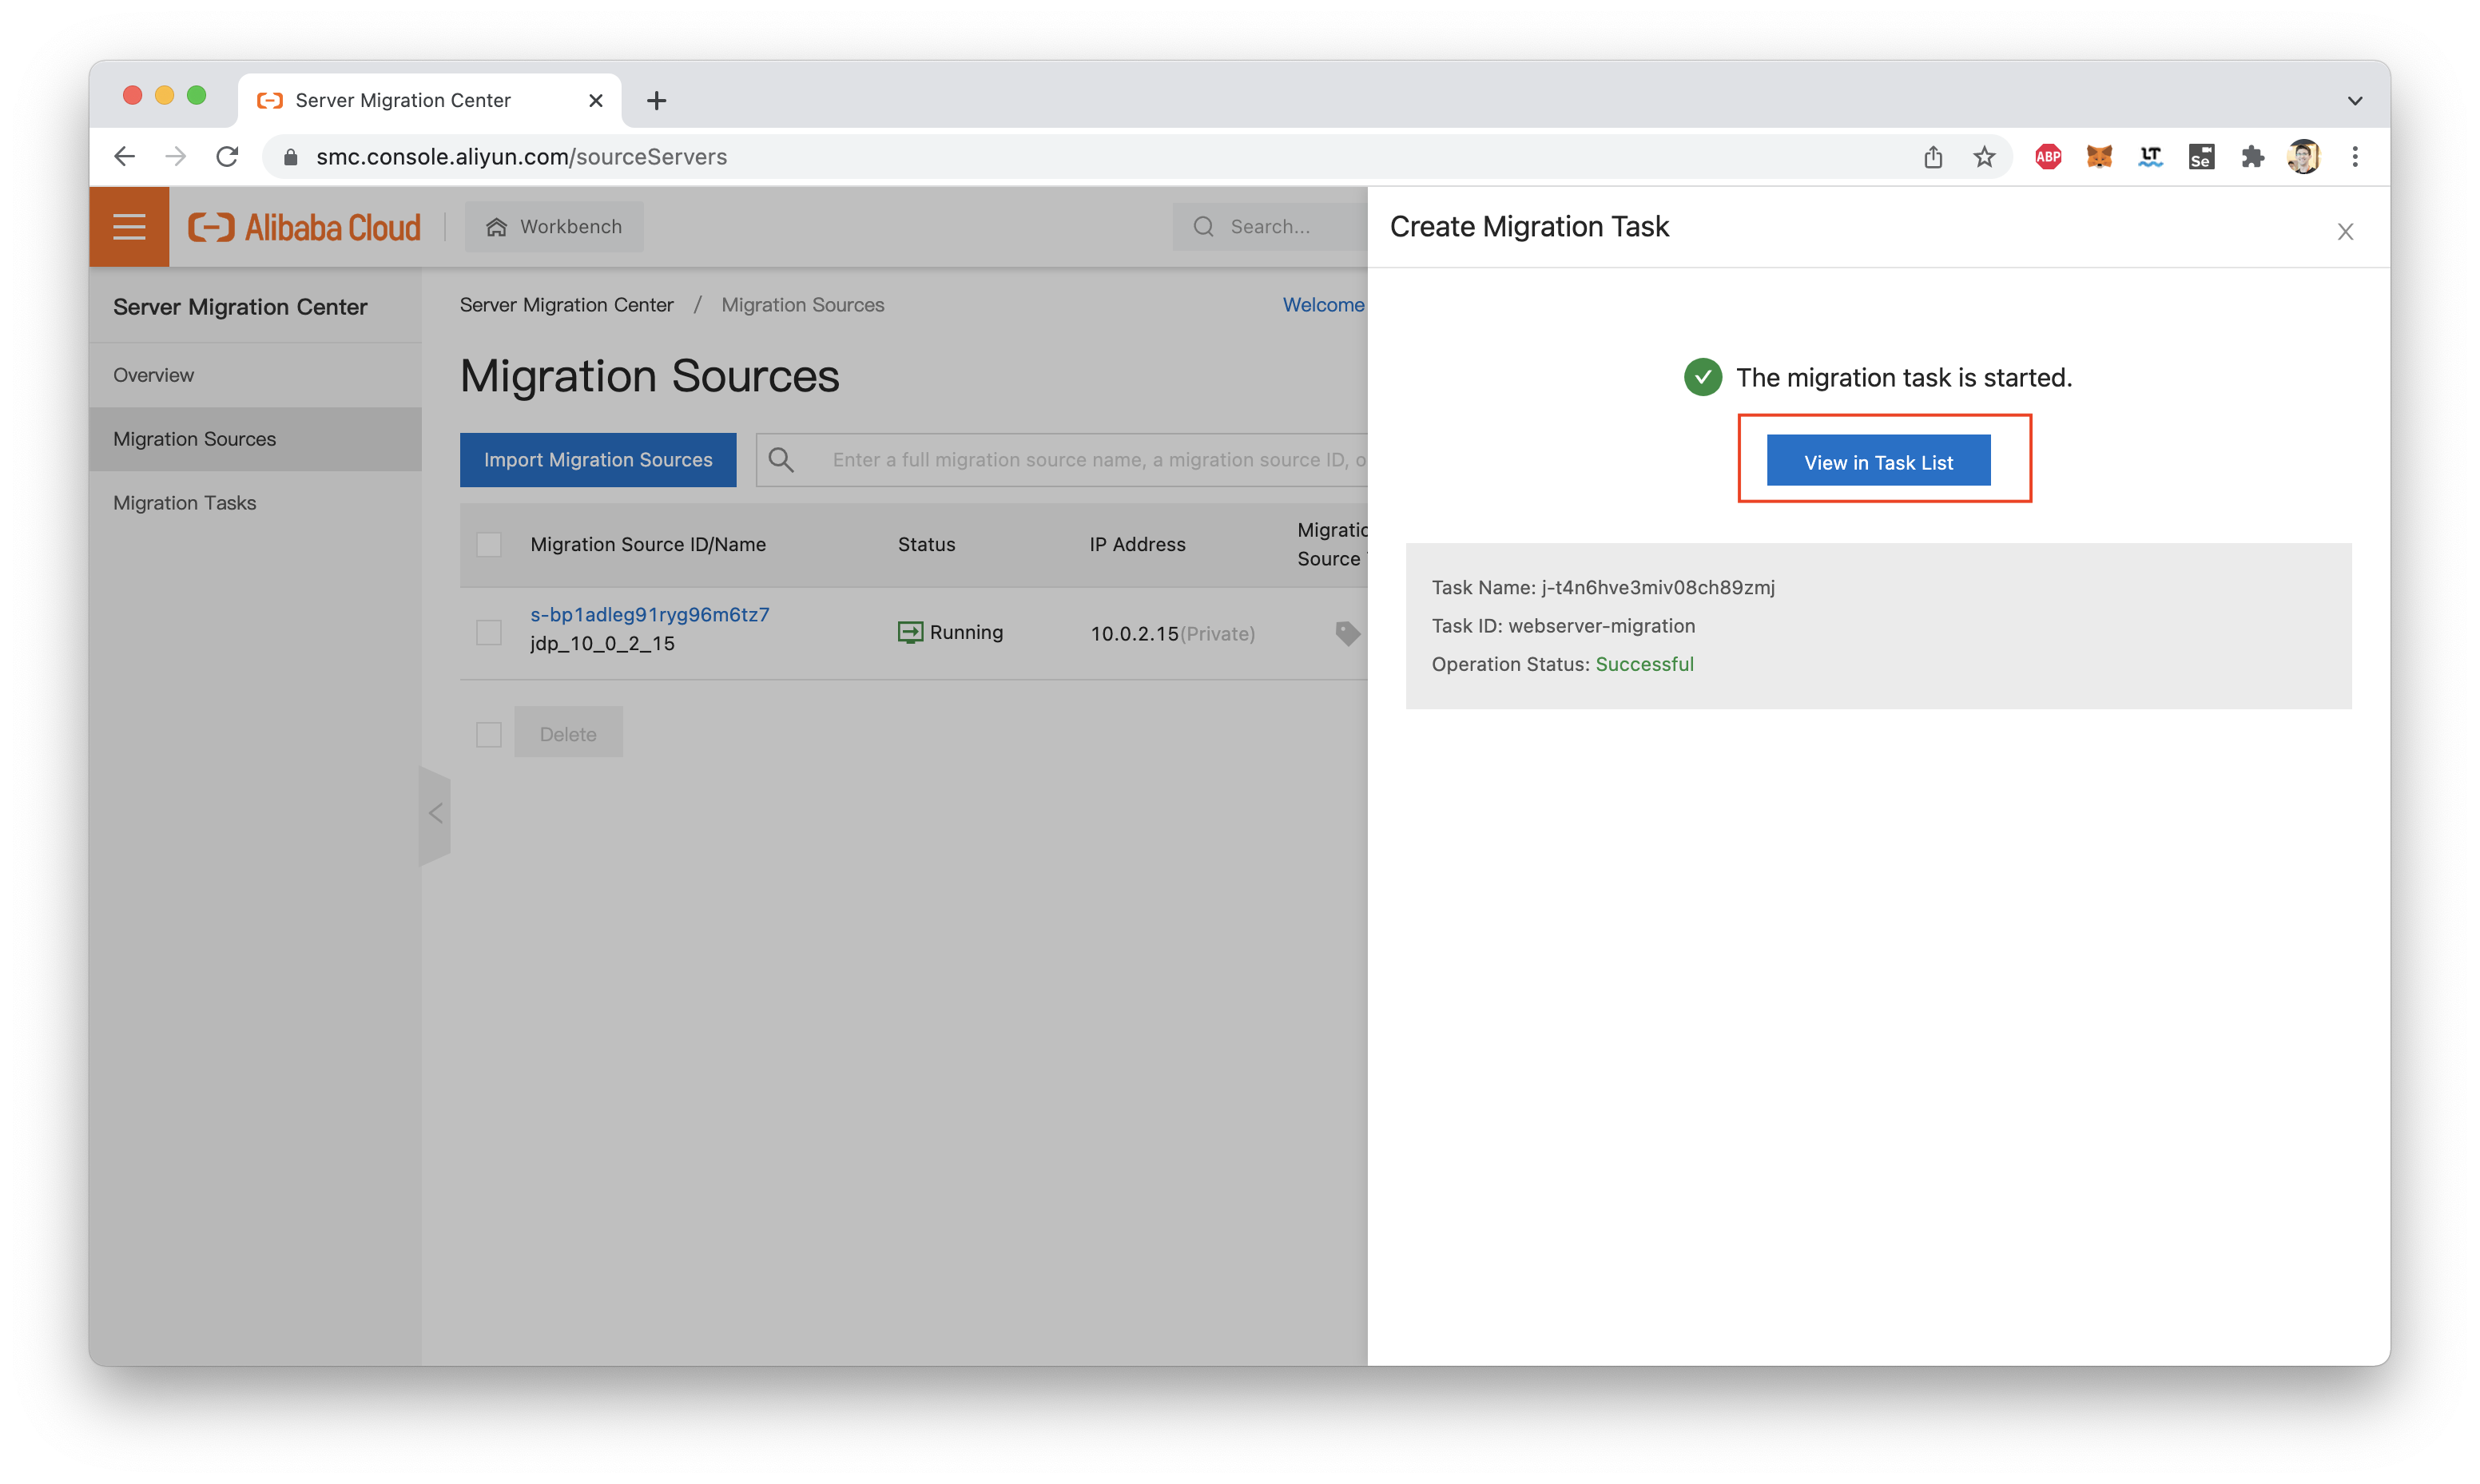
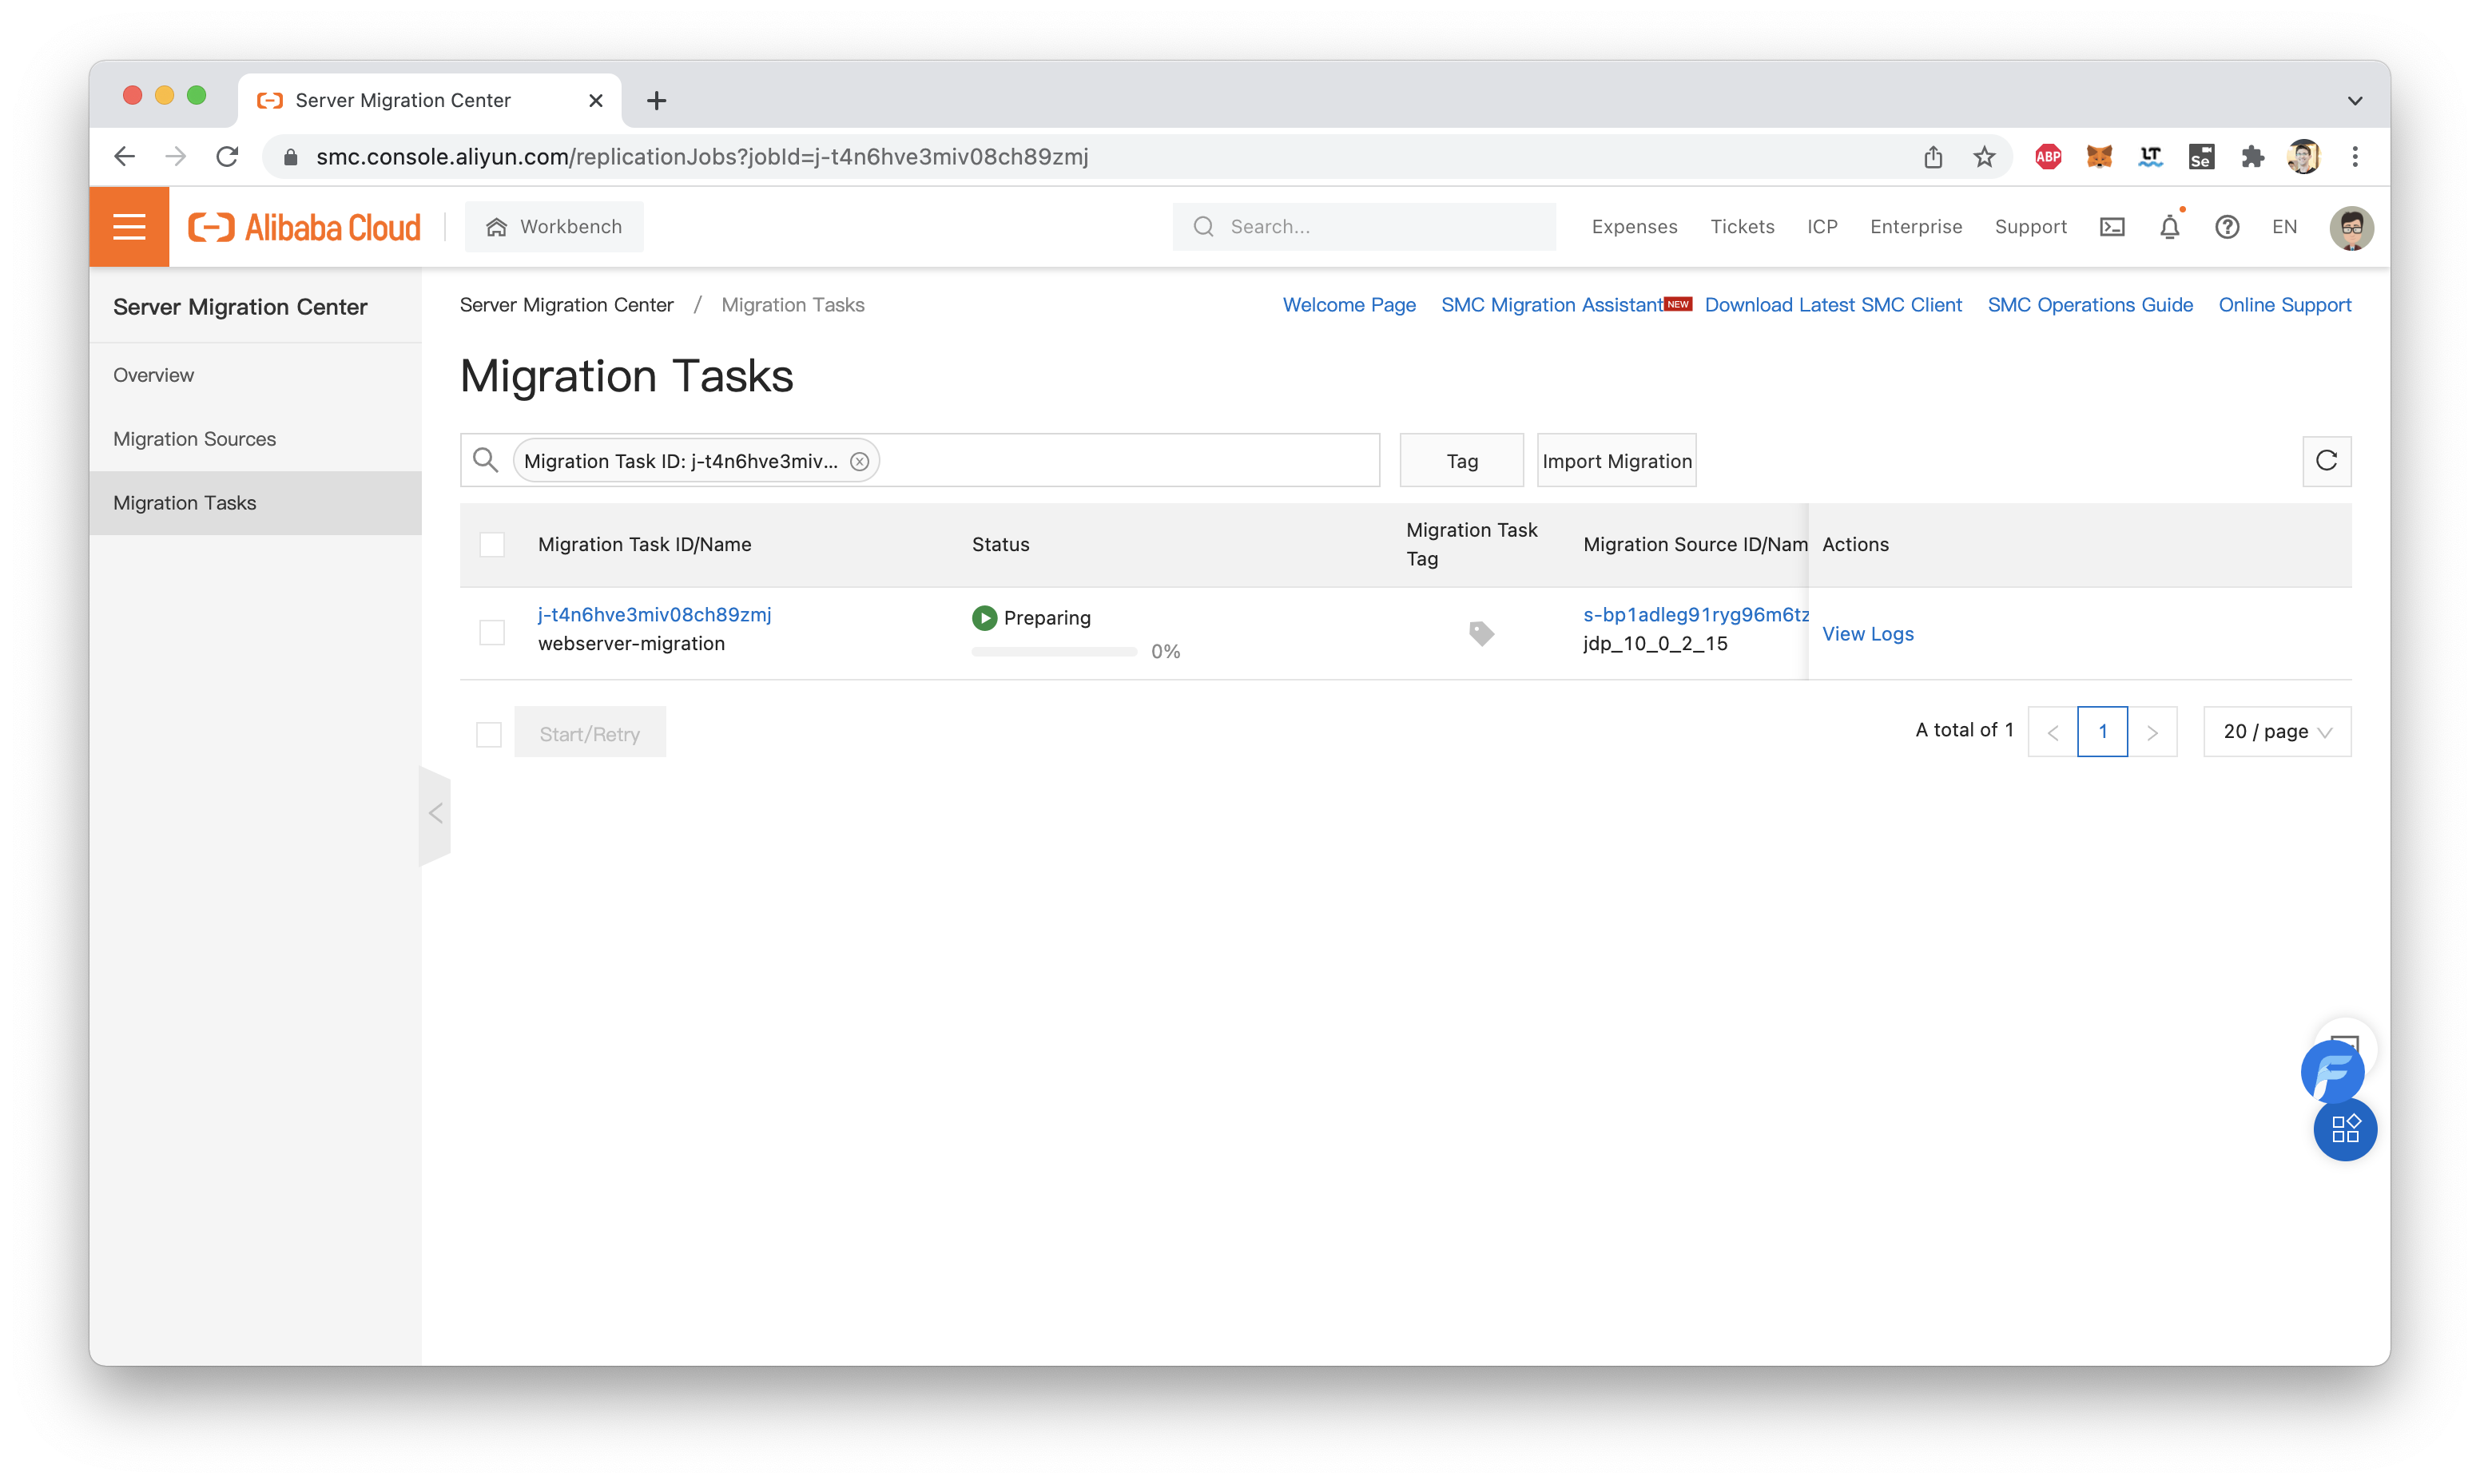
Based on the selections we made when setting up the task, it should start right away:
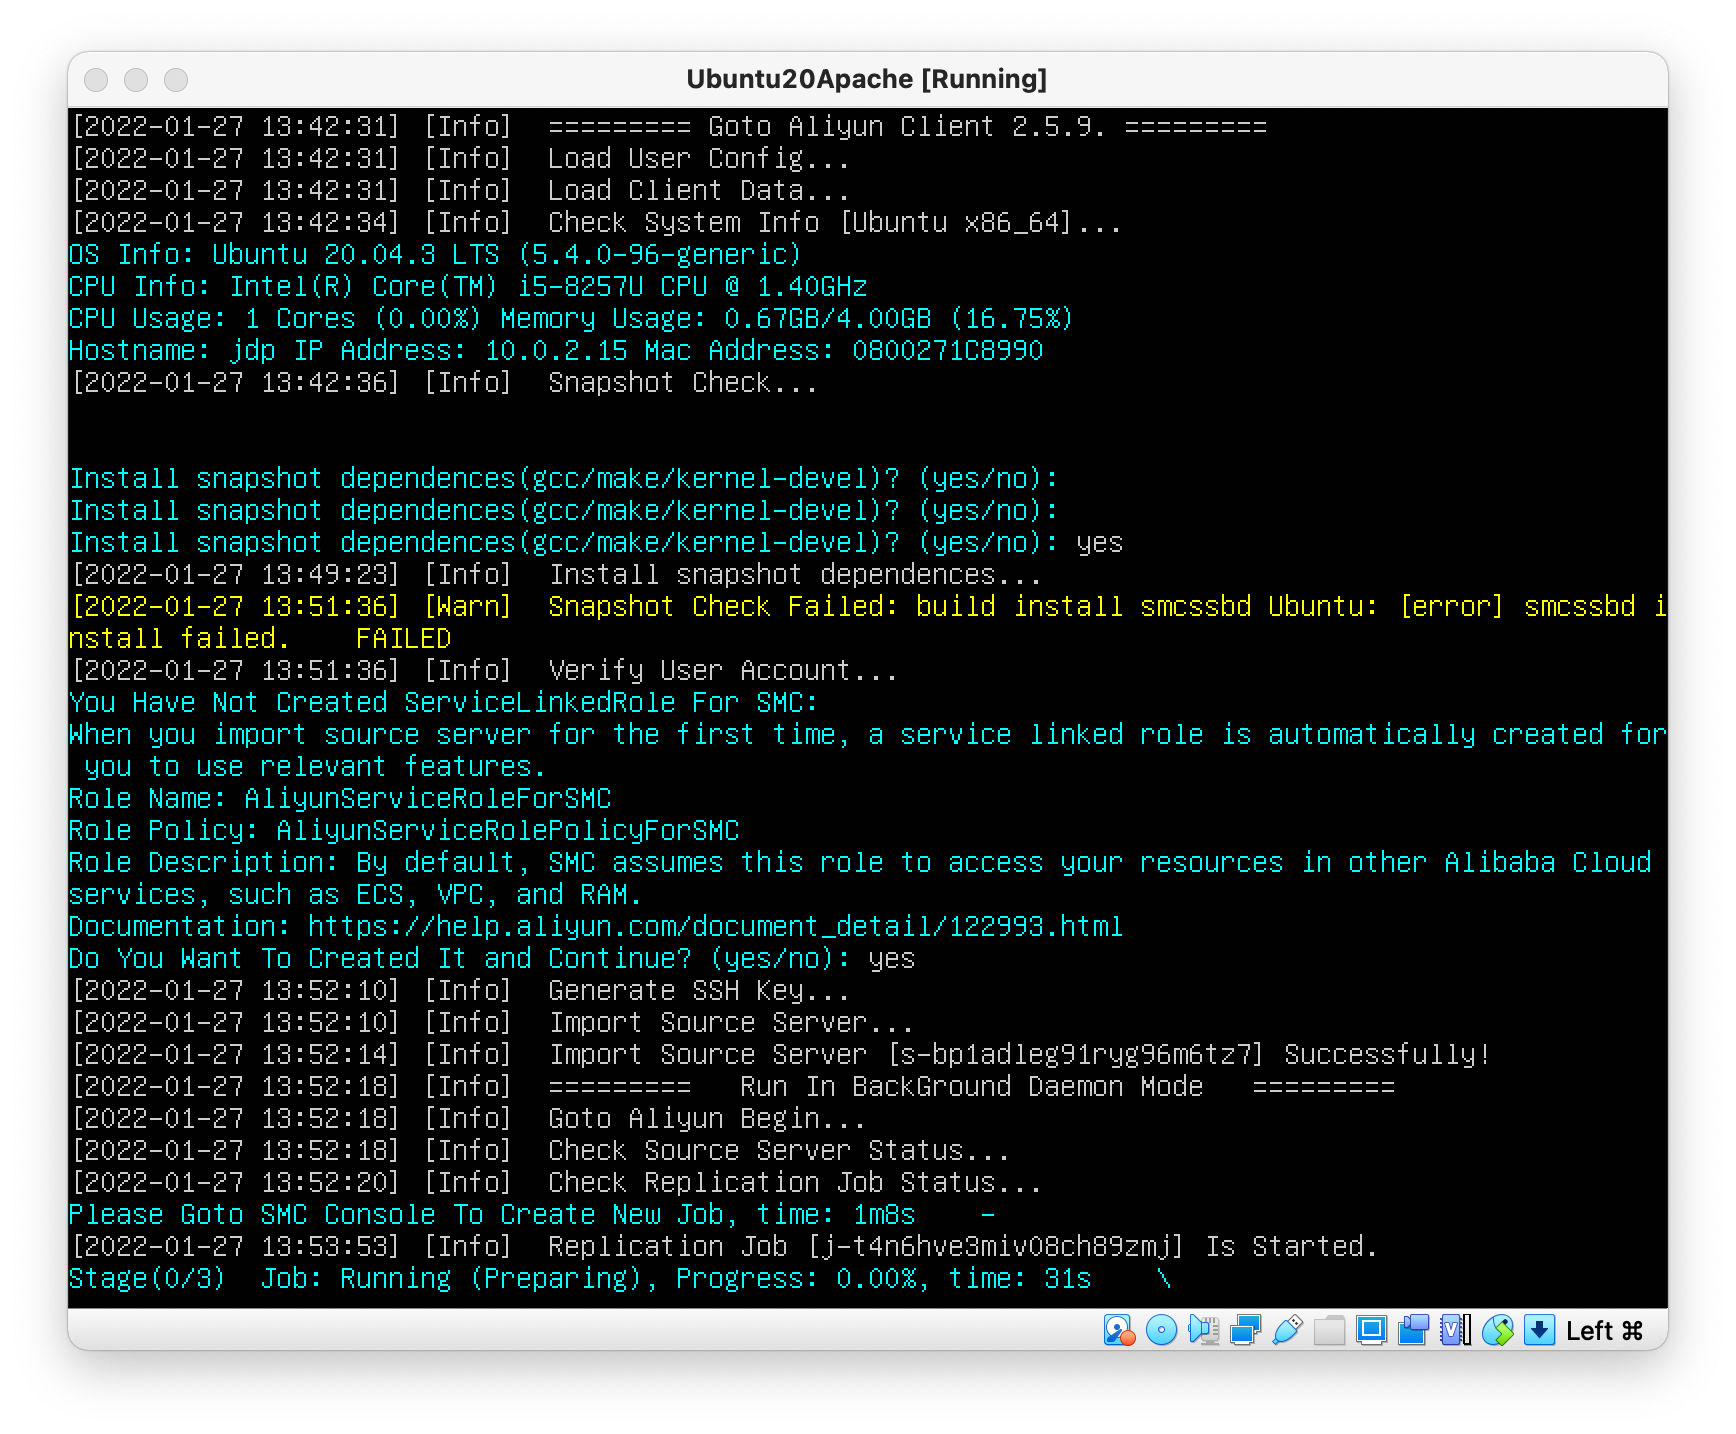
Returning to the console on our VM, we should see that the go2aliyun_client script has started migrating data:
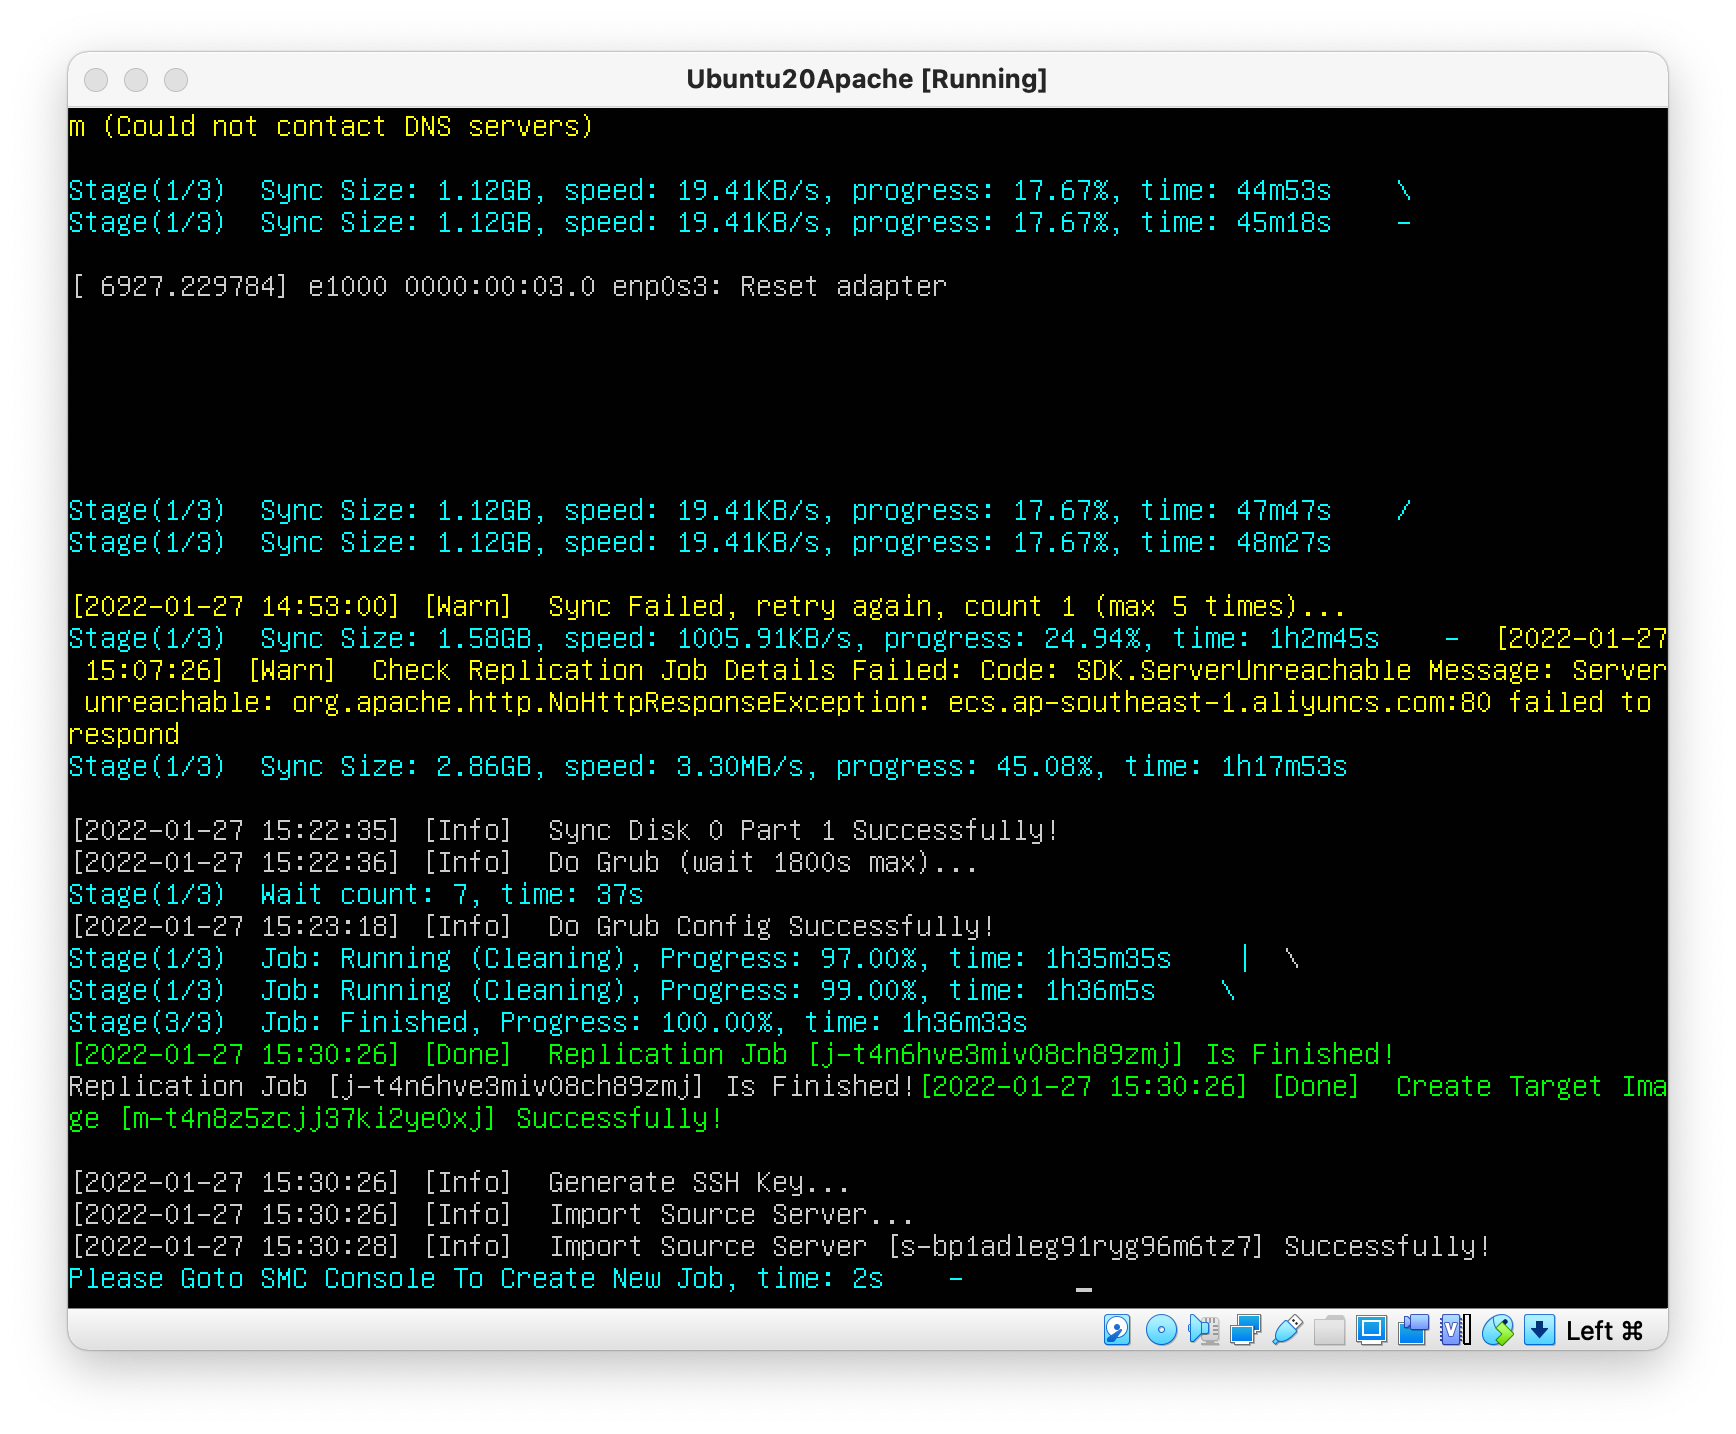
Once the migration process completes (the time will vary based on the amount of data on the source VM's disks), we should see a message like this on the VM's console:
The SMC console should also show the migration task's status as "Completed":
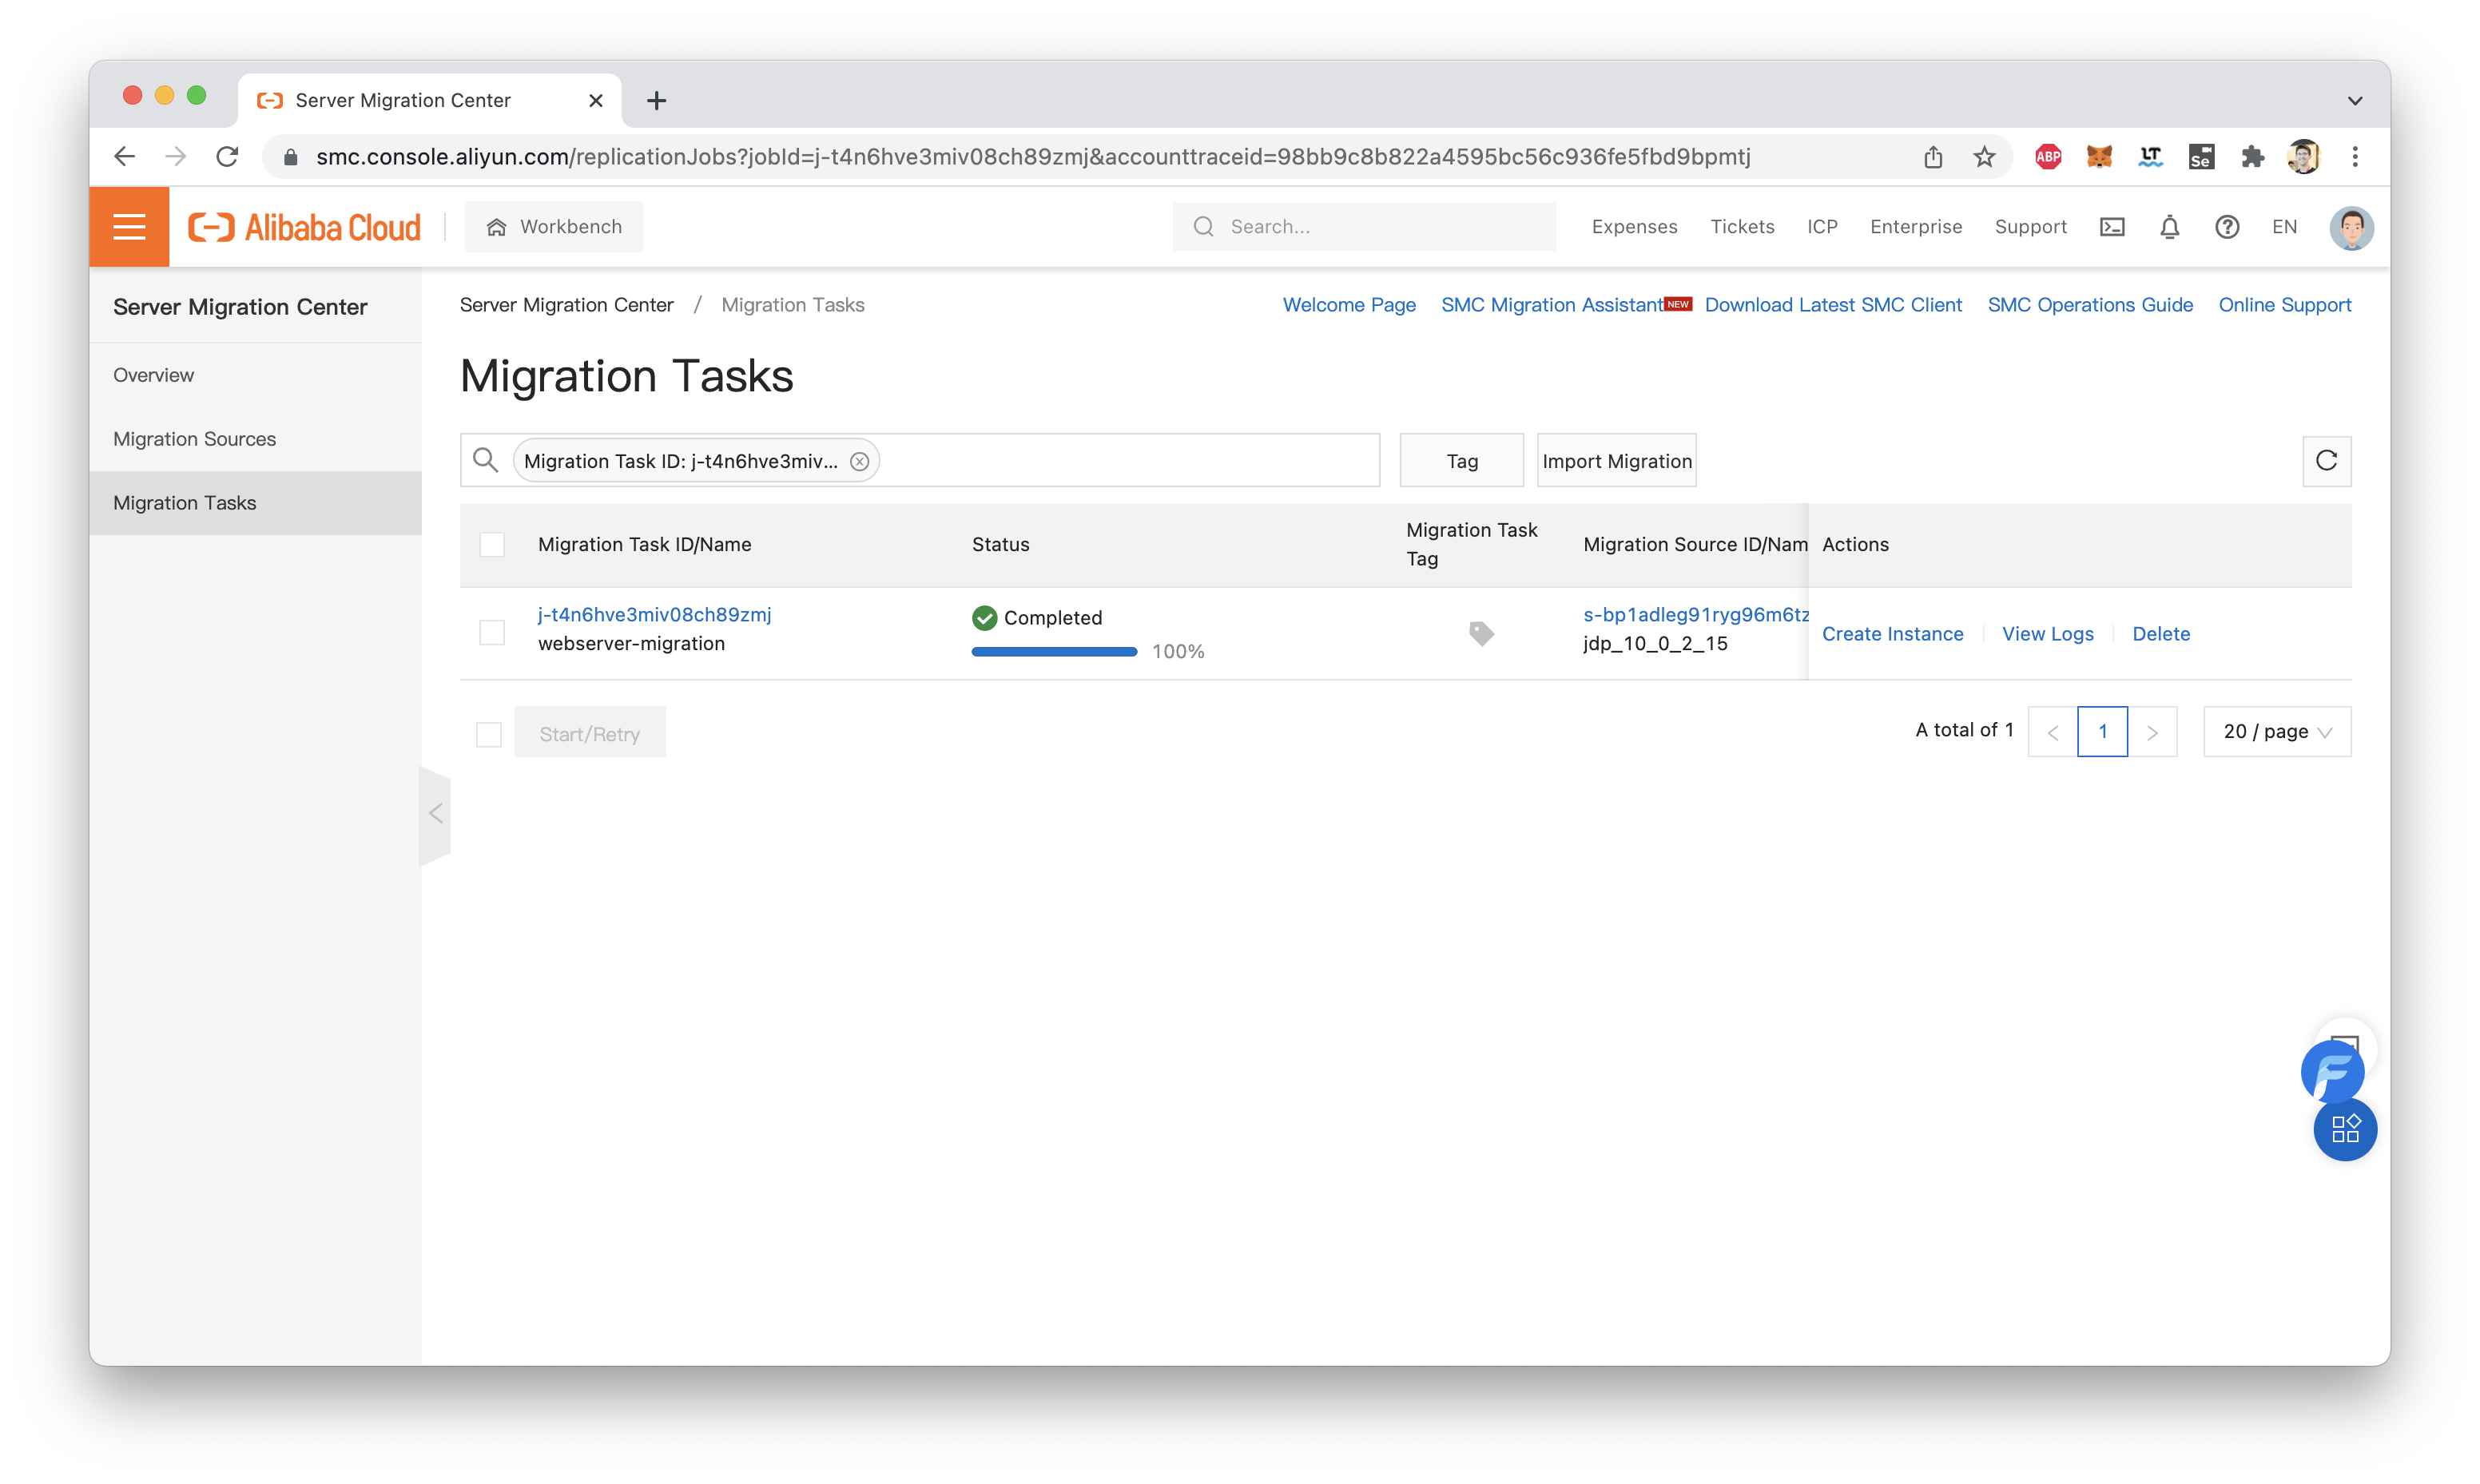
That's it! We can now stop the go2aliyun_client script on the VM. Our next step will be creating a replica of our original VM on Alibaba Cloud, by creating an ECS instance from our VM disk image.
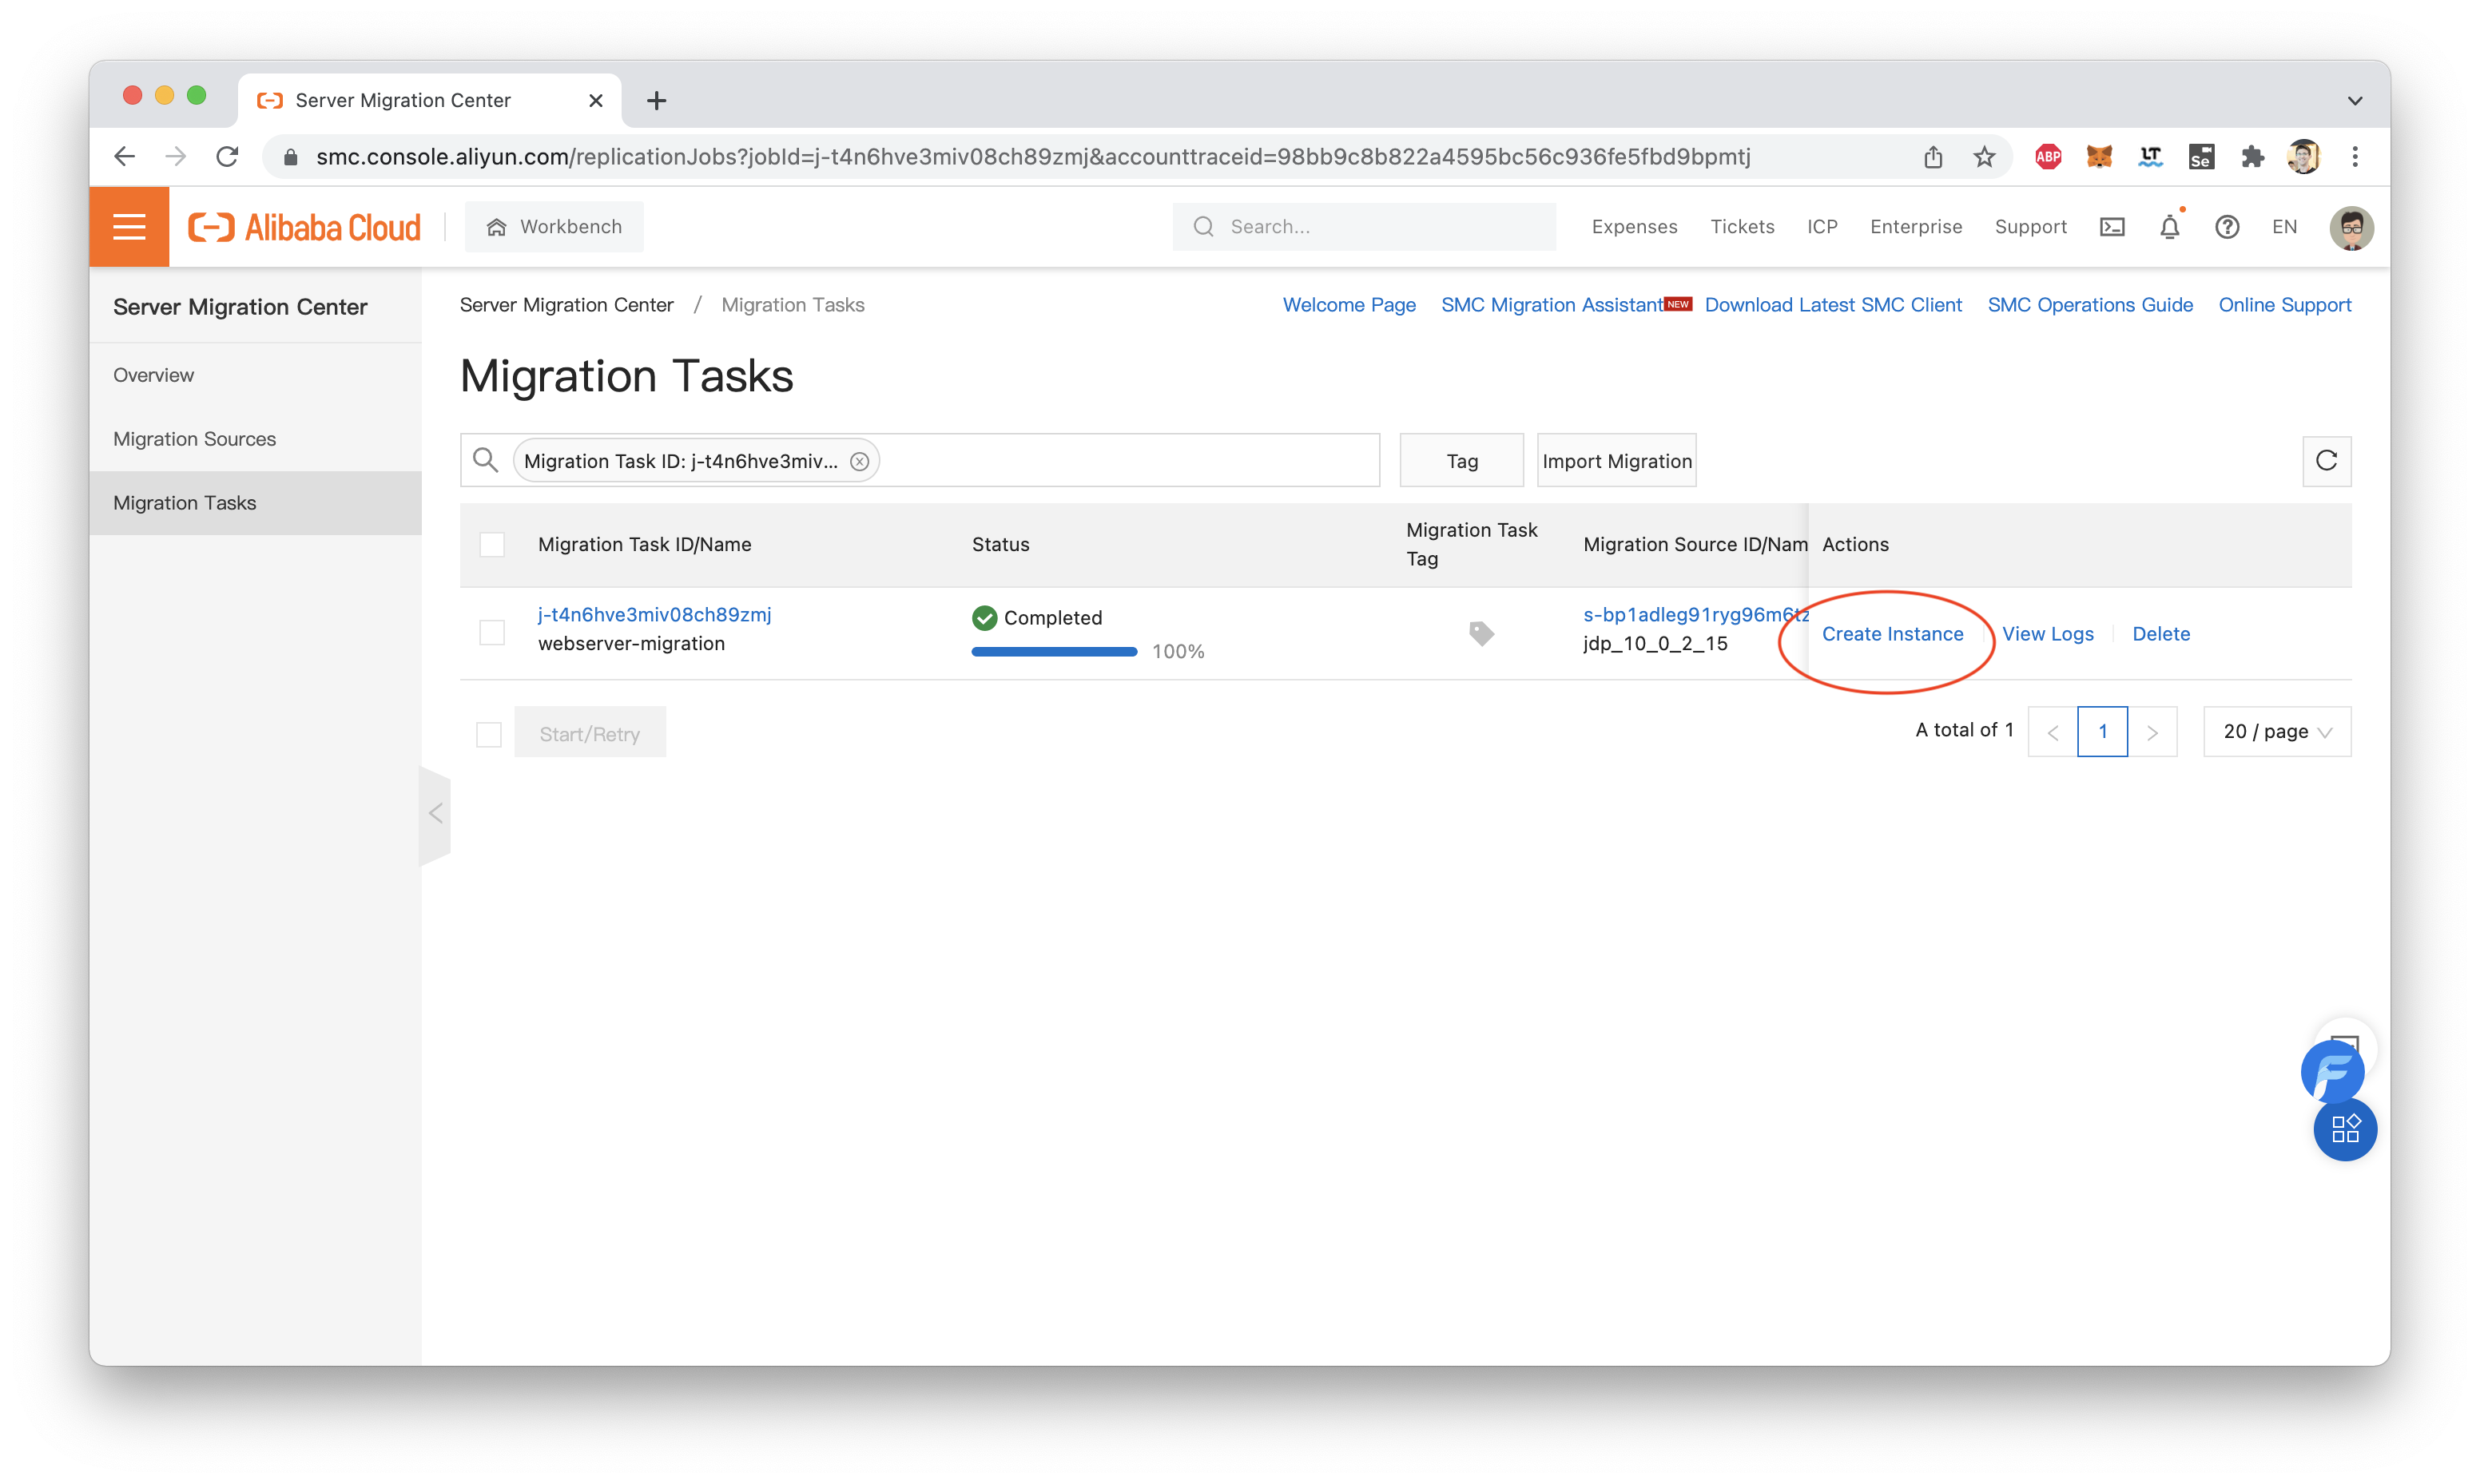
From the SMC console's "migration tasks" page, we click on "Create Instance":
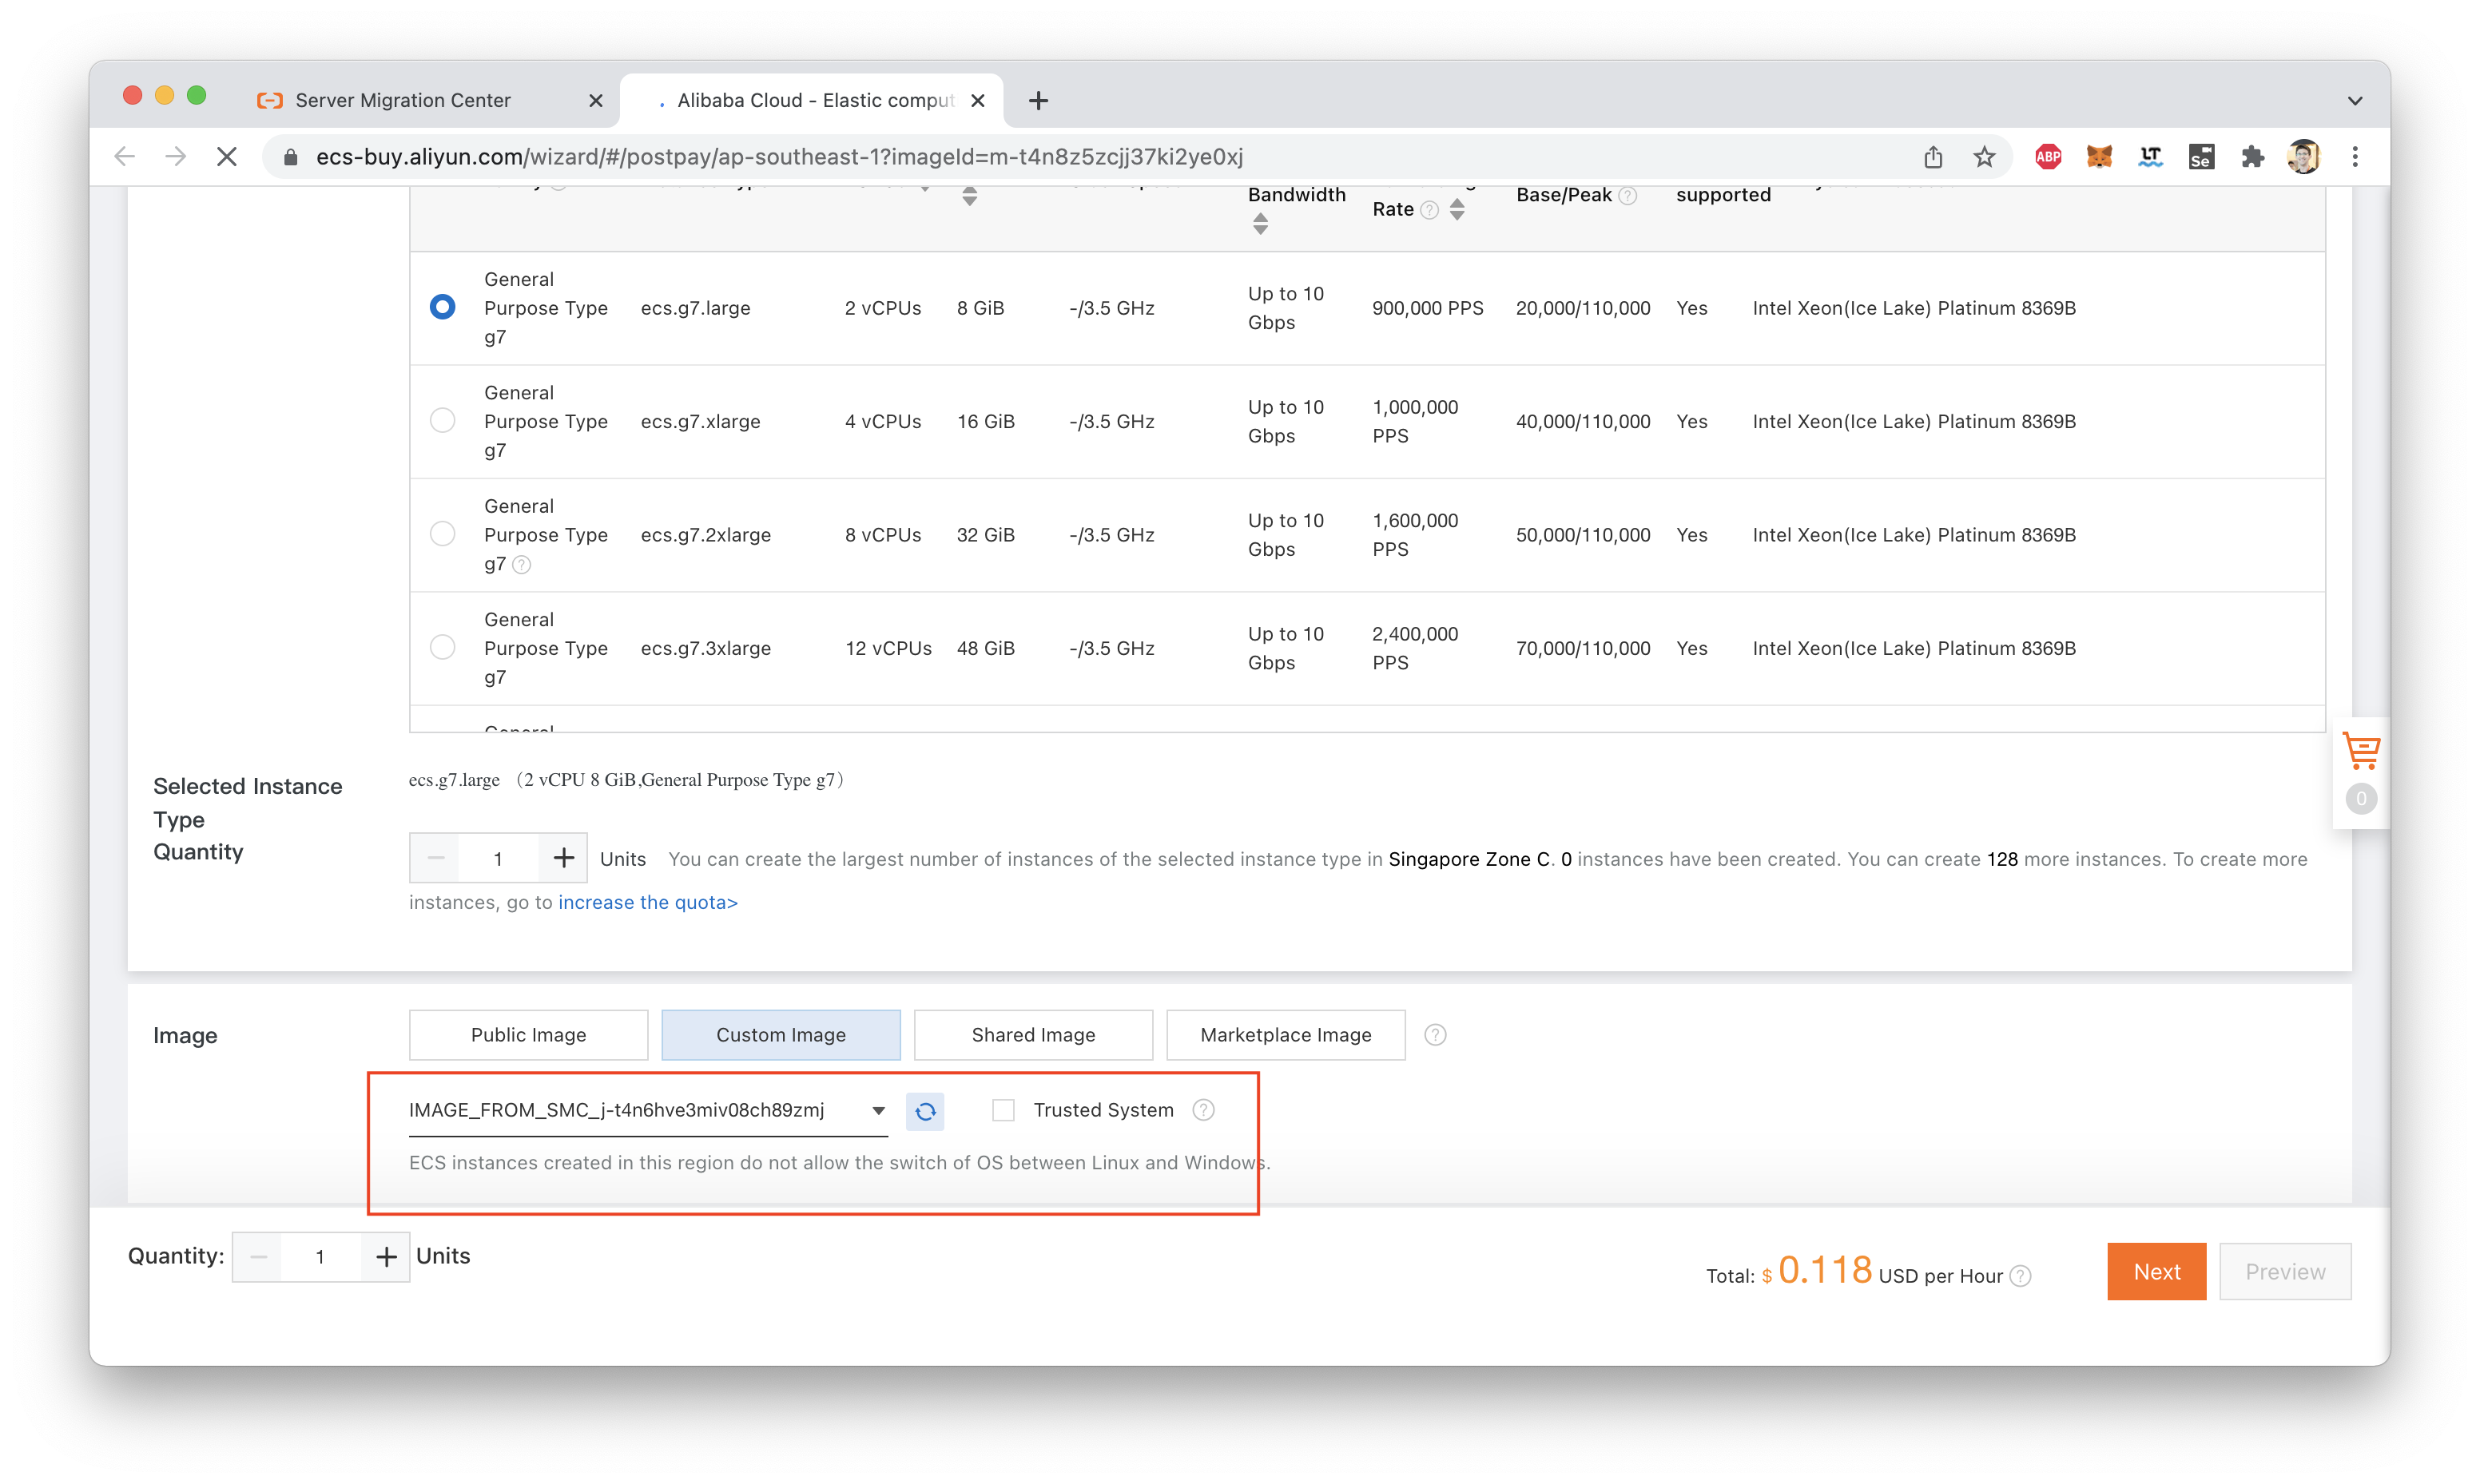
This will take us through the ECS instance purchase process. Be sure to use the disk image that SMC has created:
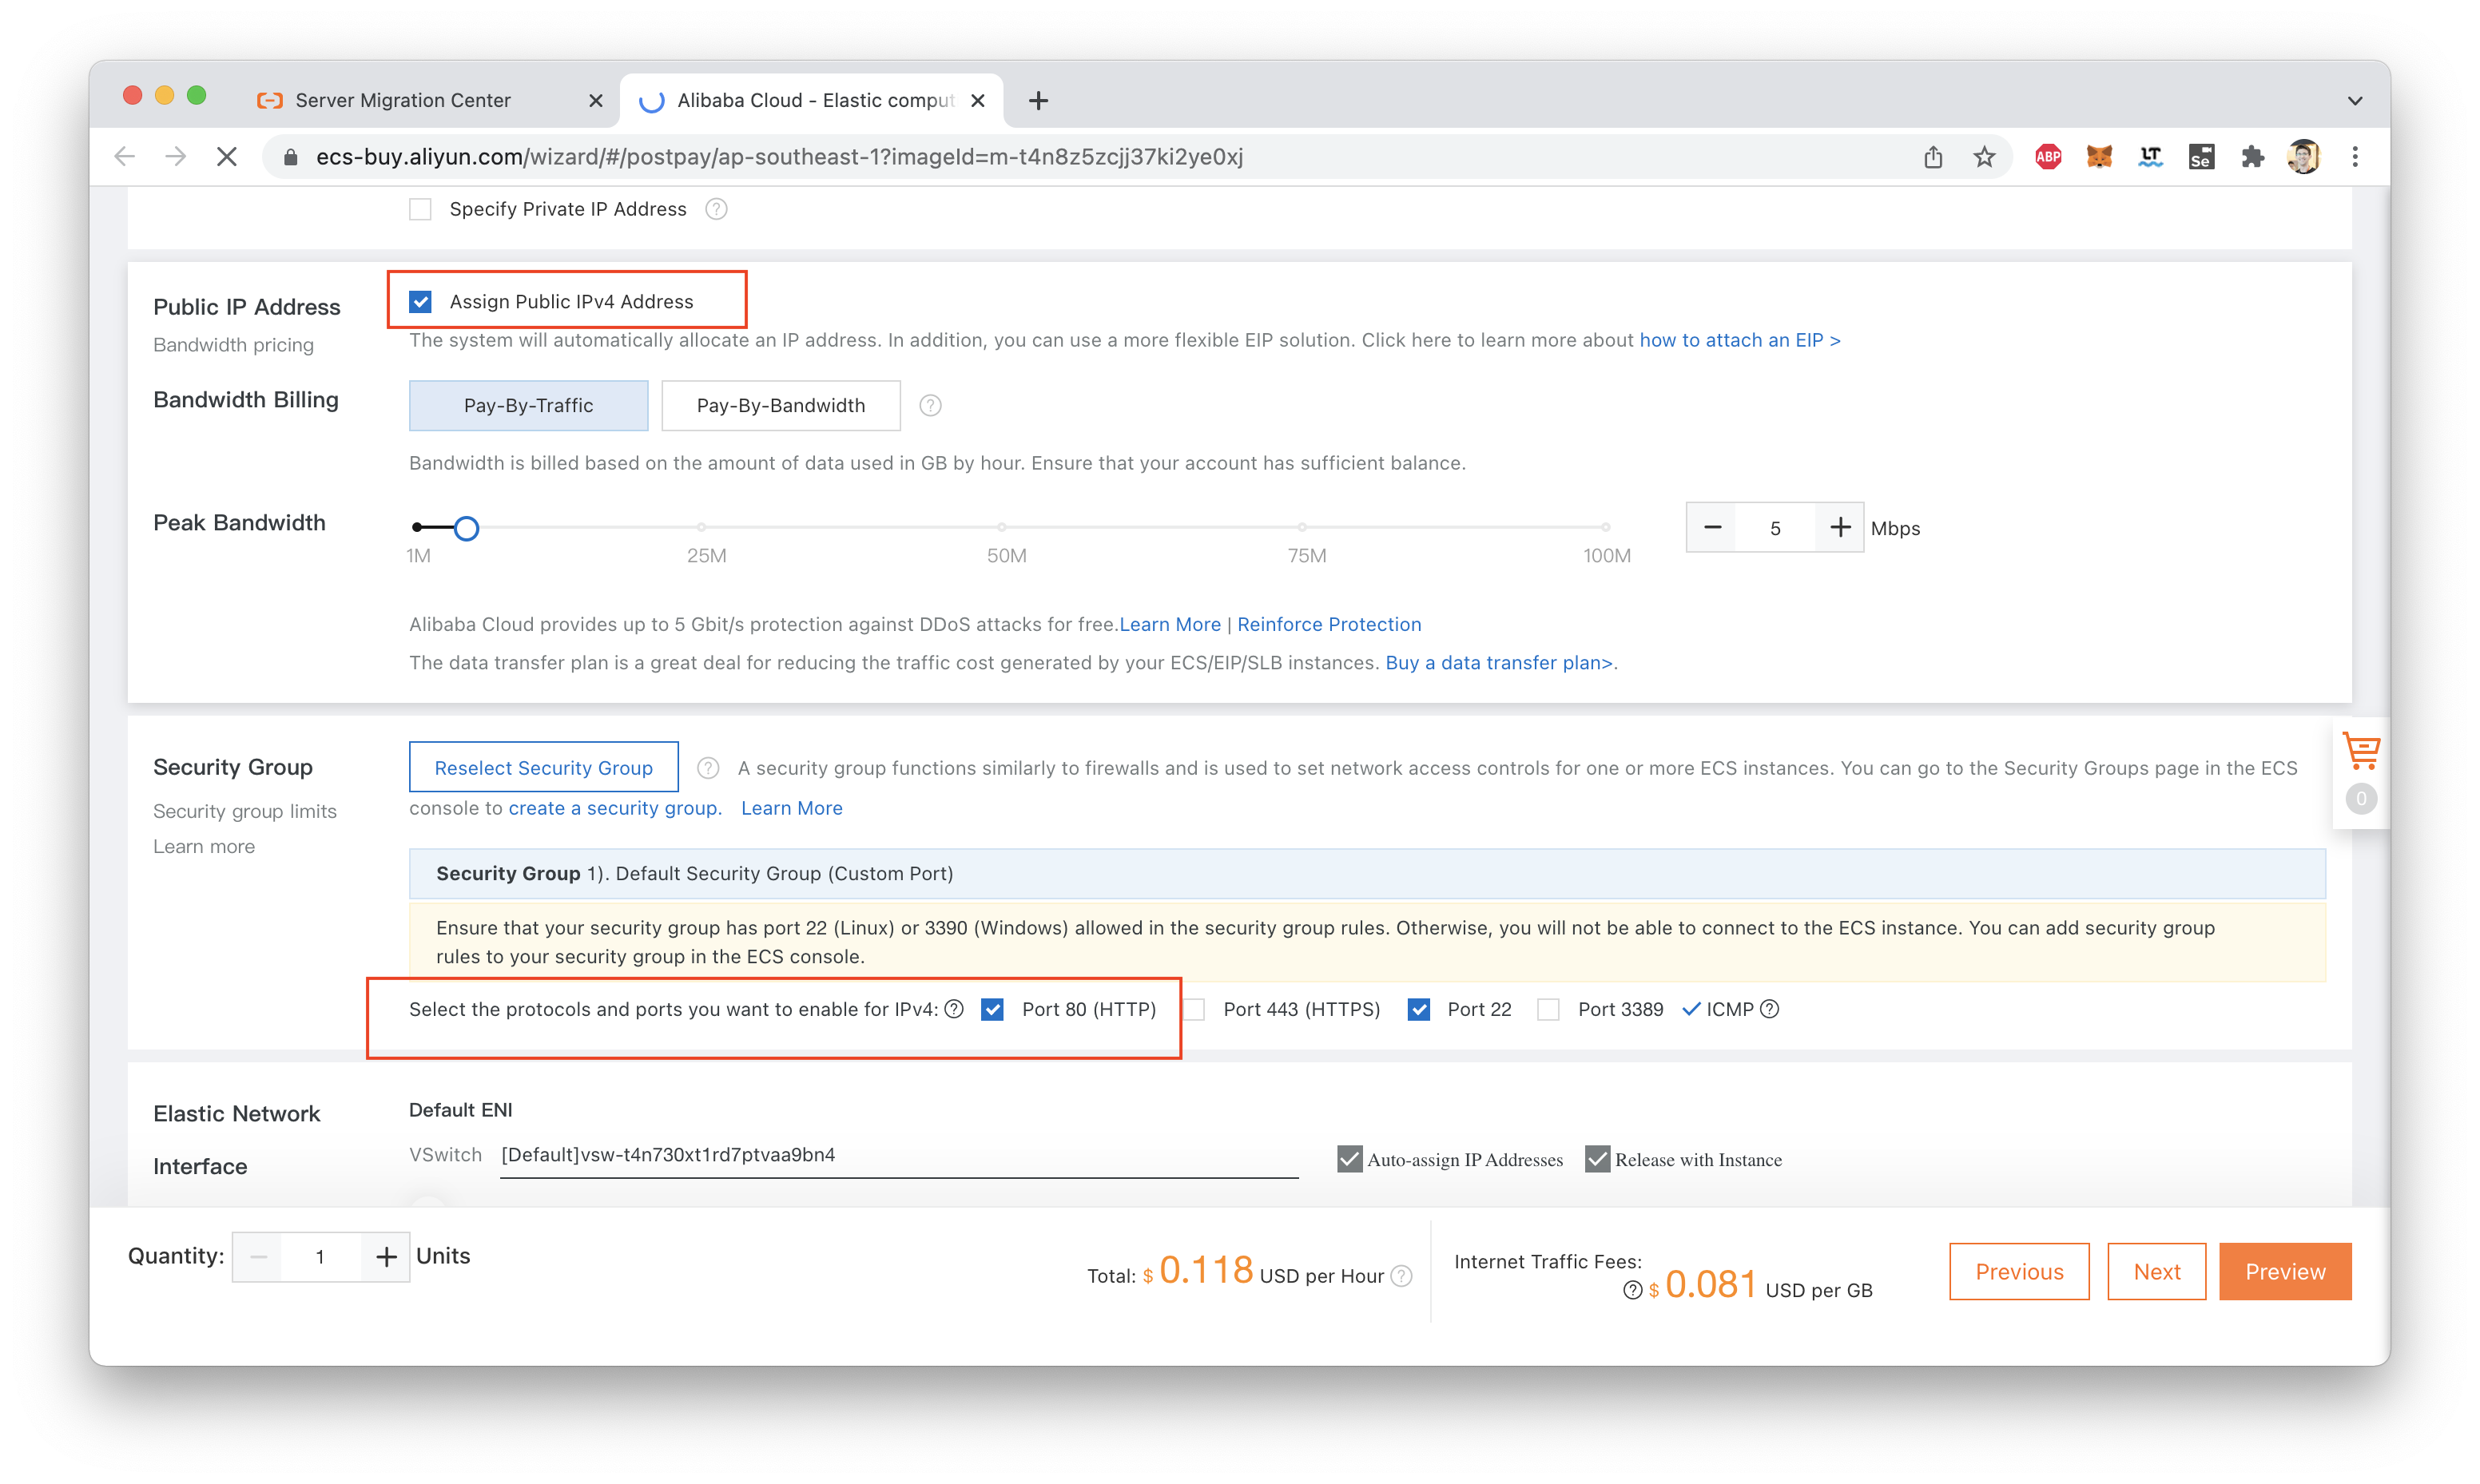
We want our instance to be reachable from the Internet, so make sure that it is assigned a public IP address and that it is assigned to a Security Group with port 80 open to the world:
If you want to keep your original VM's logon password, make sure you choose "Inherit from image":
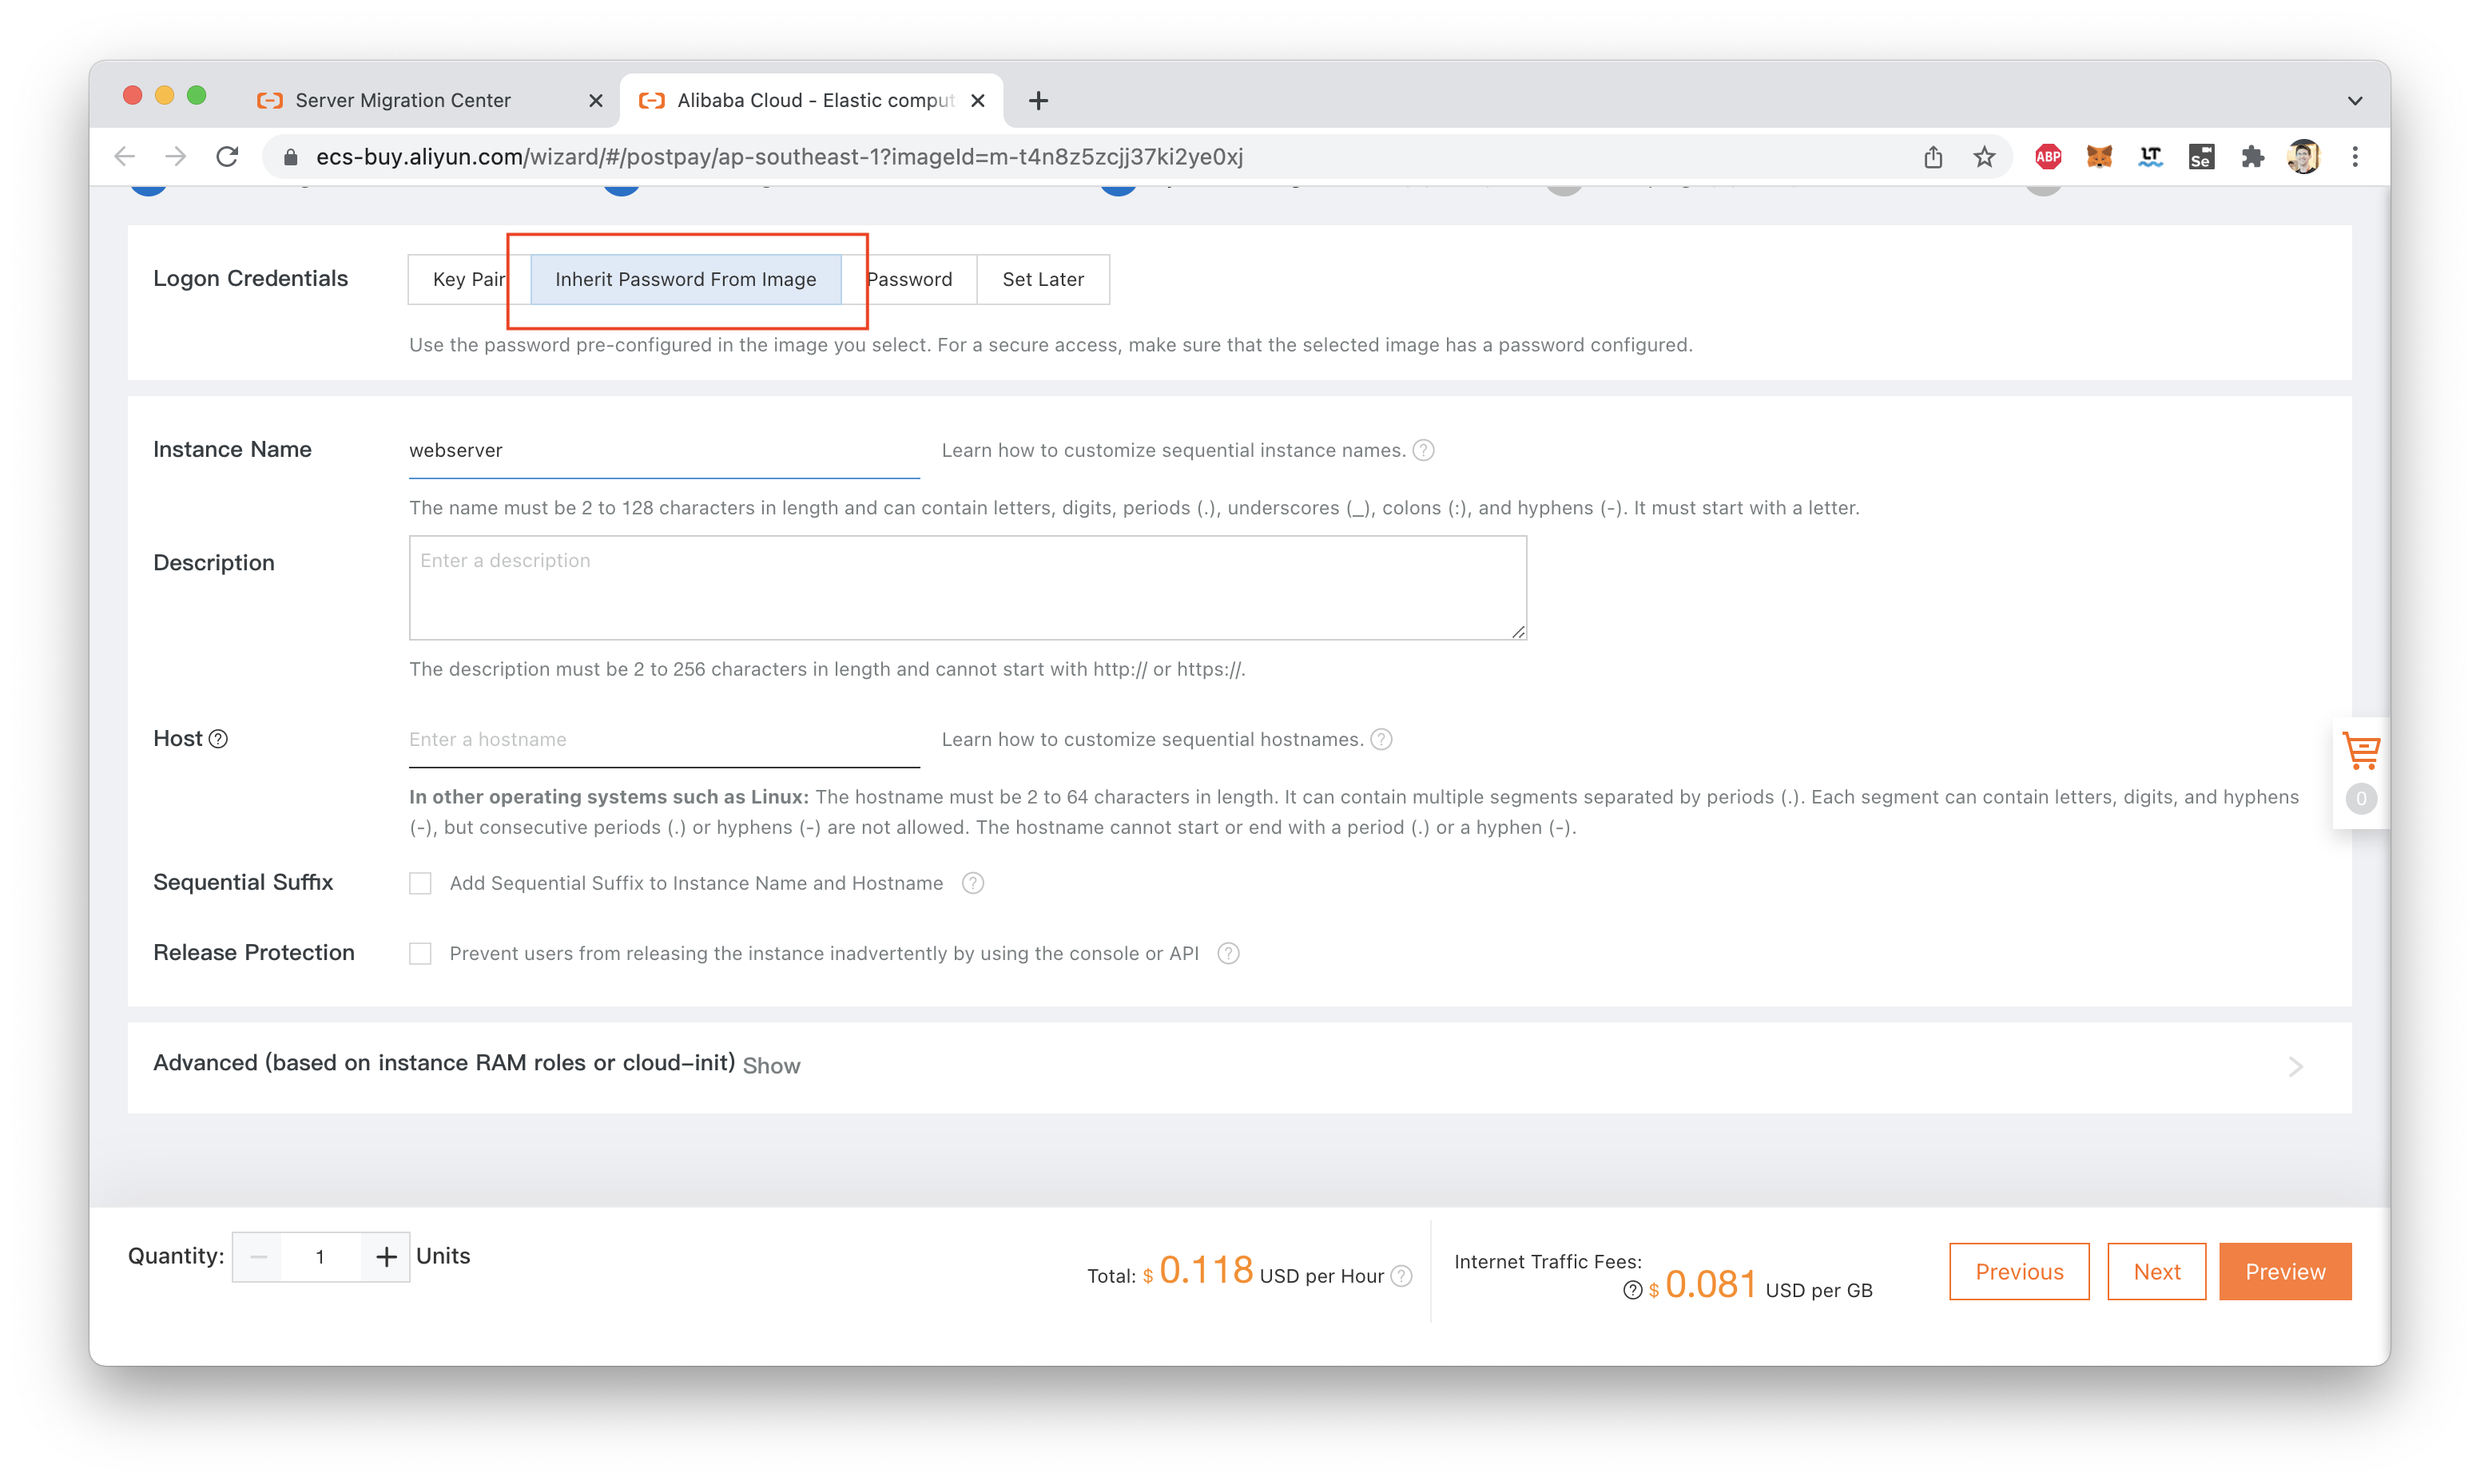
That's it! Complete the checkout process and confirm:
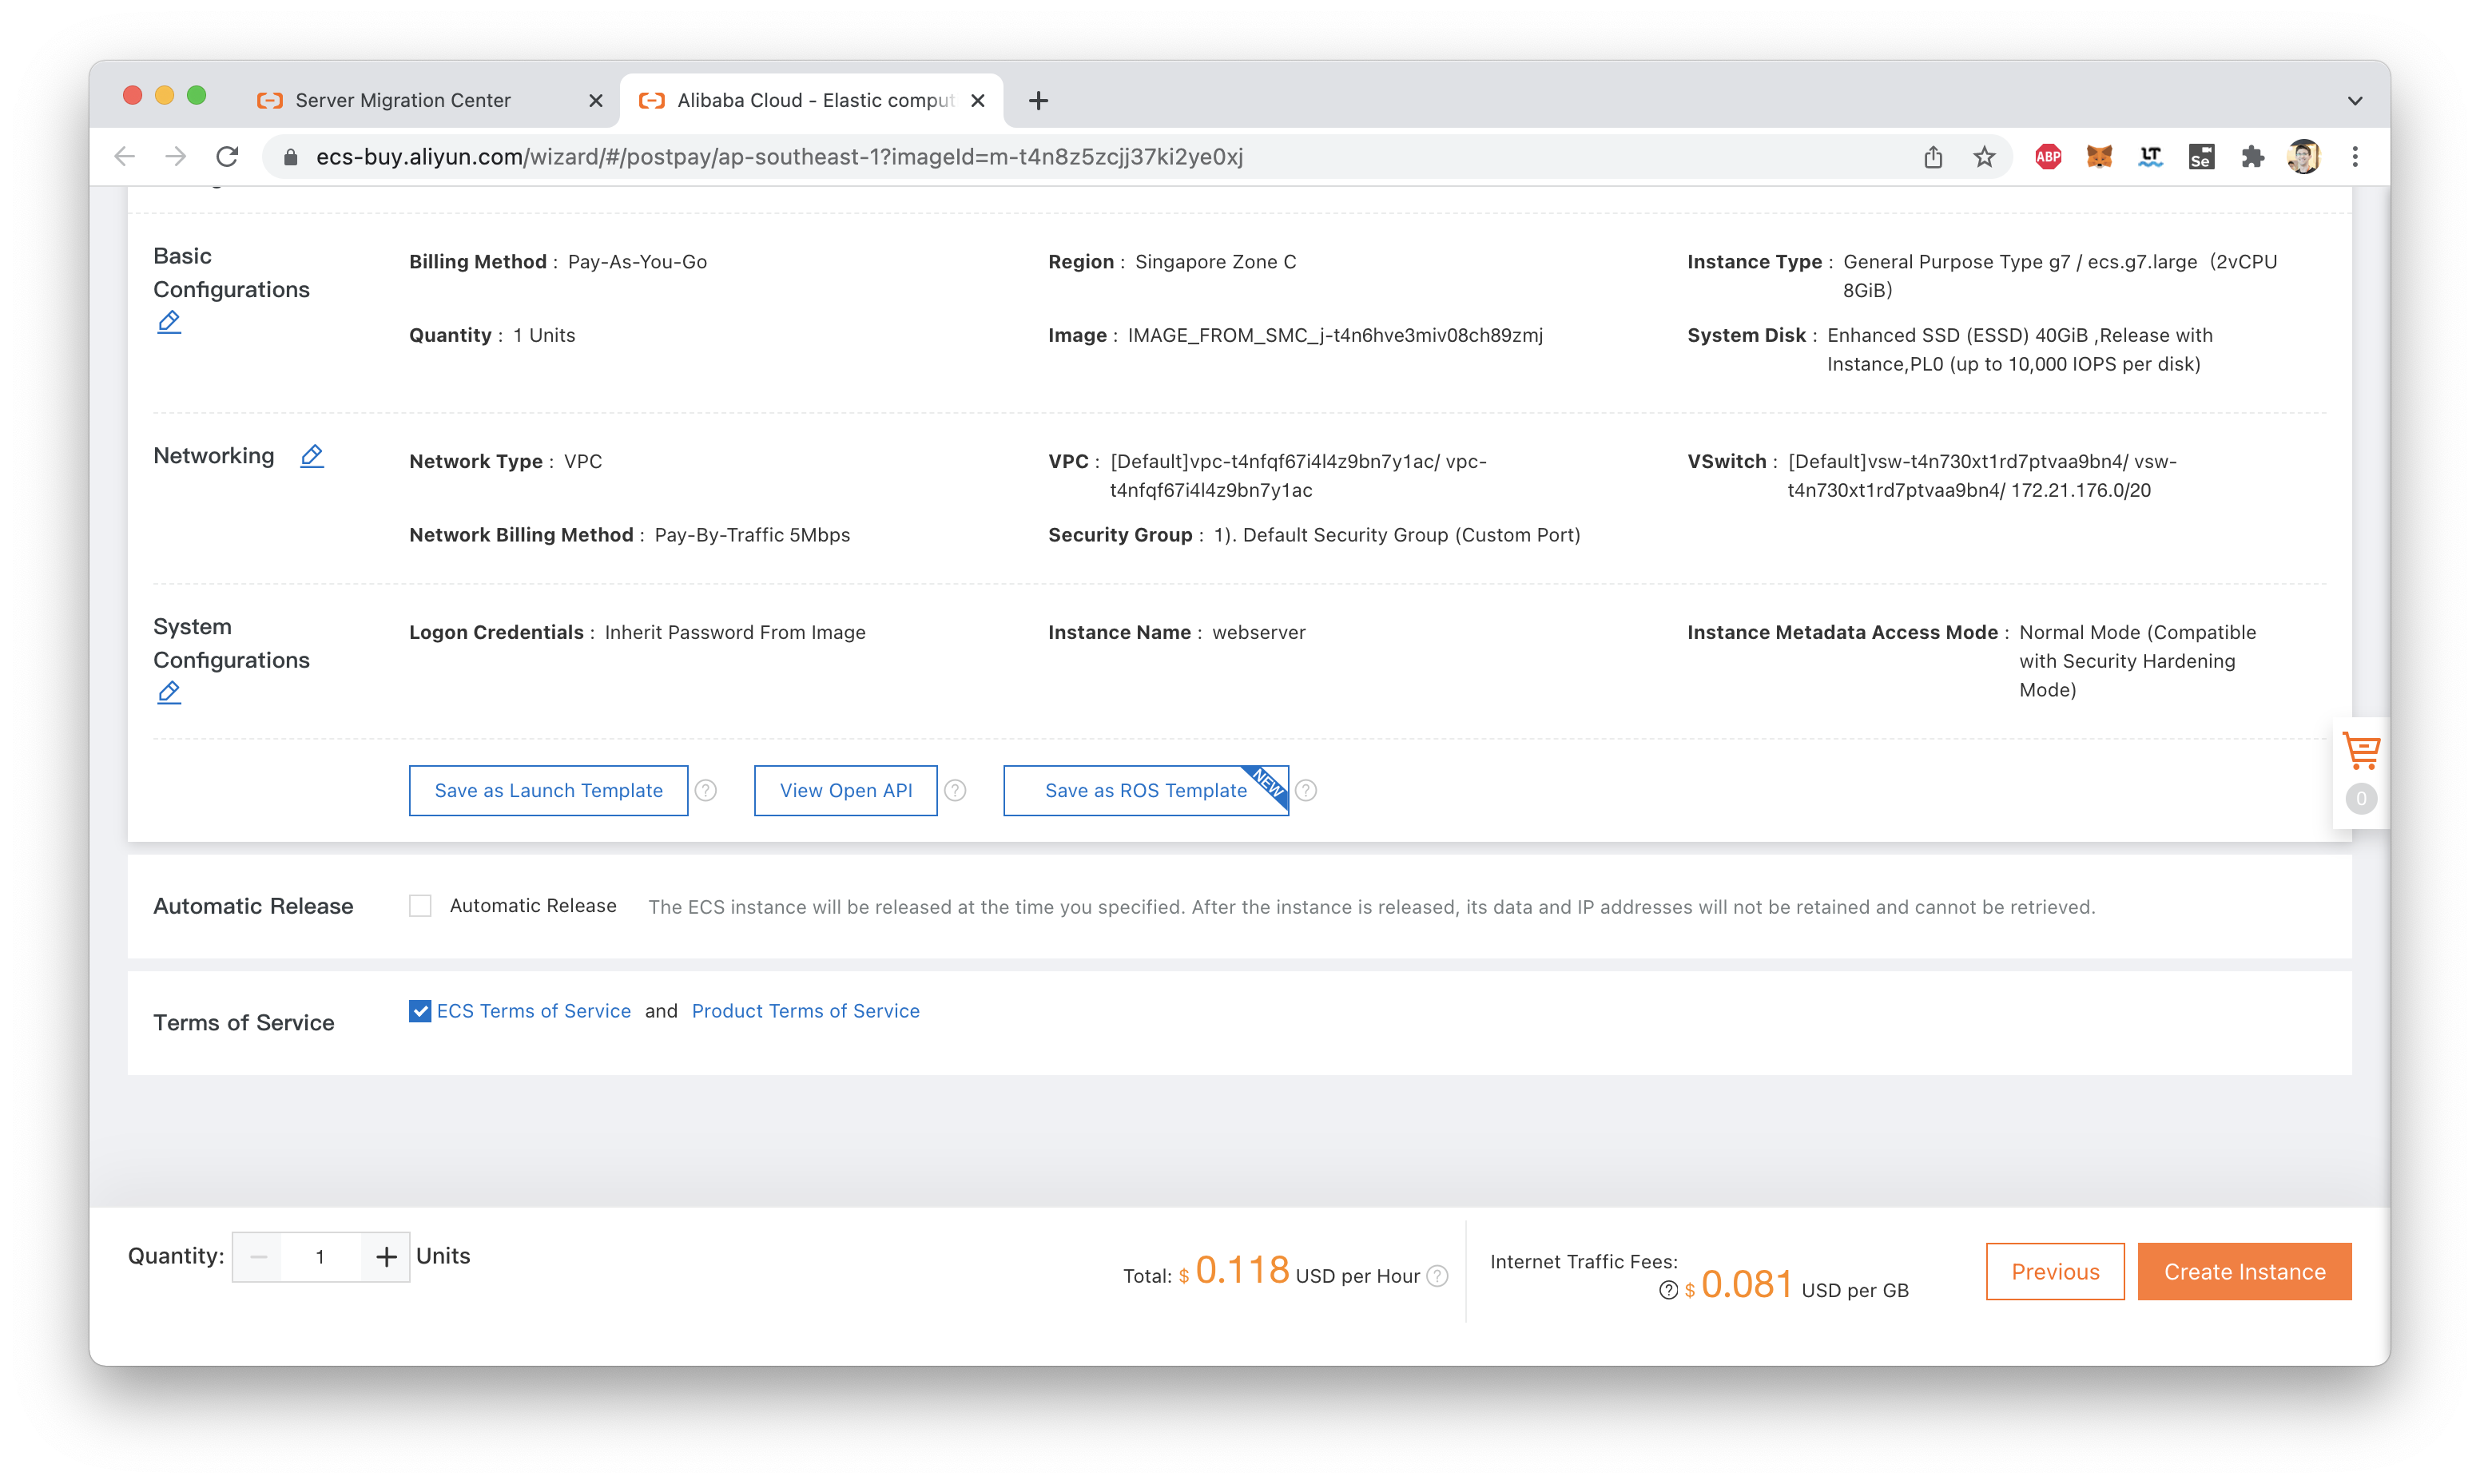
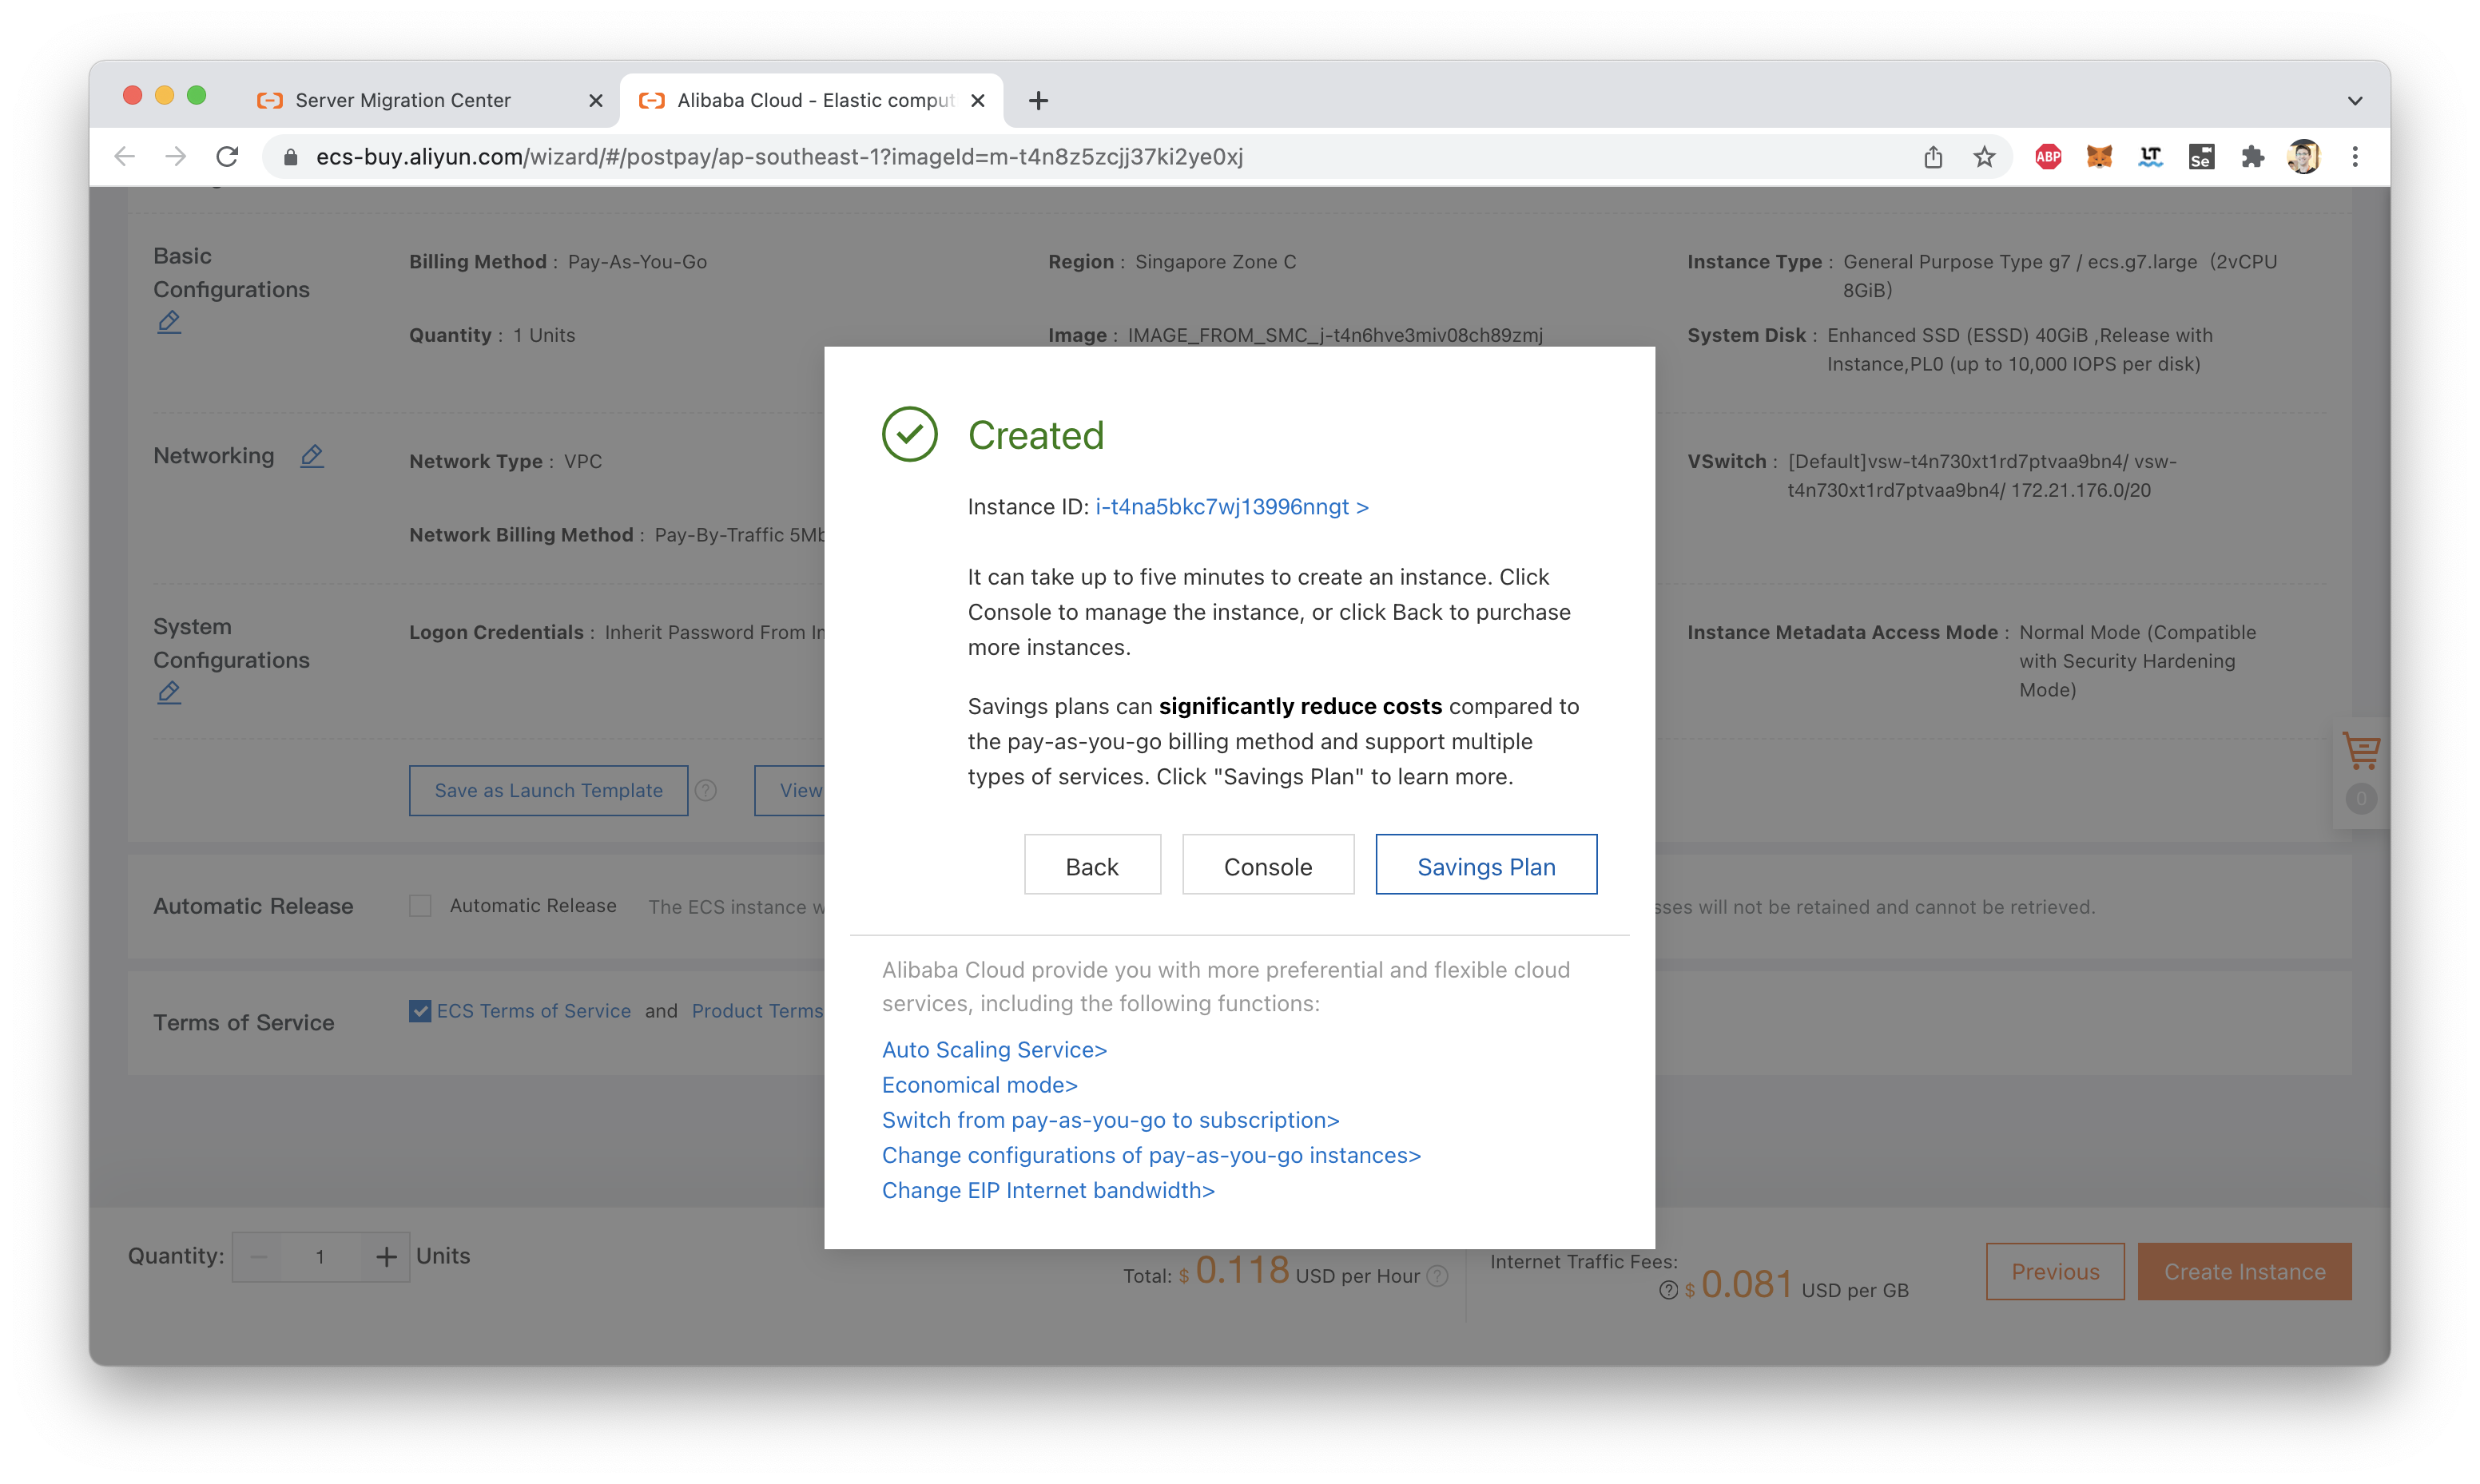
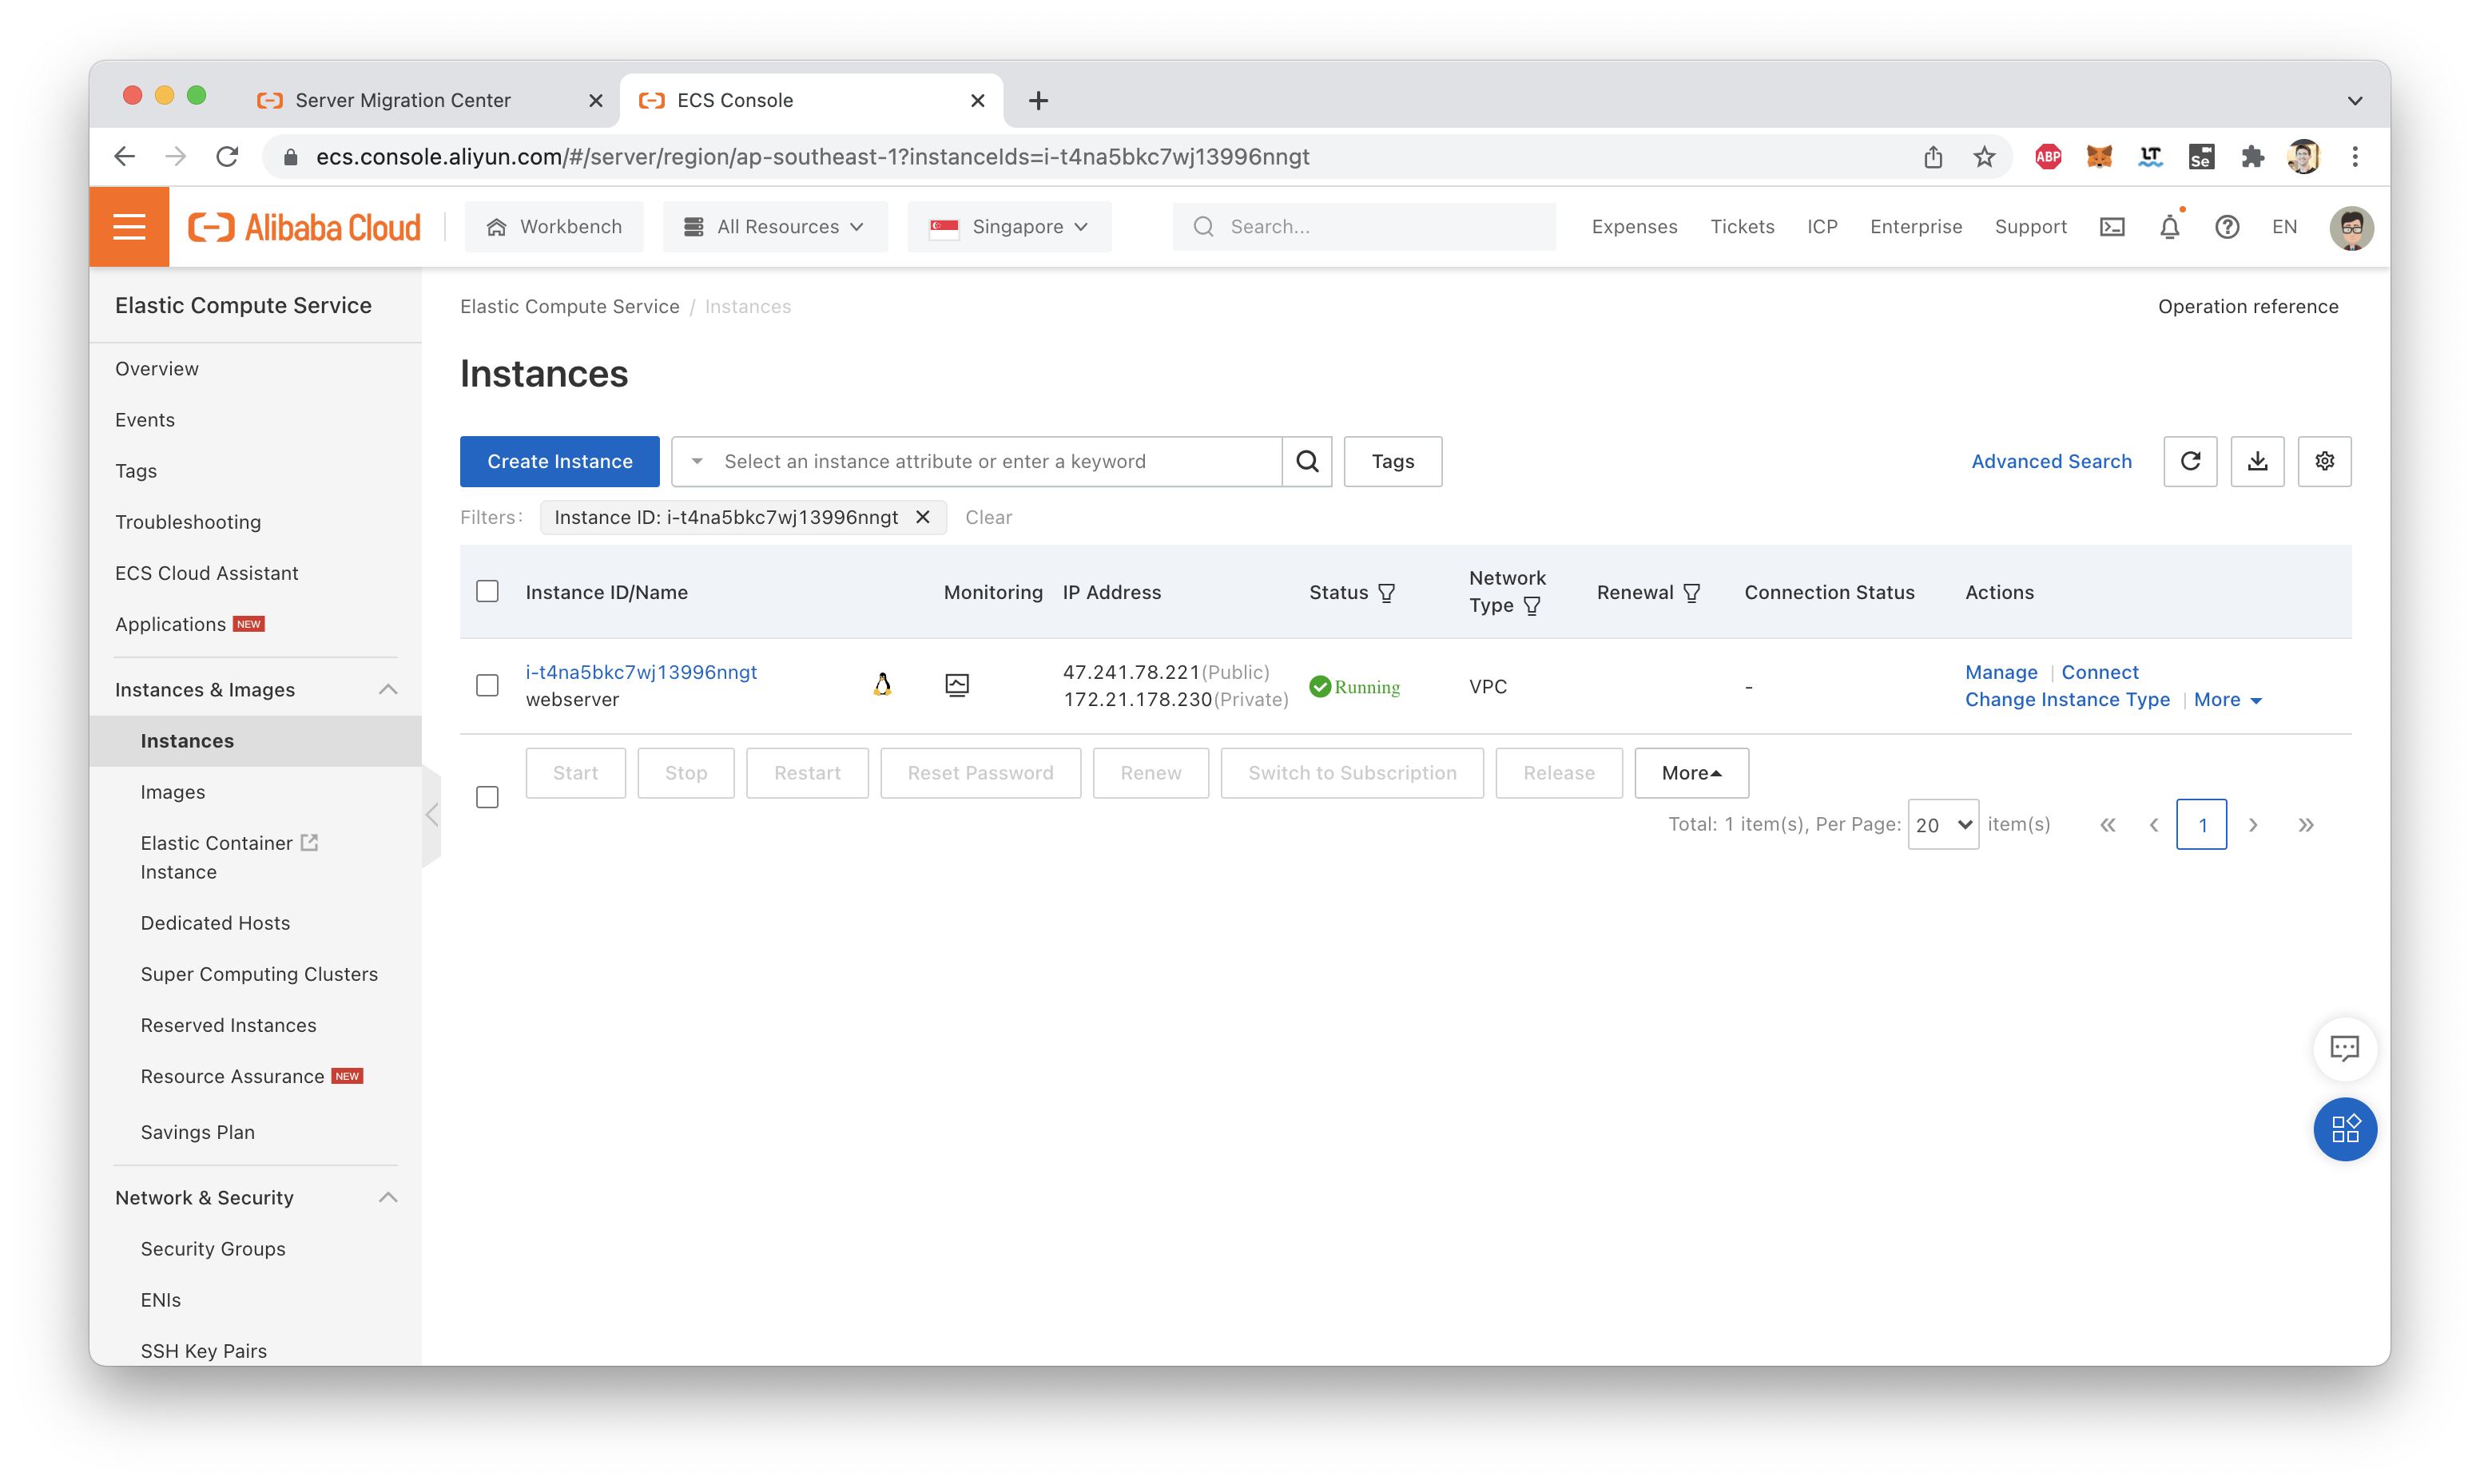
You should now be able to see the new instance from the ECS console:
If the migration was a success, visiting the instance's public IP in a web browser should show the website we created earlier:
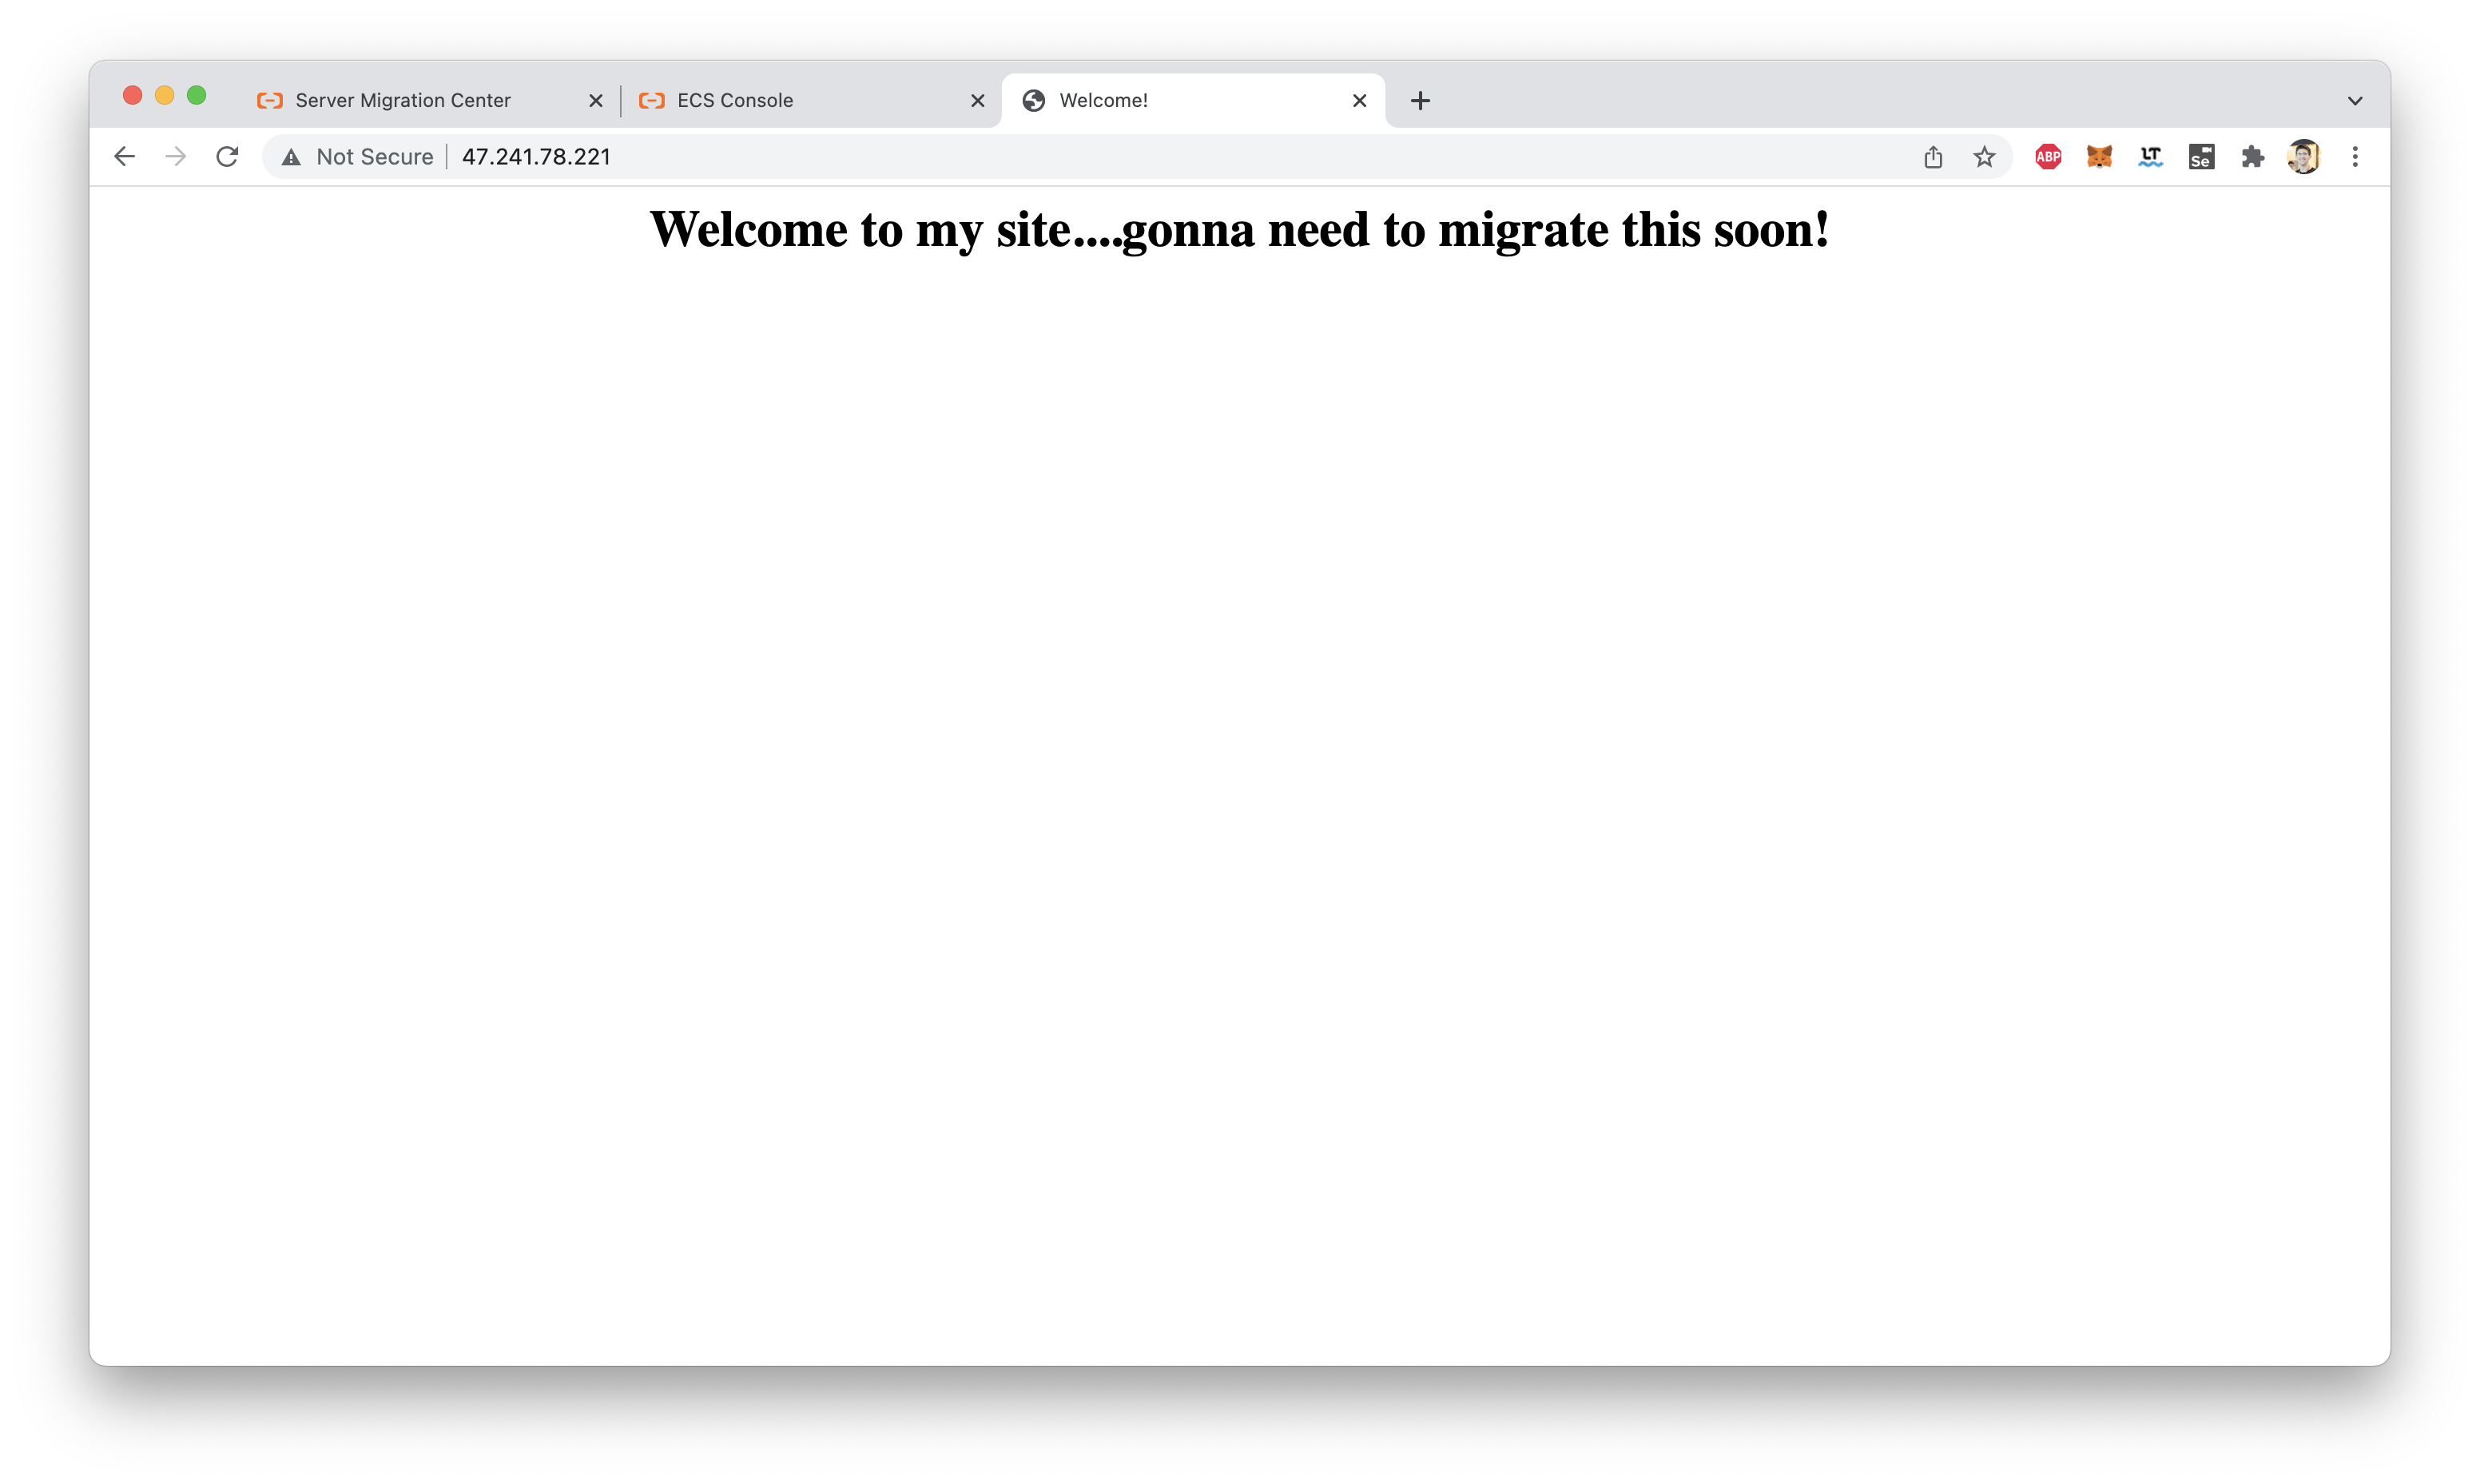
We have successfully migrated a VM to Alibaba Cloud!
Remember, if you're doing a standard "lift and shift", then SMC (Server Migration Center) is the way to go.
Show Me The Money! Data Warehouse Costs With MaxCompute and DataWorks - Week 43
Quick and Easy Machine Translation With Alibaba Cloud - Friday Blog Week 46
Alibaba Cloud Community - March 22, 2024
Alibaba Cloud Community - April 14, 2023
Alibaba Cloud Indonesia - October 11, 2024
JwdShah - March 14, 2024
JDP - April 16, 2021
JDP - July 30, 2021
 Cloud Migration Solution
Secure and easy solutions for moving you workloads to the cloud
Learn More ADAM(Advanced Database & Application Migration)
An easy transformation for heterogeneous database.
Learn More Architecture and Structure Design
Customized infrastructure to ensure high availability, scalability and high-performance
Learn More Oracle Database Migration Solution
Migrate your legacy Oracle databases to Alibaba Cloud to save on long-term costs and take advantage of improved scalability, reliability, robust security, high performance, and cloud-native features.
Learn MoreMore Posts by JDP