By Arslan ud Din Shafiq.
Kanboard is a project management software. It is open source and free to use. It helps you in visualizing your work and let you stay focused on your goal. It is self-hosted which means you can deploy it on Alibaba Cloud ECS. You can easily manage your tasks with easy drag and drop. Besides this, it supports docker container. It has brief documentation in multiple languages.
Kanboard provides user's guide, administrator's guide, developer's guide, plugin development and API guide. It will help you in customized development and learning of Kanboard. You can develop customized plugins for Kanboard and use its already built modules via API.
It supports multiple authentication like LDAP and OAuth2. It supports more than 30 languages. You can easily automate your workflow, break down tasks, add comments, documentation, due dates and a lot of more stuff which will be helpful in project management.
As a developer, I prefer the services of Alibaba Cloud ECS. Alibaba Elastic Compute (ECS) is highly scalable and flexible. You can upgrade the hardware resources anytime when required. Alibaba Cloud can also provide you technical support and assistance in order to launch any kind of system. For more easy approach, you may consult Alibaba Cloud's documentation and Alibaba Cloud official blog.
In this tutorial, I will be using Alibaba Cloud Elastic Compute Service (ECS) with Ubuntu 18.04 LTS. Working with a QR Code generator online is great to track data and have analytics. Now let's start learning about installation, configurations and deployment of Kanboard on Alibaba Cloud ECS.
You must be registered with Alibaba Cloud.
You must have added and verified your payment method.
If you are new user, after payment method verification you can claim free $450 - $1300 credits. You can register new account and claim your free credits.
To setup up your ECS for first time, you can refer to this tutorial or quick-start guide.
Domain registration is recommended for setting up FQDN hostname of your server. But if you are willing to use IP address directly, you may skip this.
If you have registered domain with any 3rd party, you may transfer in to Alibaba Cloud.
If you are using domain name, remember to point your domain name to IP address of your server.
You should setup your server's hostname.
Access to VNC console in your Alibaba Cloud or SSH client installed in your PC.
Login as root user and create user with root privileges.
As we are using Ubuntu 18.04 LTS, I will recommend you use ECS with the following specifications:
Before proceeding with installation of any kind of package, use the following command to update your Ubuntu system. It will update all deprecated repositories and packages. To execute this command, remember to login from non-root user with sudo privileges. After execution of this command, you will be prompted to Is this ok? Type 'Y' and hit Enter key.
$ sudo apt update && sudo apt upgrade
We will be fetching repository for Kanboard from github, hence, Git has to be installed first. To install git, execute the command below.
$ sudo apt install -y gitNow system reboot is recommended, and you may skip this step because it is optional.
$ sudo rebootAfter installation we will require to edit configuration file for Kanboard for which a text editor will be required. You can use Vim if you want, otherwise, we will be using nano text editor. You can install it by executing command below.
$ sudo apt install nanoKanboard supports Caddy server, Microsoft IIS, Nginx and Apache HTTP server. In this tutorial, we will be installing Apache server for Kanboard. But if you have experience to setup any other server, you may adopt it. To install apache server, execute the command below.
$ sudo apt install apache2 -yRemember to enable and start installed apache service. Enabling will automatically starts apache service on system reboot.
$ sudo systemctl enable --now apache2.service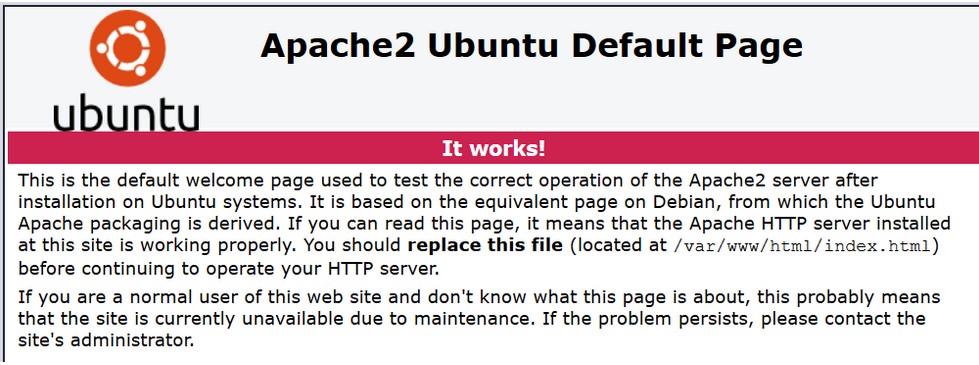
Kanboard uses SQLite to store its data by default. However, it supports MySQL >= 5.6, MariaDB => 10 and PostgreSQL >= 9.3. SQLite is recommended if you are setting Kanboard for single user or small team. But if you are setting it up for bigger team, officially MySQL and PostgreSQL is for bigger teams, however, PostgreSQL is recommended. In this tutorial, we will be installing MariaDB server for MySQL. To install MariaDB client and server, execute the following command.
$ sudo apt install -y mariadb-server mariadb-clientRemember to start and enable MariaDB service. Enabling MariaDB service will automatically restarts MariaDB on system reboot.
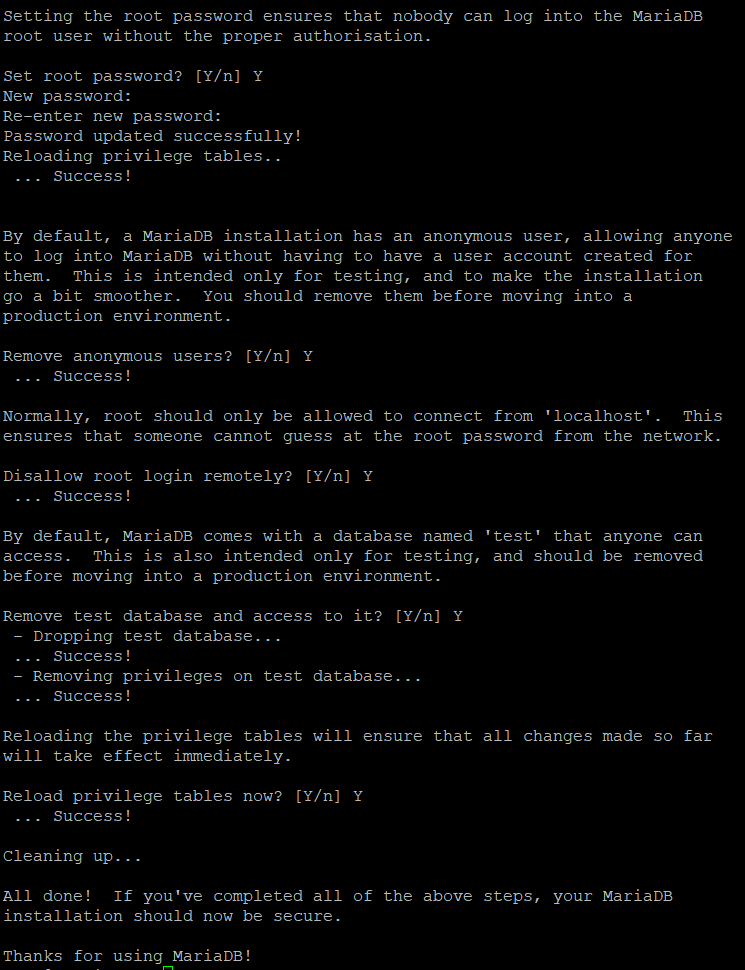
$ sudo systemctl enable --now mariadb.service Now secure your installation by executing command below to setup password and configure other default values.
$ sudo mysql_secure_installationWhen you execute above command, you will be asked to enter password. Hit Enter key without typing anything because by default password is blank. After it, type Y and hit enter key to setup password.
Kanboard supports at least PHP7.2. But latest version of PHP is recommended. In this tutorial, we will be installing PHP7.2 along with required extensions that are:
$ sudo apt install -y php7.2 php7.2-mysql php7.2-gd php7.2-mbstring php7.2-common php7.2-opcache php7.2-cli php7.2-xmlNow navigate to /var/www/html directory.
$ cd /var/www/htmlClone Kanboard from git repository using the following command.
$ sudo git clone https://github.com/kanboard/kanboard.gitGive ownership rights to apache user which is www-data by default using the command below.
$ sudo chown -R www-data:www-data kanboard/dataCreate database named Kanboard by executing command:
$ mysql -u root -p -e "CREATE DATABASE kanboard;"Now import Kanboard SQL script from installation directory to MariaDB server by executing command below.
$ mysql -u root -p kanboard < /var/www/html/kanboard/app/Schema/Sql/mysql.sqlNow create user for Kanboard database and setup password.
$ mysql -u root -p -e "CREATE USER 'kbuser'@'localhost' IDENTIFIED BY 'yourpass';"Now you have a database and user, now assign database to user to grant privileges and flush the privileges to reload.
$ mysql -u root -p -e "GRANT ALL PRIVILEGES ON kanboard.* TO 'kbuser'@'localhost' IDENTIFIED BY 'yourpass' WITH GRANT OPTION;"
$ mysql -u root -p -e "FLUSH PRIVILEGES;"Navigate to Kanboard installation /var/www/html/kanboard
$ cd /var/www/html/kanboardRename default config file by using command below.
$ sudo mv config.default.php config.phpOpen it for editing.
$ nano config.phpFind the following default configurations.
Modify them as shown below and save them.
// Database driver: sqlite, mysql or postgres (sqlite by default)
define('DB_DRIVER', 'mysql');

// Mysql/Postgres username
define('DB_USERNAME', 'kbuser');

// Mysql/Postgres password
define('DB_PASSWORD', 'yourpass');

// Mysql/Postgres hostname
define('DB_HOSTNAME', 'localhost');

// Mysql/Postgres database name
define('DB_NAME', 'kanboard');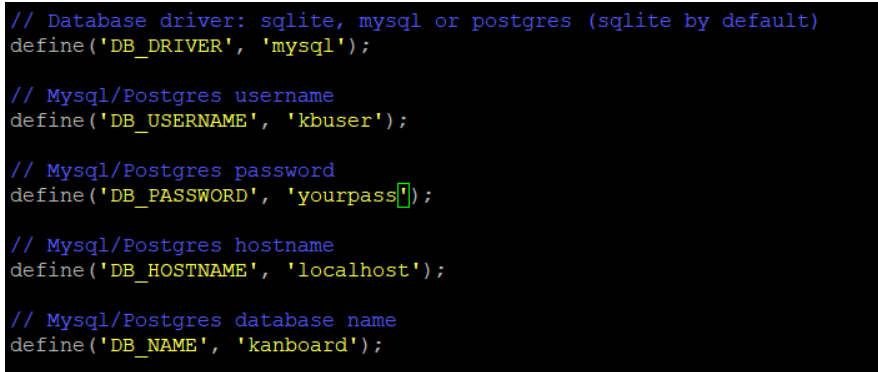
Now restart apache service.
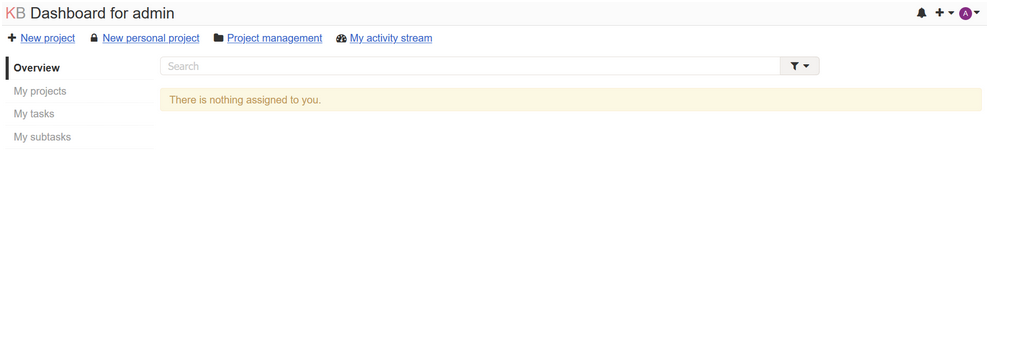
$ sudo systemctl restart apache2.serviceFinally, you can access your Kanboard installation at http://your_ip_address/kanboard. In our case, we have used domain name https://learncybers.com/. We will be accessing using it.
Default Credentials:
Username: admin
Passwrod: admin
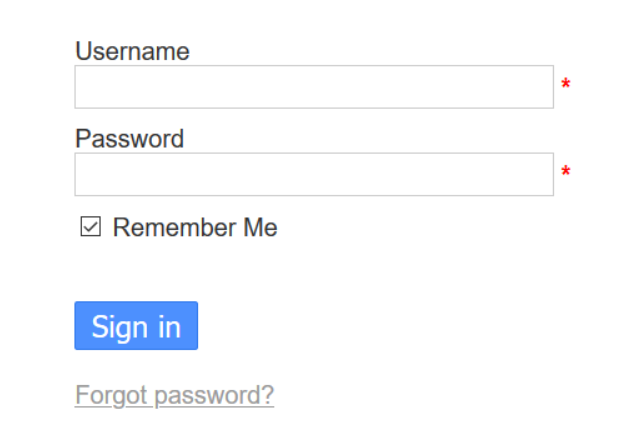
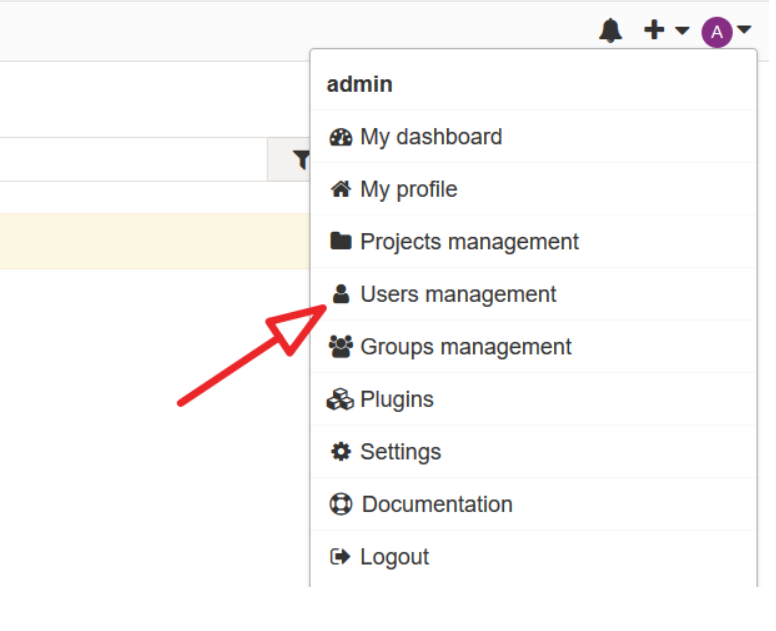
Remember to change them from user management.
This step is optional. However, you can achieve best performance for Kanboard server by adjusting the settings of Zend OpCache which is enabled by default.
Open the file.
$ sudo nano /etc/php/7.2/apache2/conf.d/10-opcache.iniModify the information as shown below.
zend_extension=opcache.so;
opcache.enable=1;
opcache.file_cache=/tmp/opcache
opcache.validate_timestamps=0
opcache.revalidate_freq=0
opcache.memory_consumption=192
opcache.interned_strings_buffer=16
opcache.max_accelerated_files=1979
opcache.fast_shutdown=1
Now restart apache server.
$ systemctl restart apache2In order to generate accurate reports, you will need to setup daily cron job using www-data user. Selenium Interview Questions for Software Testing.
Execute the following command to setup cron job.
$ sudo crontab -u www-data -eAdd the following cronjob in file and save it.
0 5 * * * cd /var/www/html/kanboard && ./cli cronjob >/dev/null 2>&1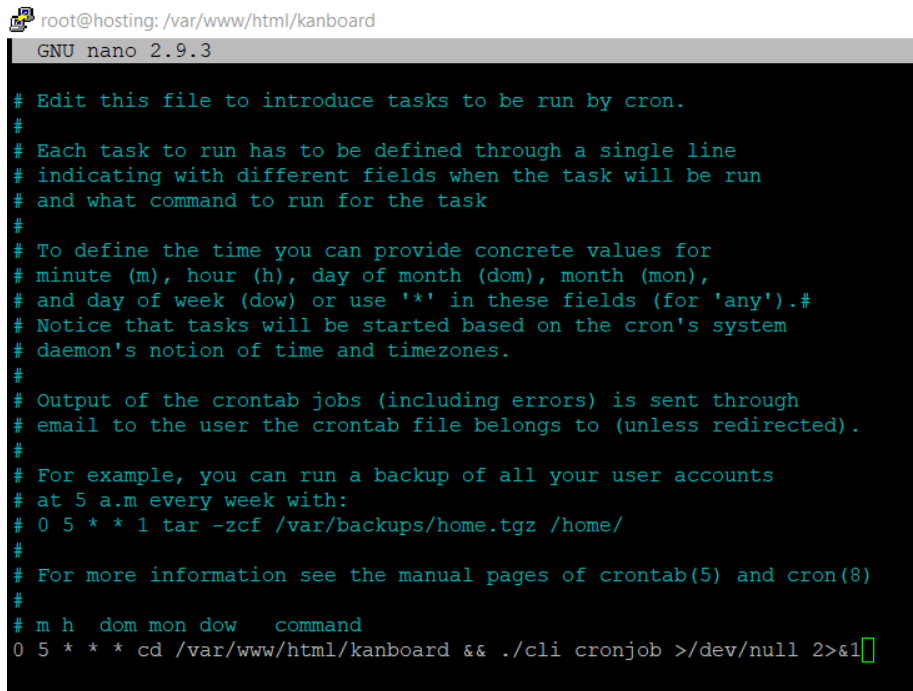
With this cron job, all of the reports and analytics will be updated at 5:00 AM everyday.
Here you go, you have successfully completed installation and configuration of Kanboard on Alibaba Cloud ECS.

1 posts | 1 followers
FollowAlibaba Cloud Community - December 12, 2024
Alibaba Clouder - November 29, 2017
Alibaba Cloud Community - December 12, 2024
Alibaba Cloud Community - December 16, 2024
Alibaba Cloud Community - December 16, 2024
Alibaba Cloud Native - June 7, 2023

1 posts | 1 followers
Follow Alibaba Cloud Linux
Alibaba Cloud Linux is a free-to-use, native operating system that provides a stable, reliable, and high-performance environment for your applications.
Learn More Web Hosting Solution
Explore Web Hosting solutions that can power your personal website or empower your online business.
Learn More Web Hosting
Explore how our Web Hosting solutions help small and medium sized companies power their websites and online businesses.
Learn More ECS(Elastic Compute Service)
Elastic and secure virtual cloud servers to cater all your cloud hosting needs.
Learn More