By Kelvin Galabuzi
Alibaba Cloud ApsaraDB for PolarDB is a relational database built for resource-intensive database applications. PolarDB supports multiple SQL engines, such as MySQL, PostgreSQL, and Oracle.
ApsaraDB for PolarDB also supports a large storage capacity of up to 100TB of data. It is highly stable and provides data security and higher performance compared to traditional database workloads.
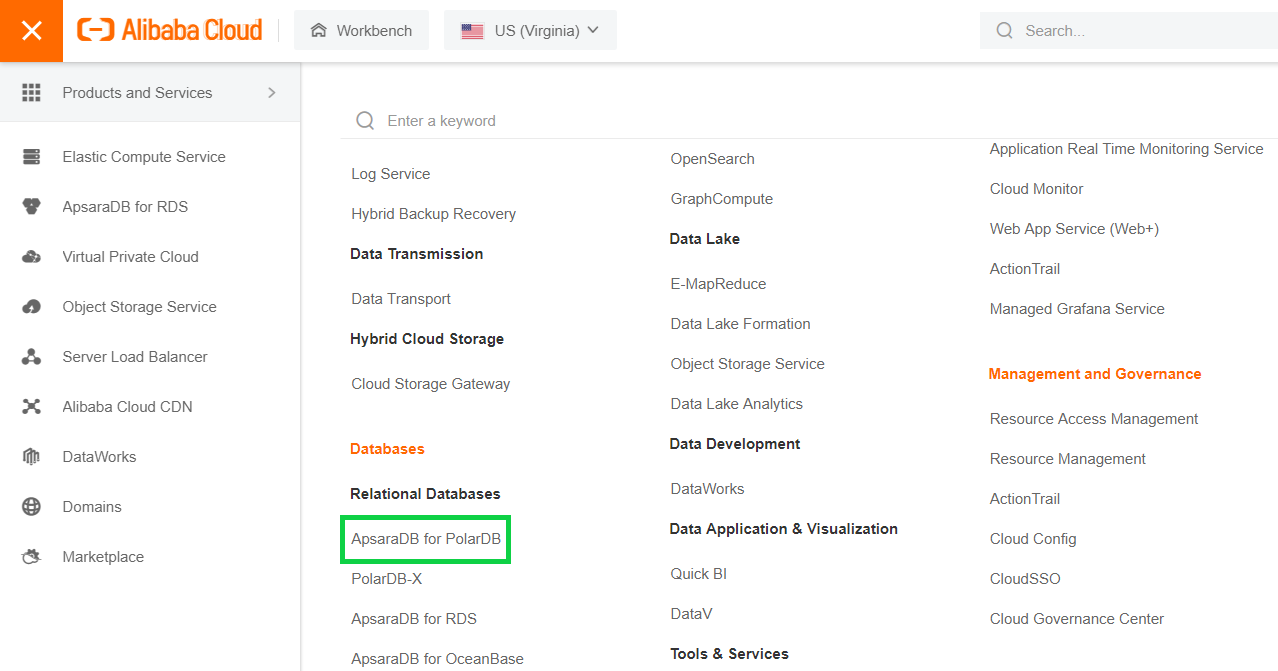
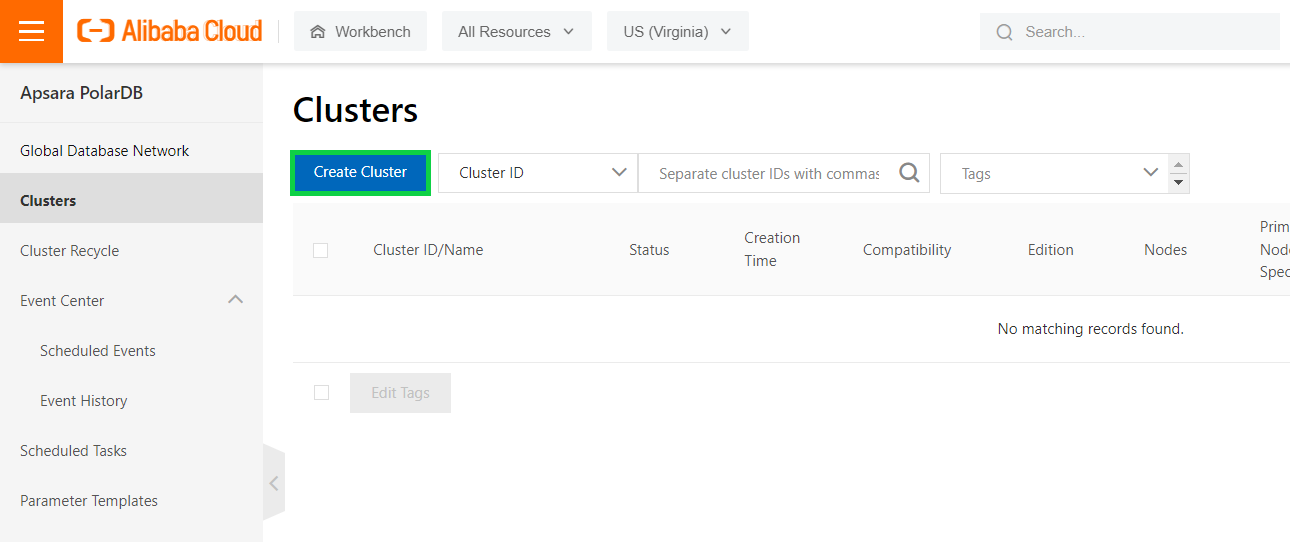
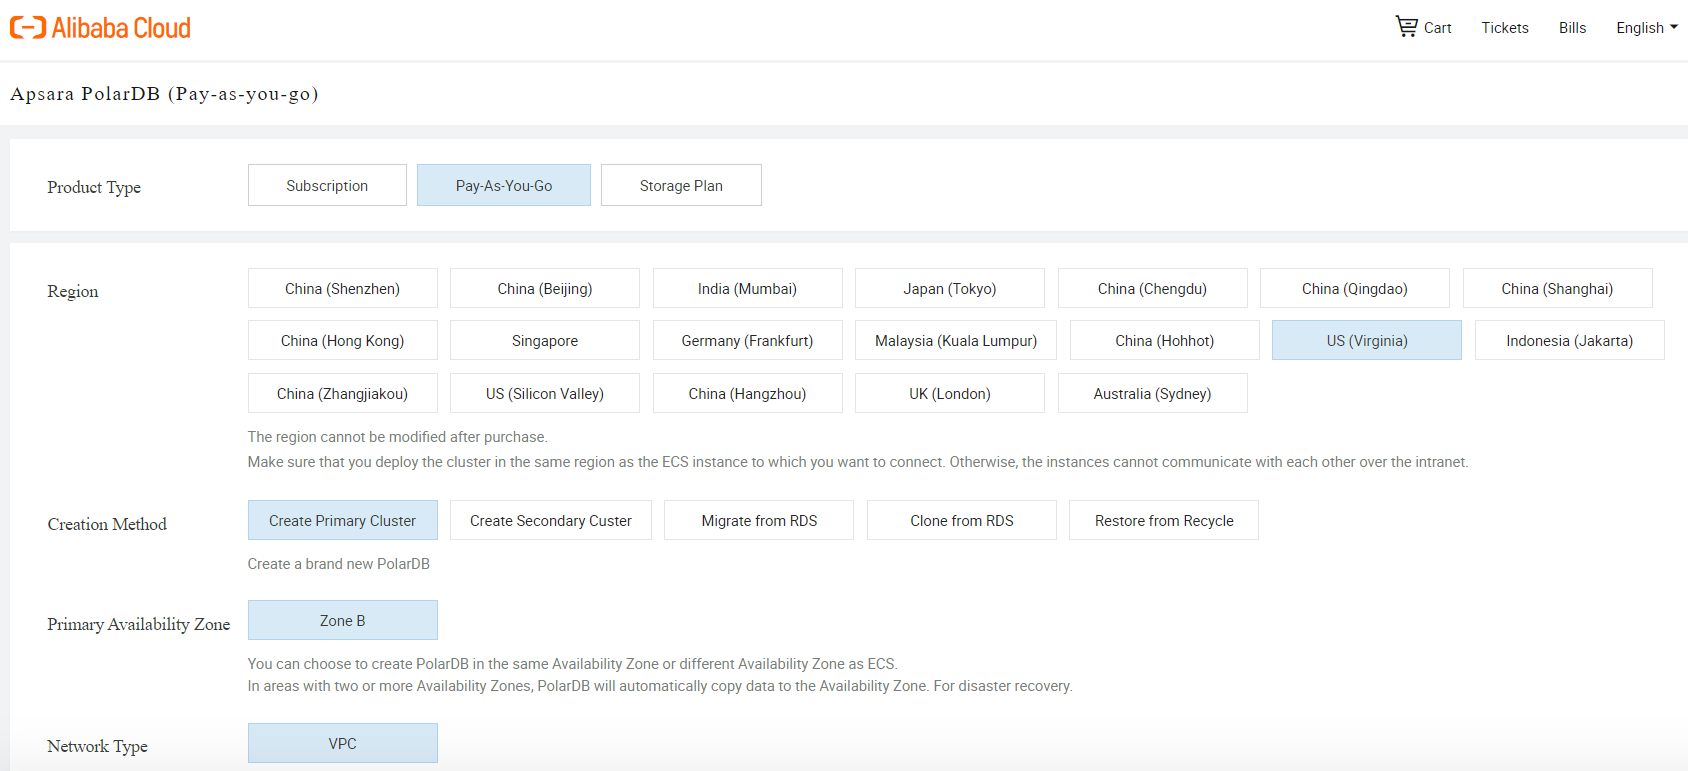
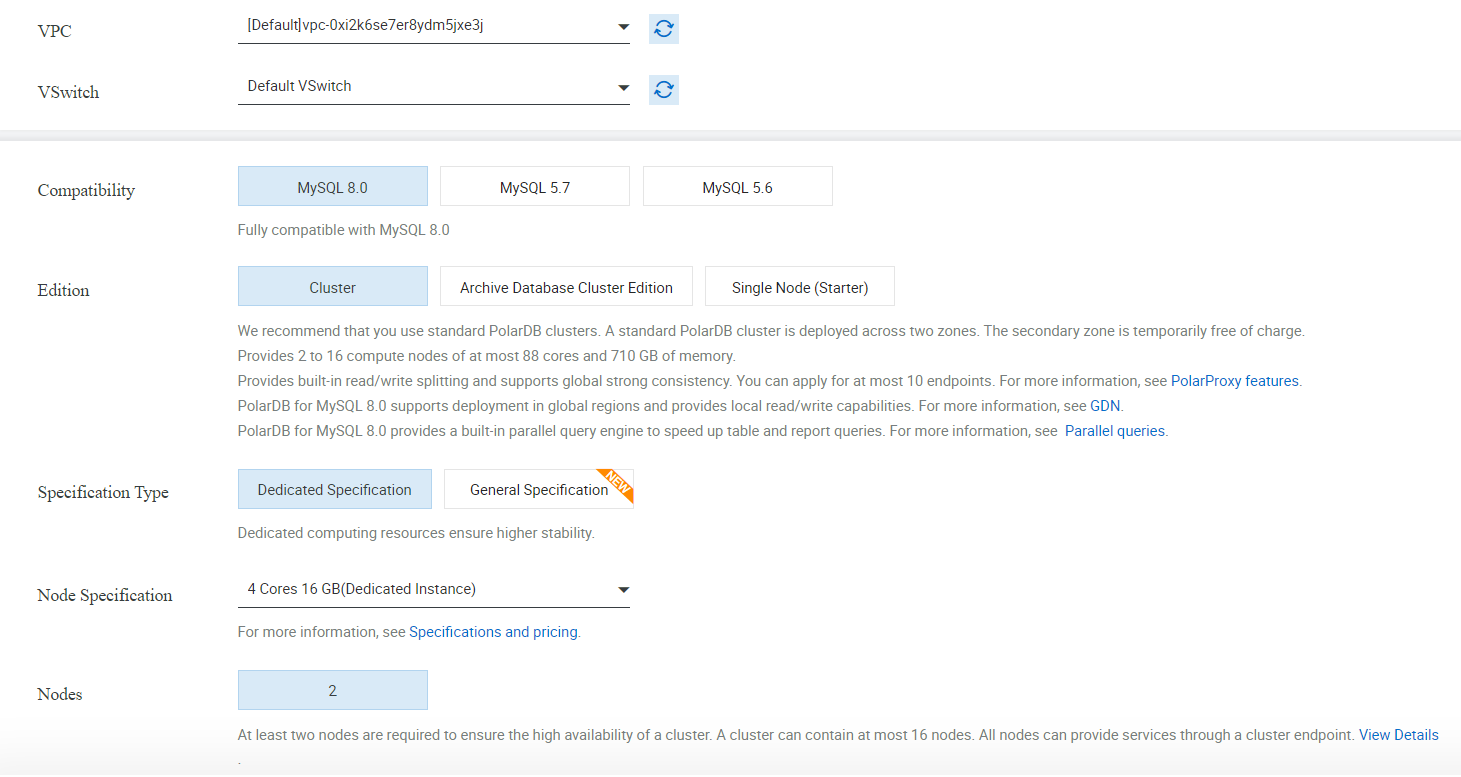
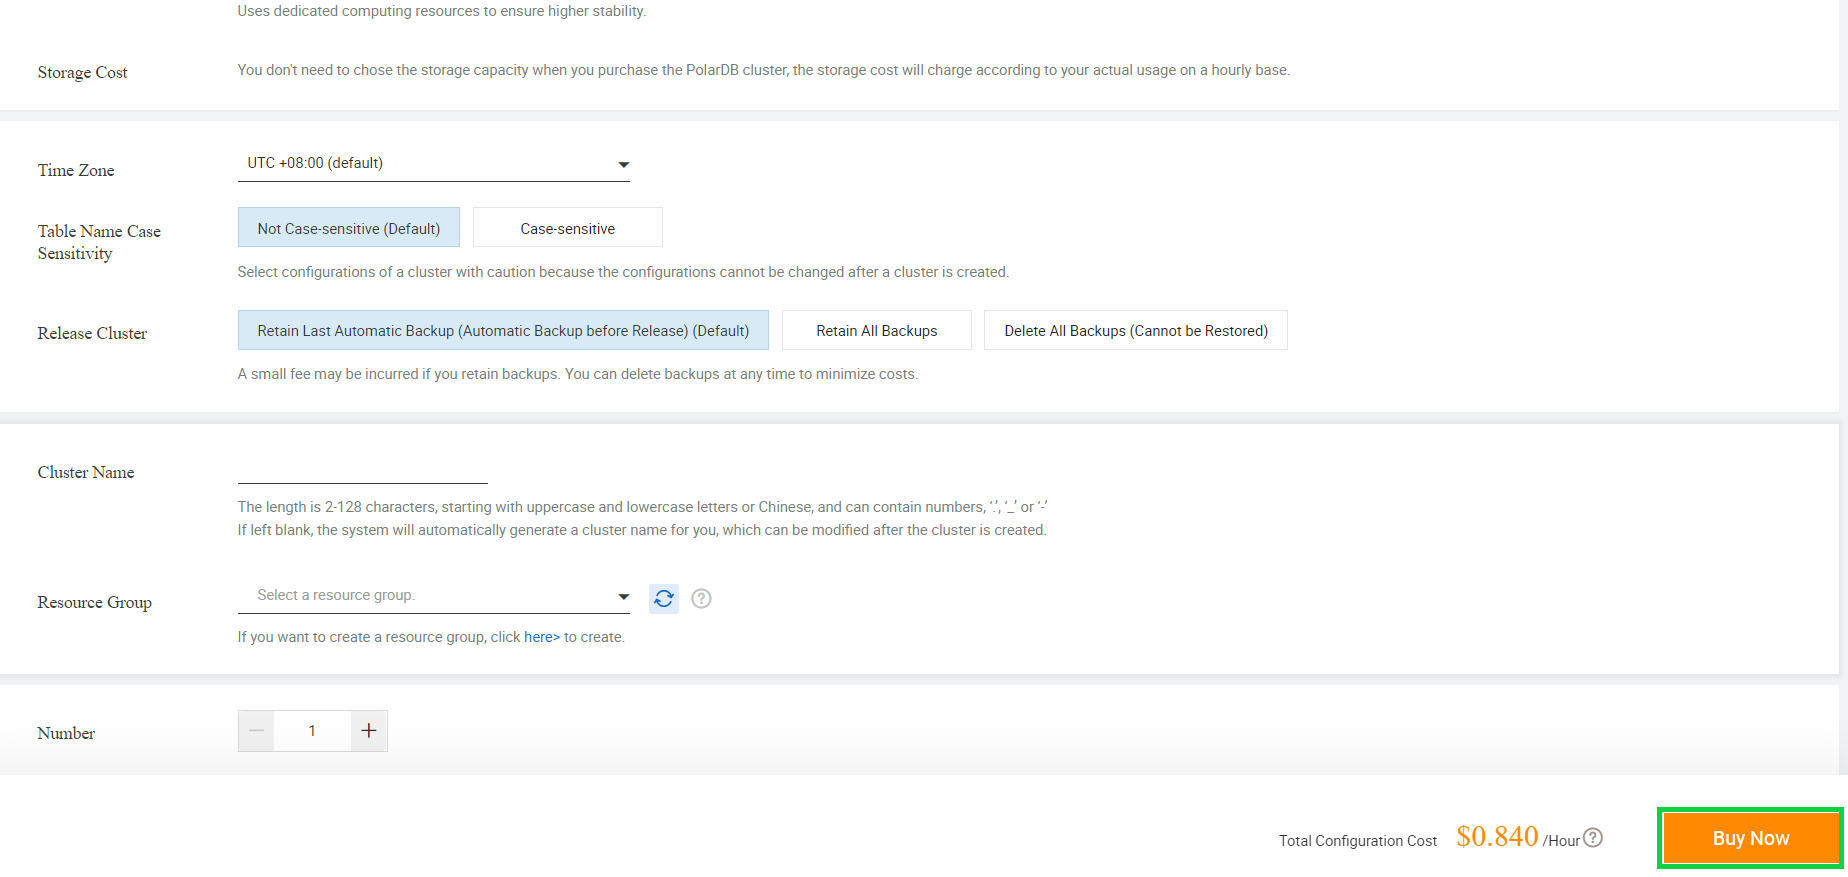
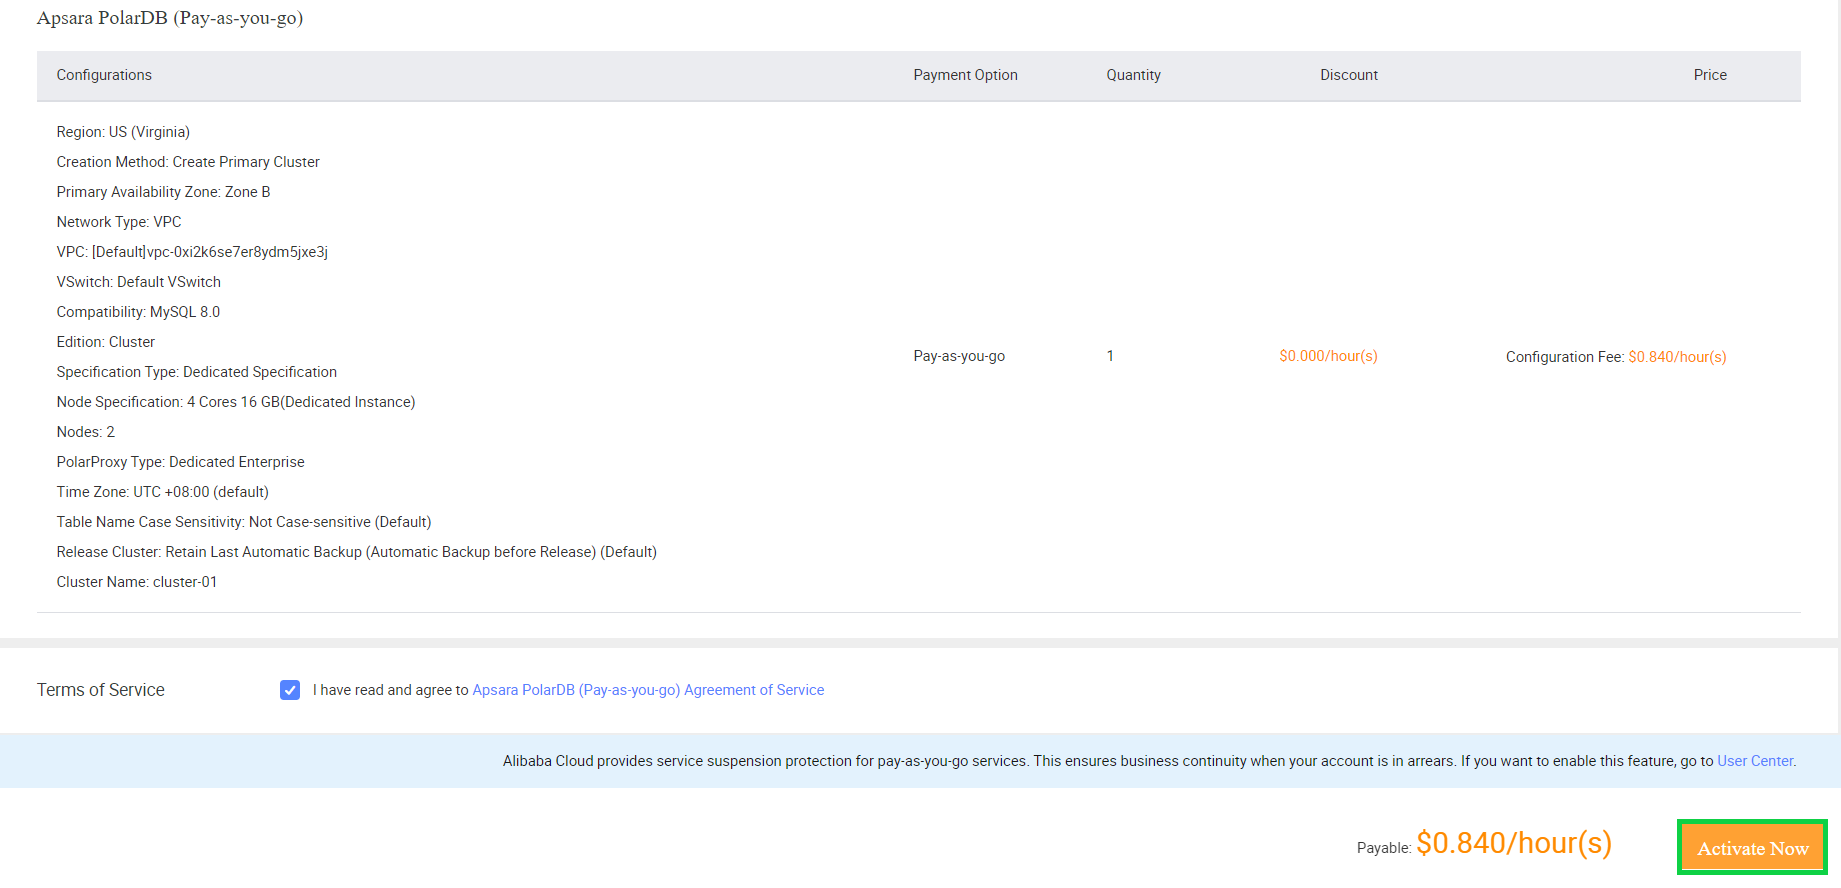
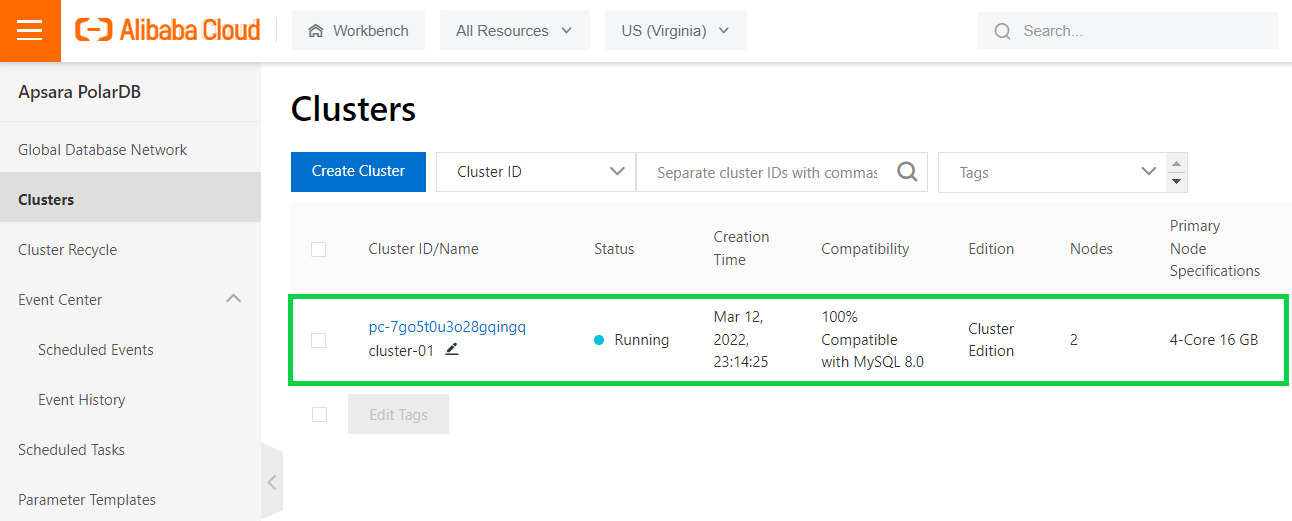
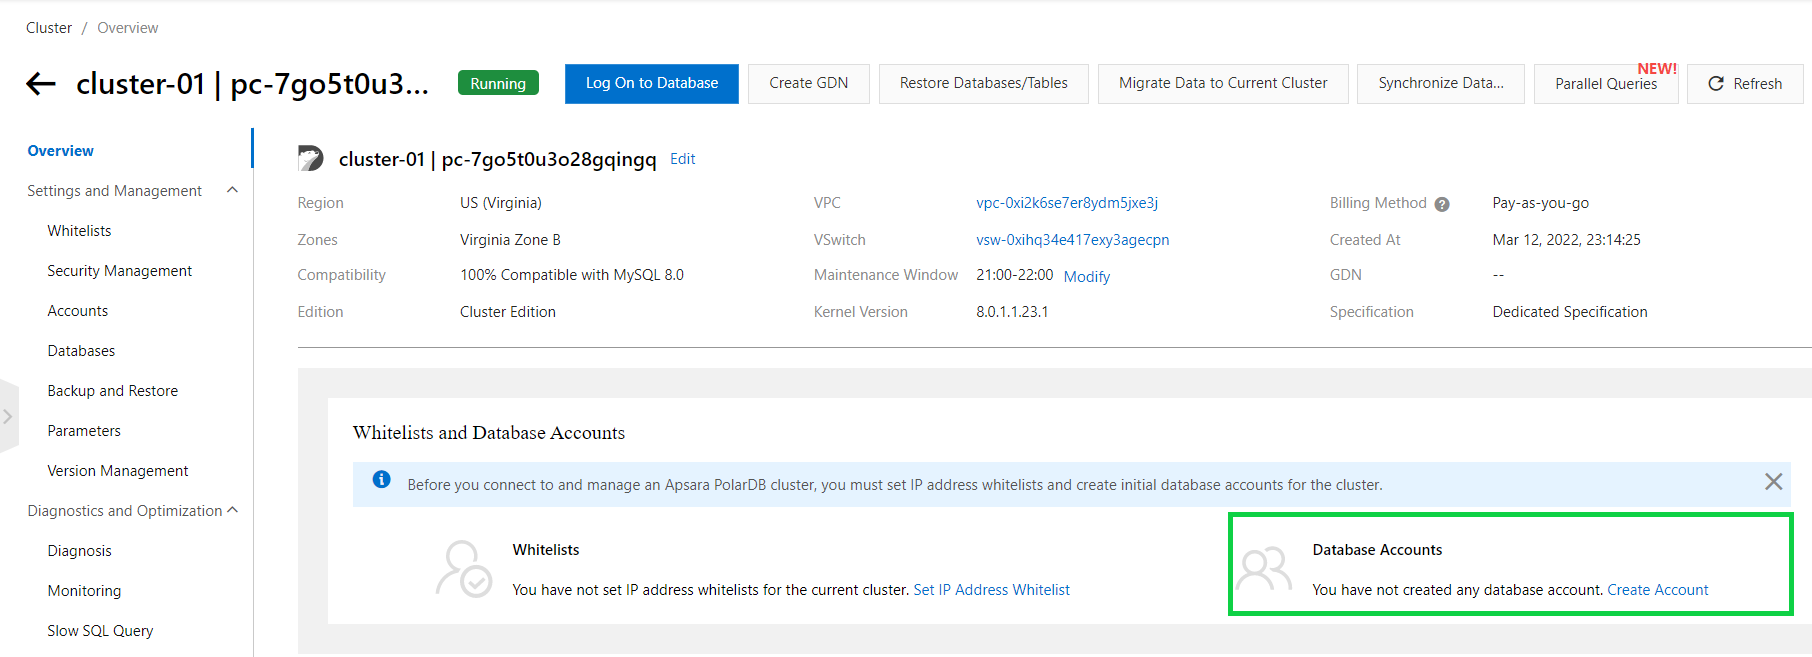
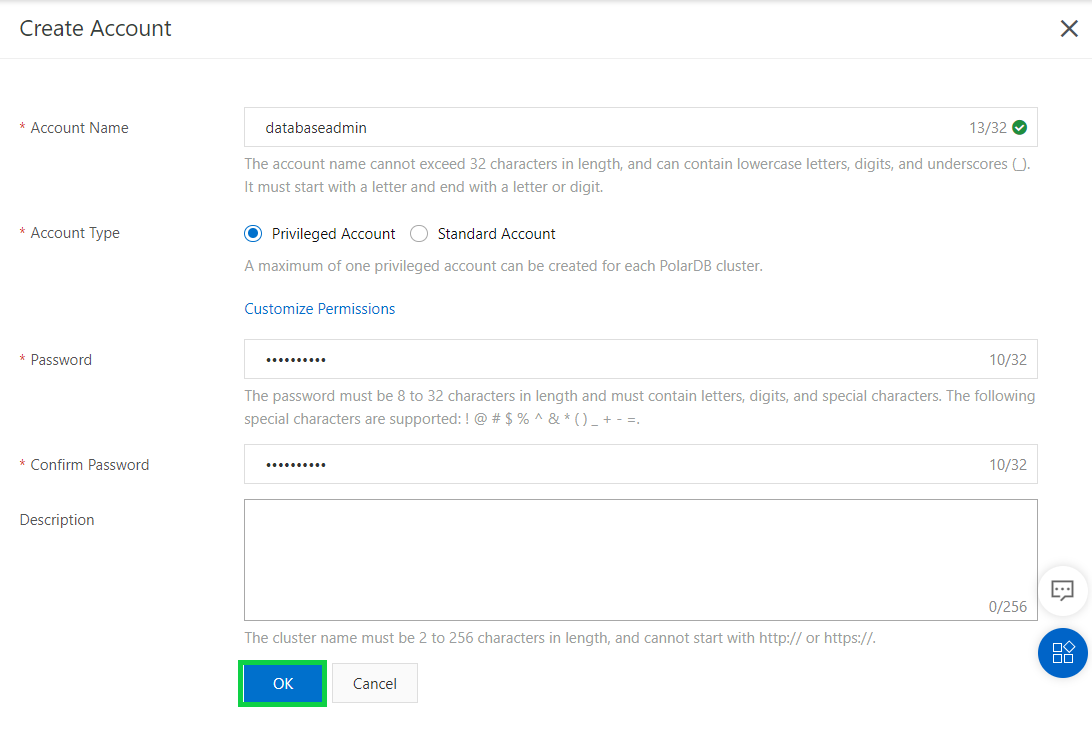

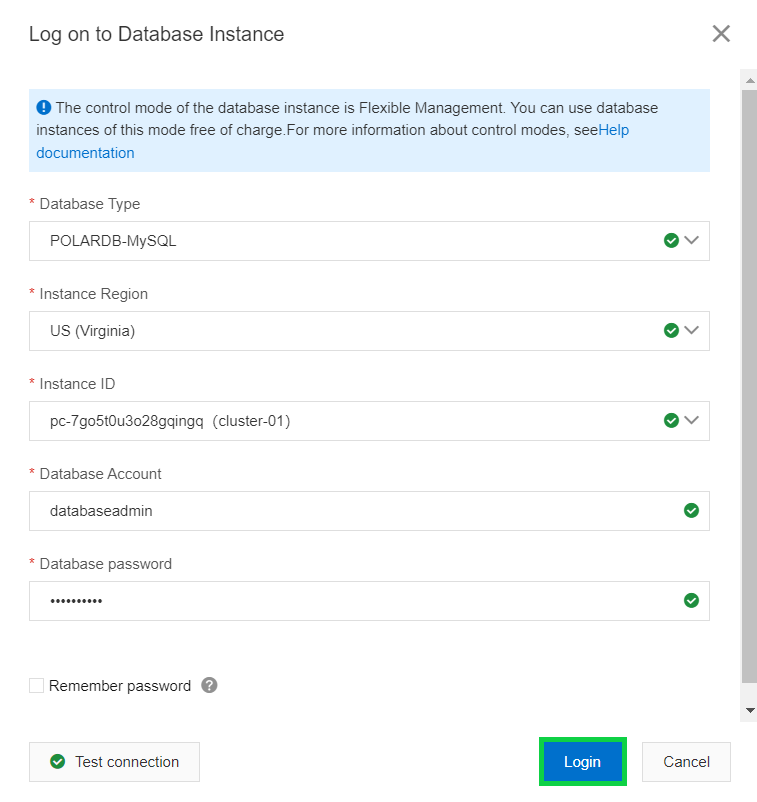
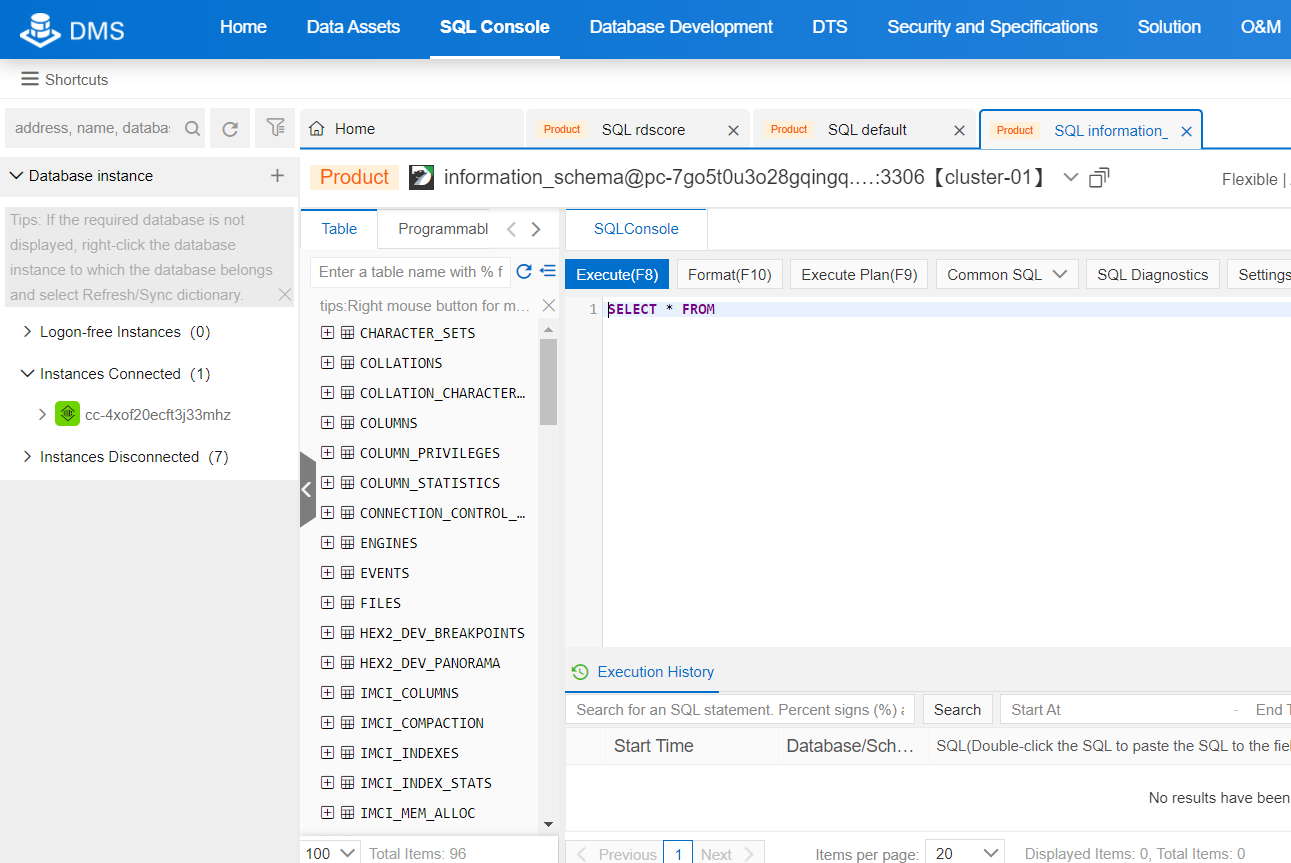
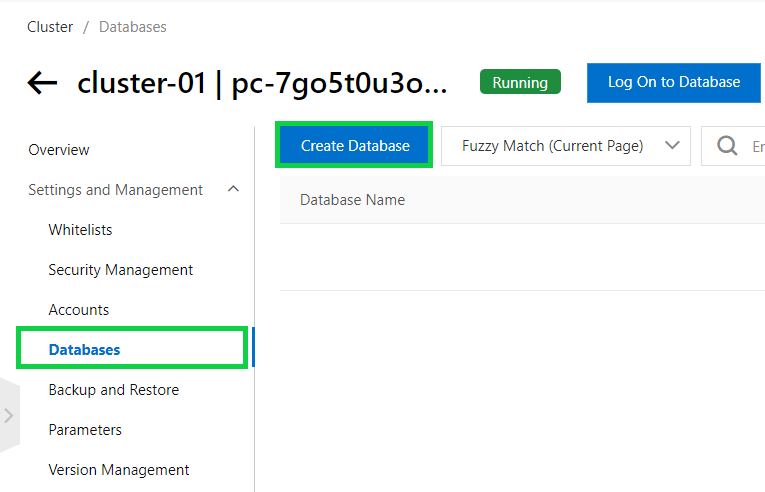
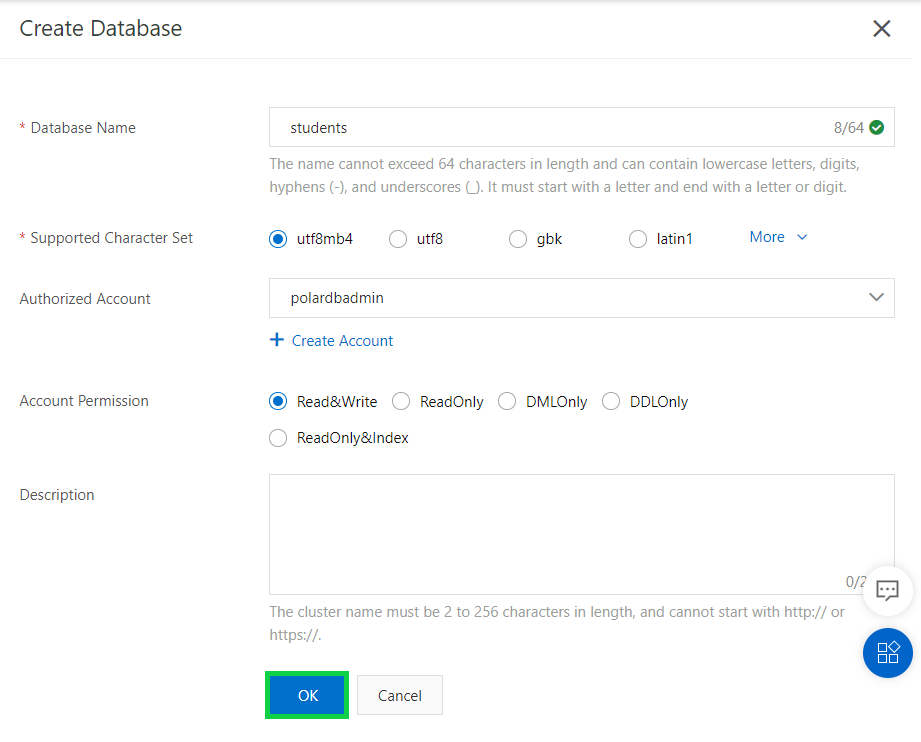
You can create multiple databases in your ApsaraDB for PolarDB cluster by accessing the Databases blade:
Give your database a name, set the supported character set, choose the authorized database account, account permissions and description, and click OK:
Your created databases will appear within the databases section:

BantuBumi: Battle Plastic Pollution in Indonesia through Better Waste Management

1,105 posts | 327 followers
FollowAlibaba Clouder - January 8, 2021
ApsaraDB - August 30, 2021
Alibaba Clouder - February 4, 2021
ApsaraDB - July 12, 2023
ApsaraDB - February 24, 2025
Alibaba Clouder - July 22, 2020

1,105 posts | 327 followers
Follow PolarDB for PostgreSQL
Alibaba Cloud PolarDB for PostgreSQL is an in-house relational database service 100% compatible with PostgreSQL and highly compatible with the Oracle syntax.
Learn More PolarDB for Xscale
Alibaba Cloud PolarDB for Xscale (PolarDB-X) is a cloud-native high-performance distributed database service independently developed by Alibaba Cloud.
Learn More PolarDB for MySQL
Alibaba Cloud PolarDB for MySQL is a cloud-native relational database service 100% compatible with MySQL.
Learn More ApsaraDB for OceanBase
A financial-grade distributed relational database that features high stability, high scalability, and high performance.
Learn MoreMore Posts by Alibaba Cloud Community