There are many ways to migrate SQLite to MySQL databases in the industry, but most of them are offline. These different methods come down to the following three steps:
If you use SQLite native commands to export data as a .sql file, you need to convert the structure and check the compatibility.
The following examples show the differences in data types between SQLite and MySQL:
• INTEGER -> INT
• AUTOINCREMENT -> AUTO_INCREMENT
• When INTEGER(0/1) indicates boolean -> TINYINT(1)
If you want to avoid manual structure conversion and compatibility issues, the following describes detailed procedures for using Navicat Premium to migrate SQLite databases to PolarDB for MySQL.
Official website link of Navicat Premium: https://www.navicat.com/en/
1.1 View the database file that SQLite needs to export.
.database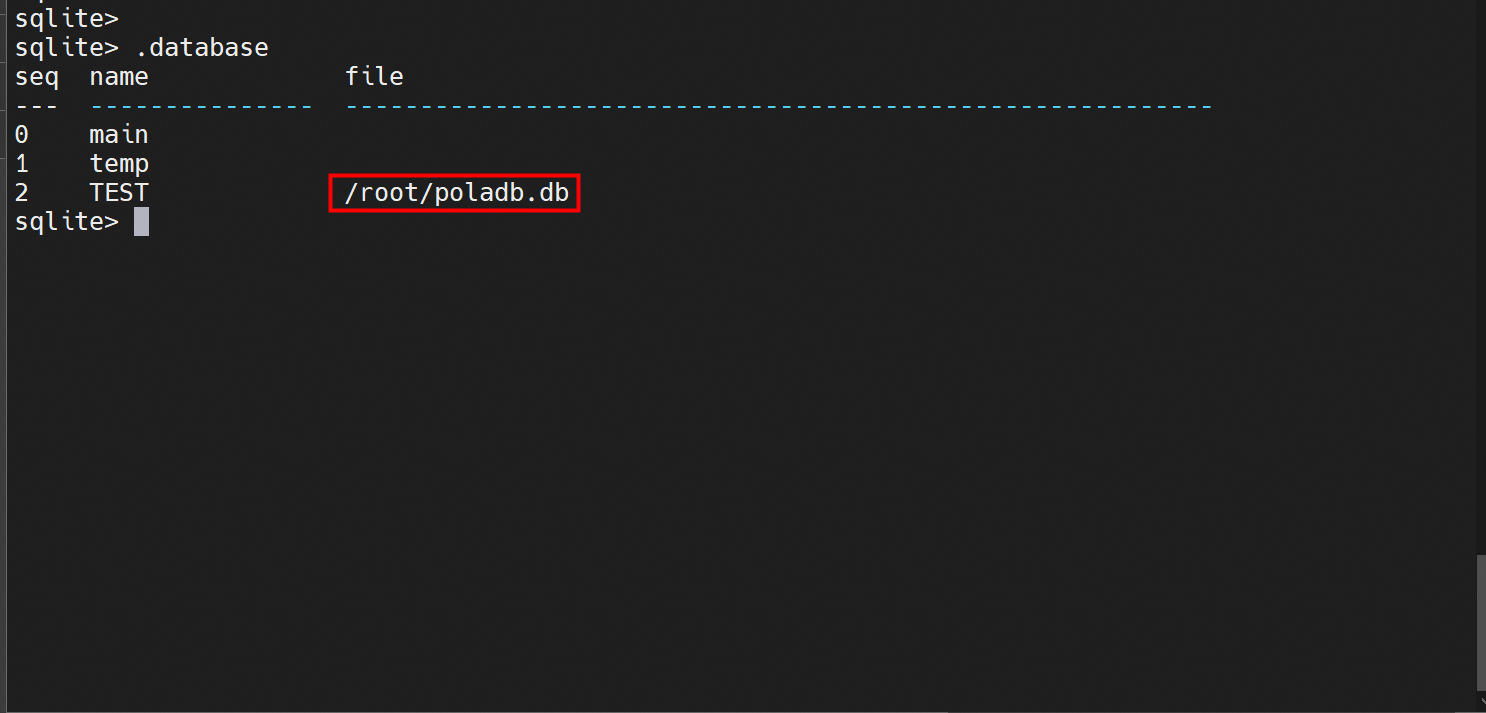
1.2 Locate the file in the system and download it to the local.

1.3 Use Navicat Premium to create an SQLite connection and import the .db file.
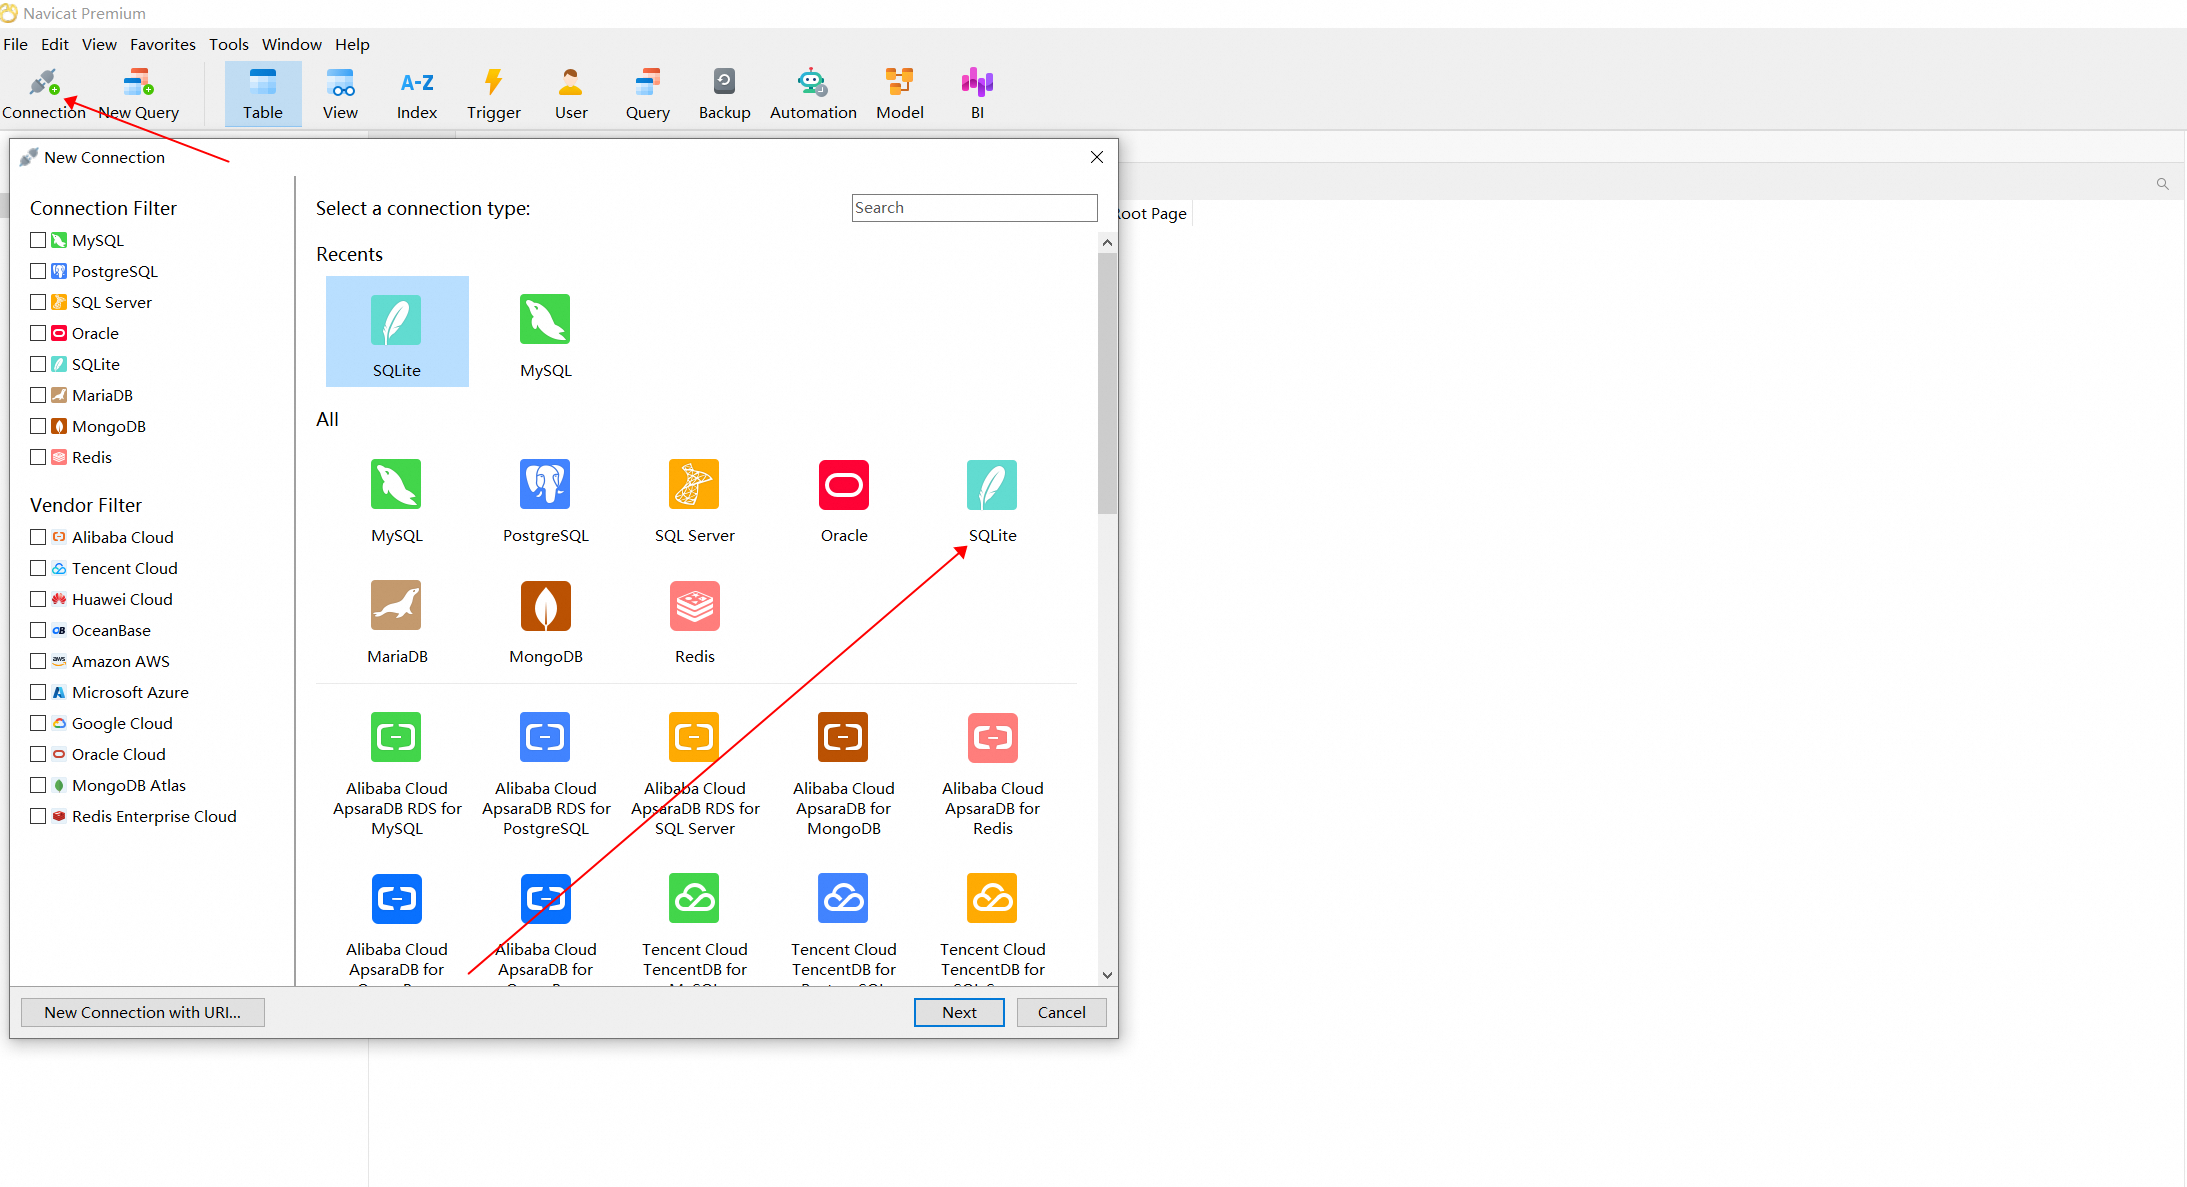
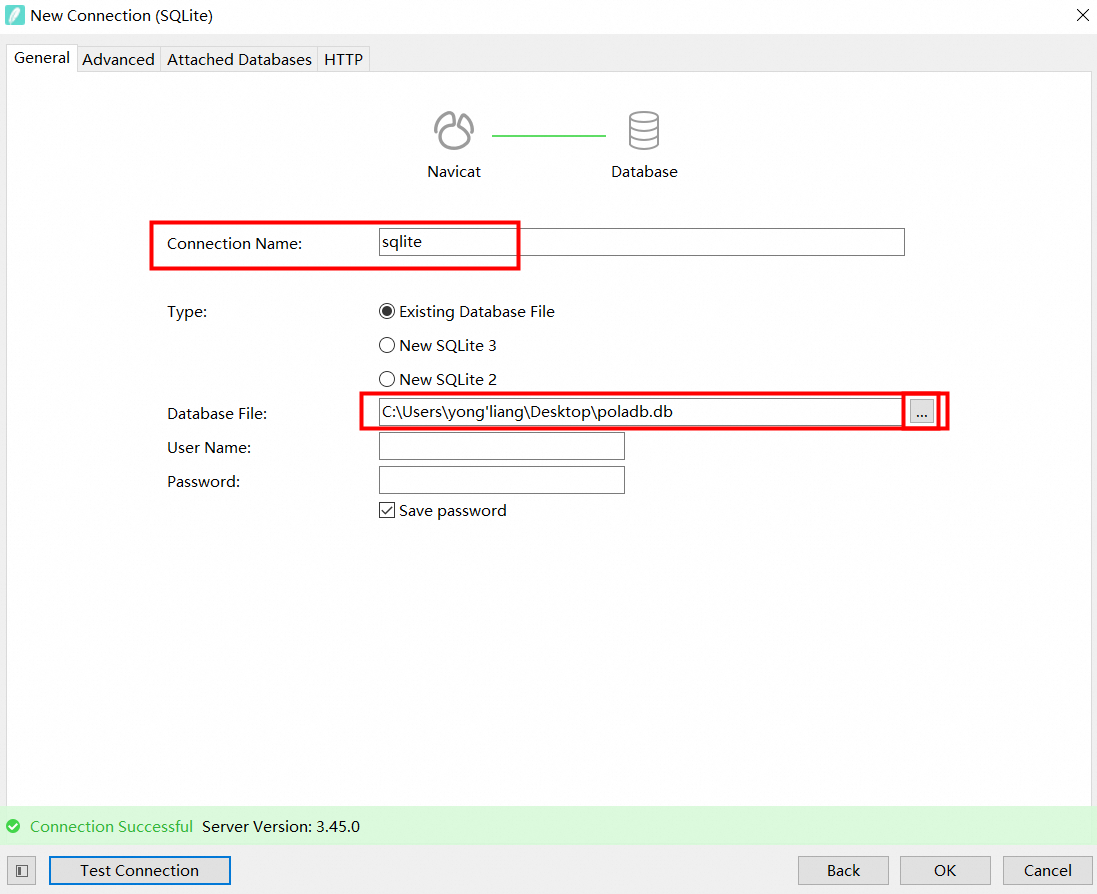
1.4 View the connected SQLite database and table file data.
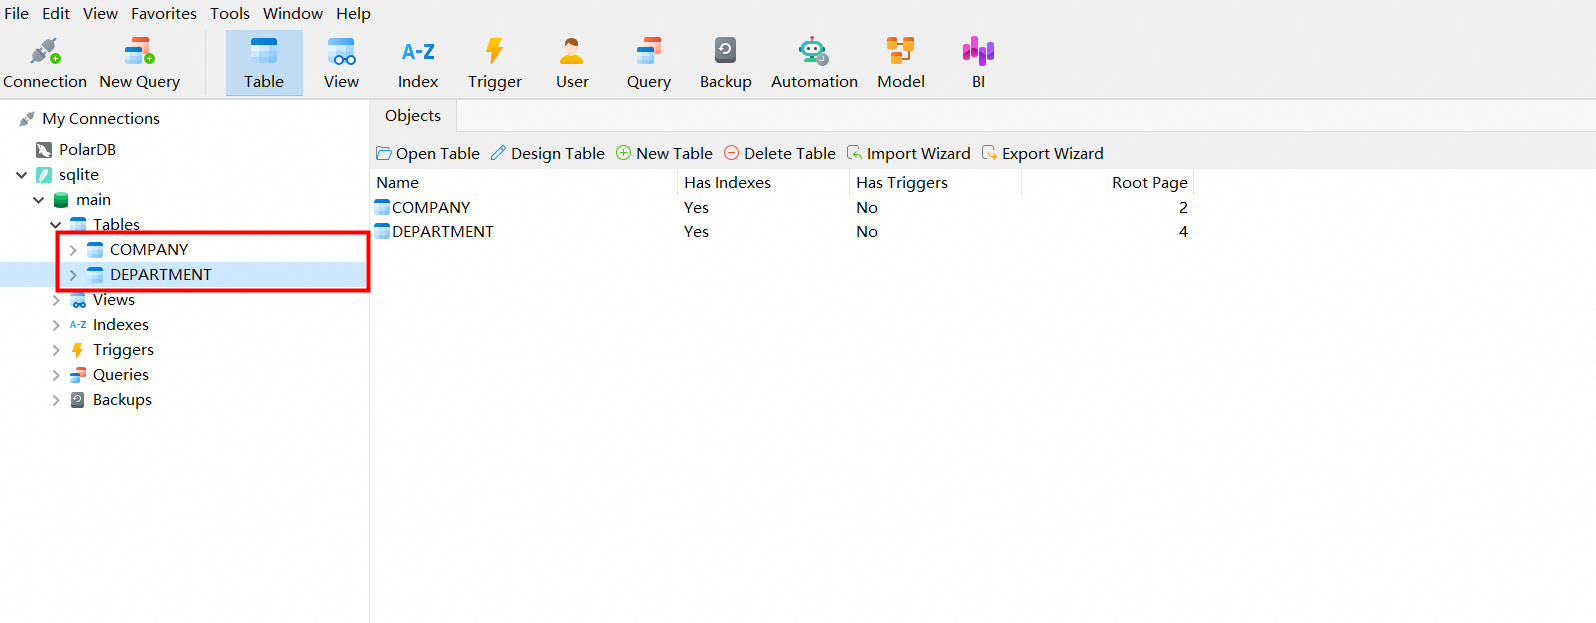
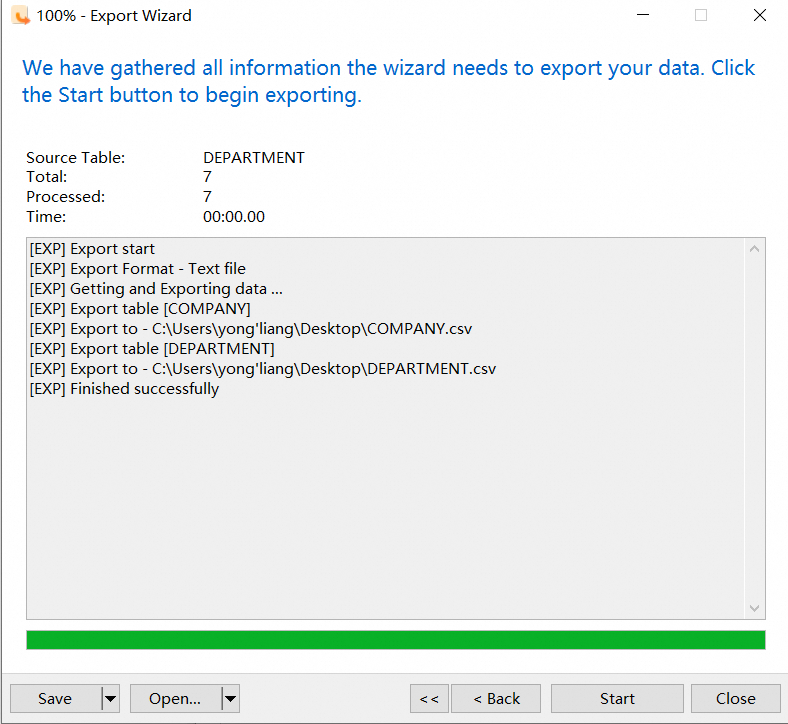
1.5 Export the table in the SQLite database as a CSV file.
-----> Do not export it directly as an SQL file here.

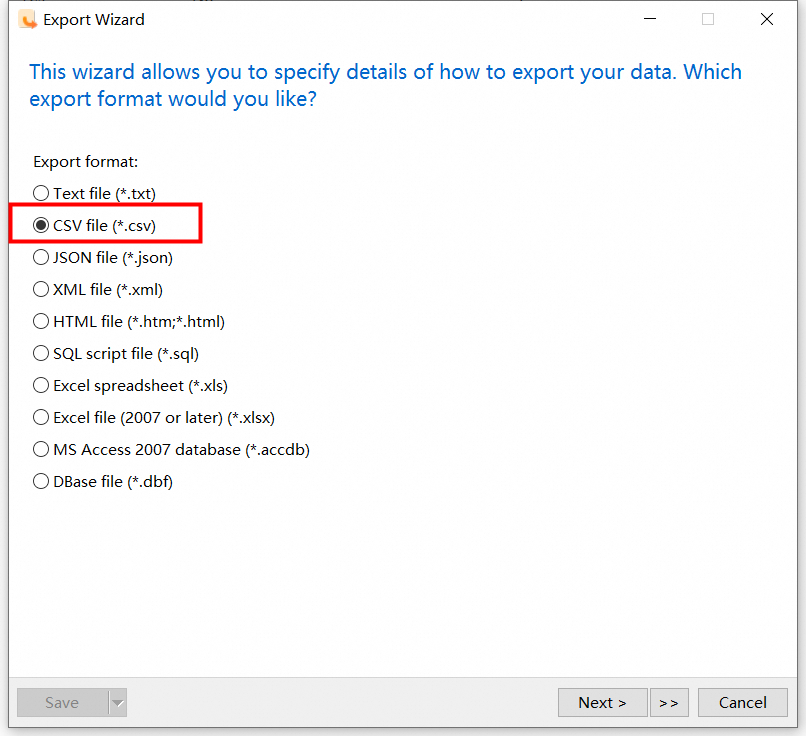
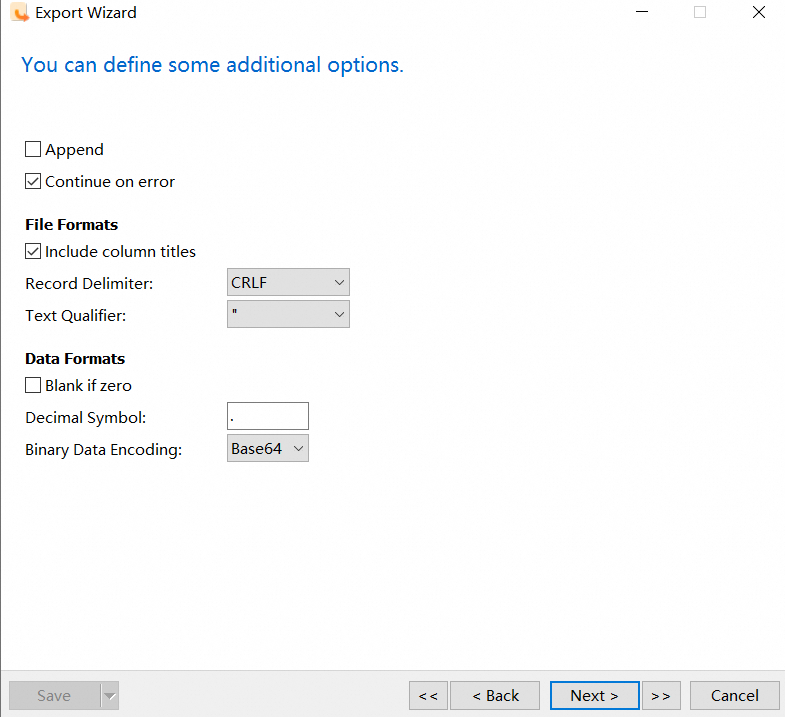
For the exported CSV file, you can impose some custom restrictions, as follows (you can directly use the default settings).
2.1 Purchase a PolarDB for MySQL cluster instance.
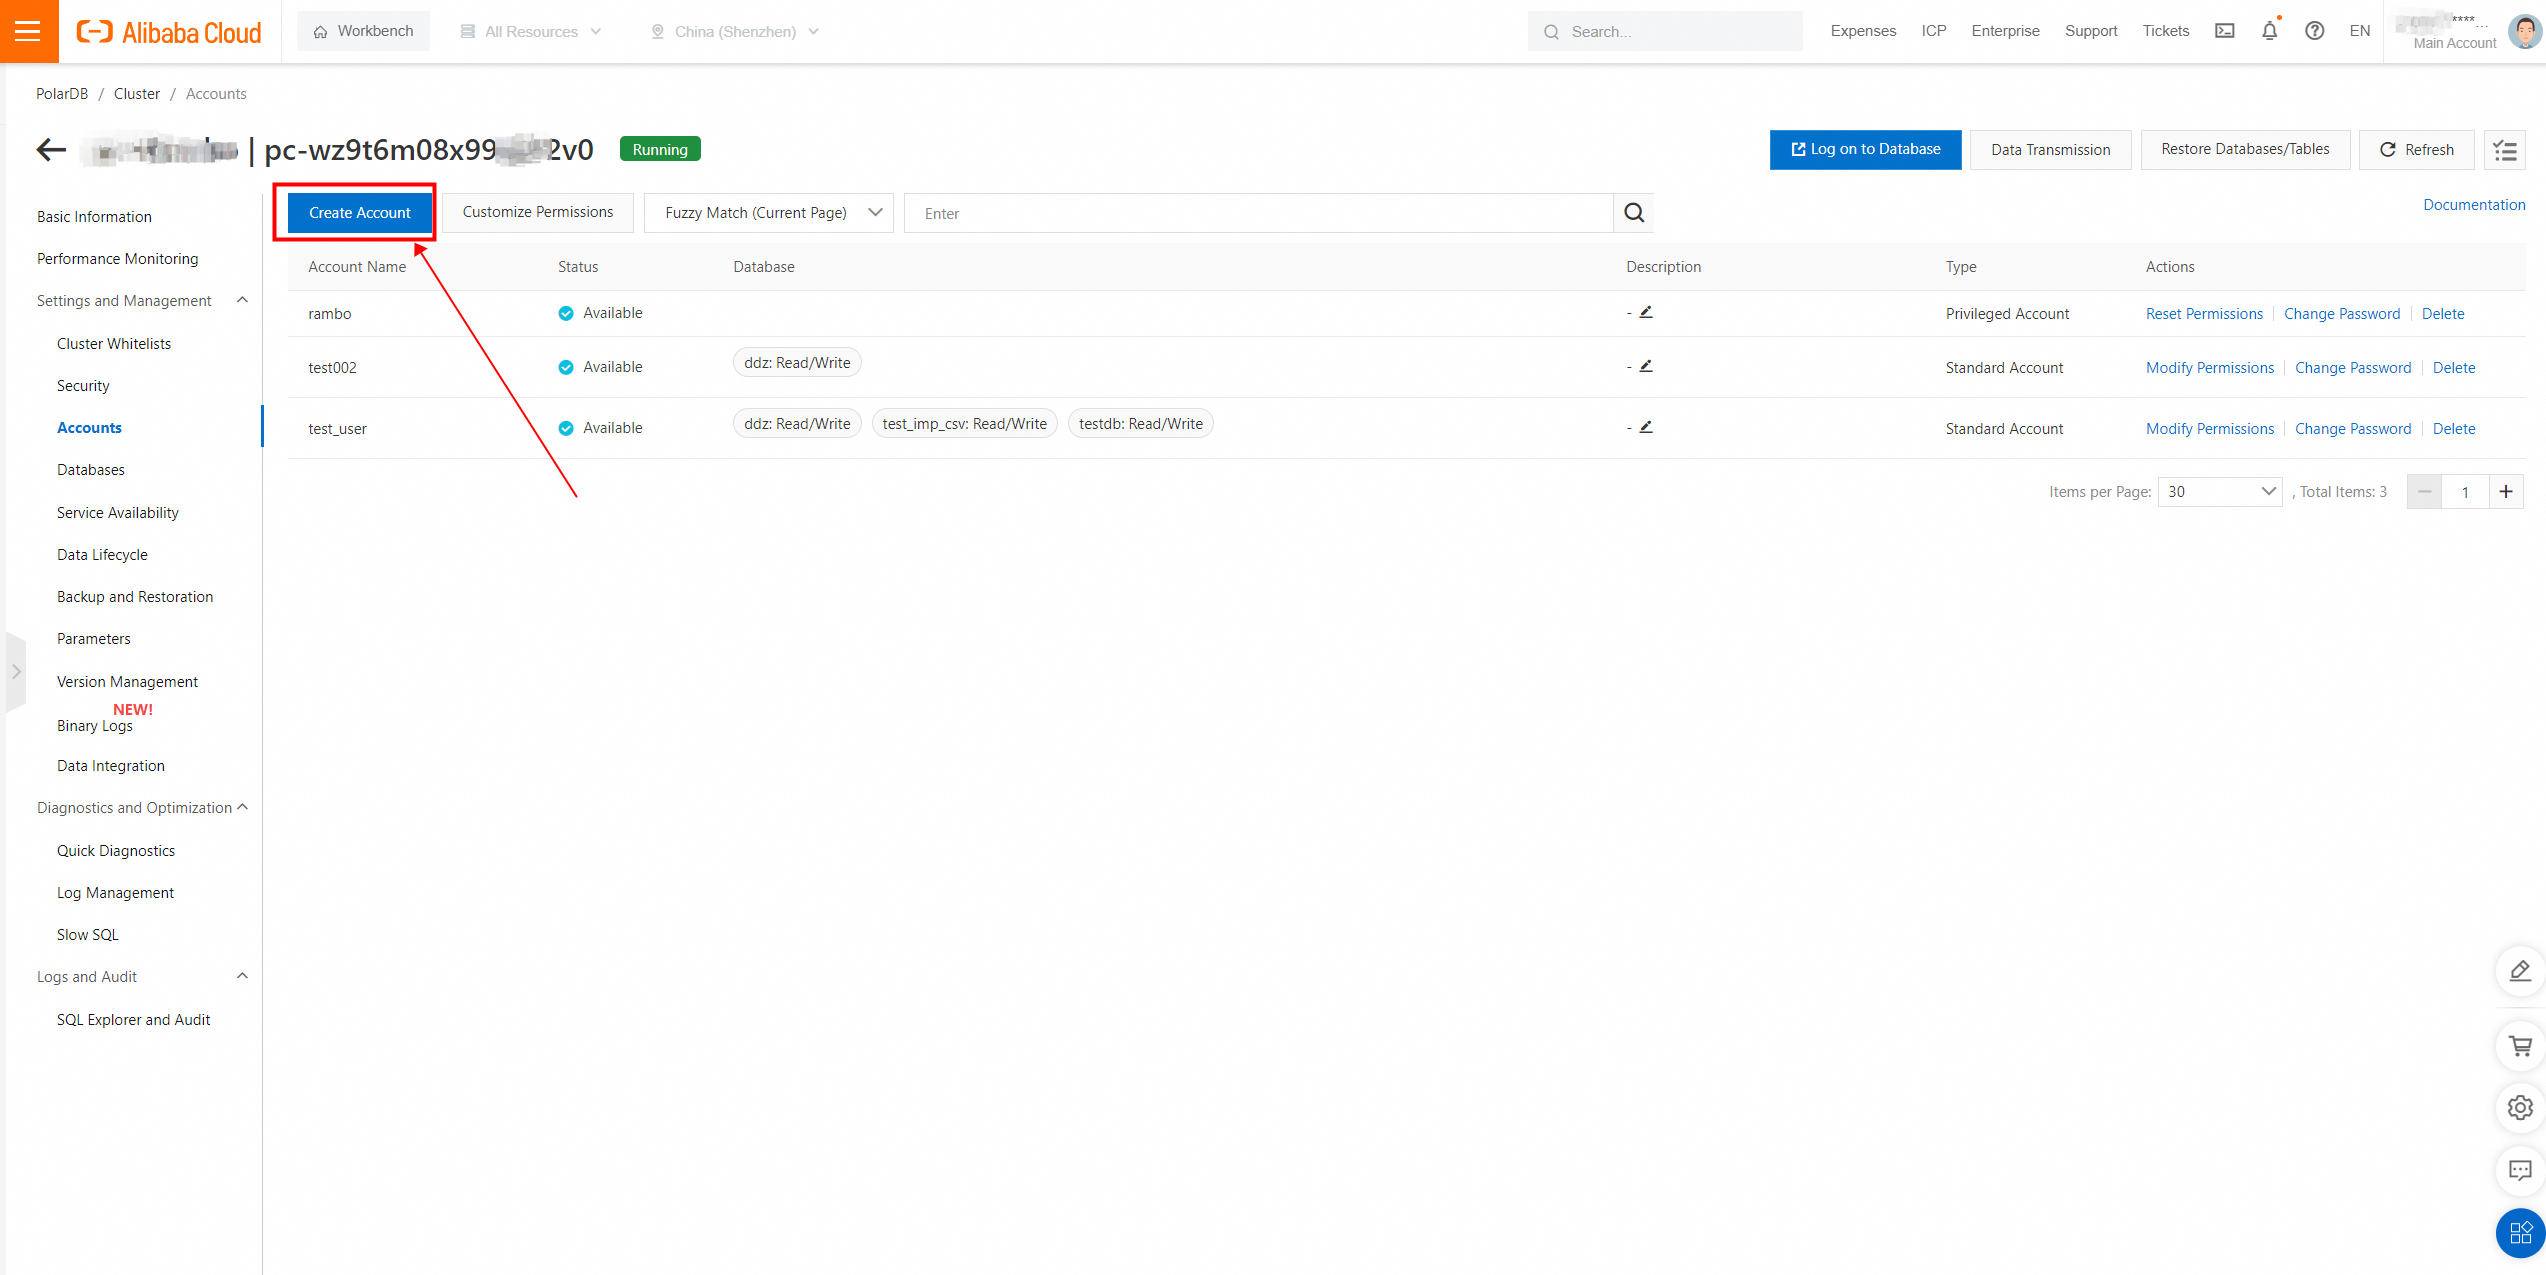
2.2 Create a PolarDB connection account.
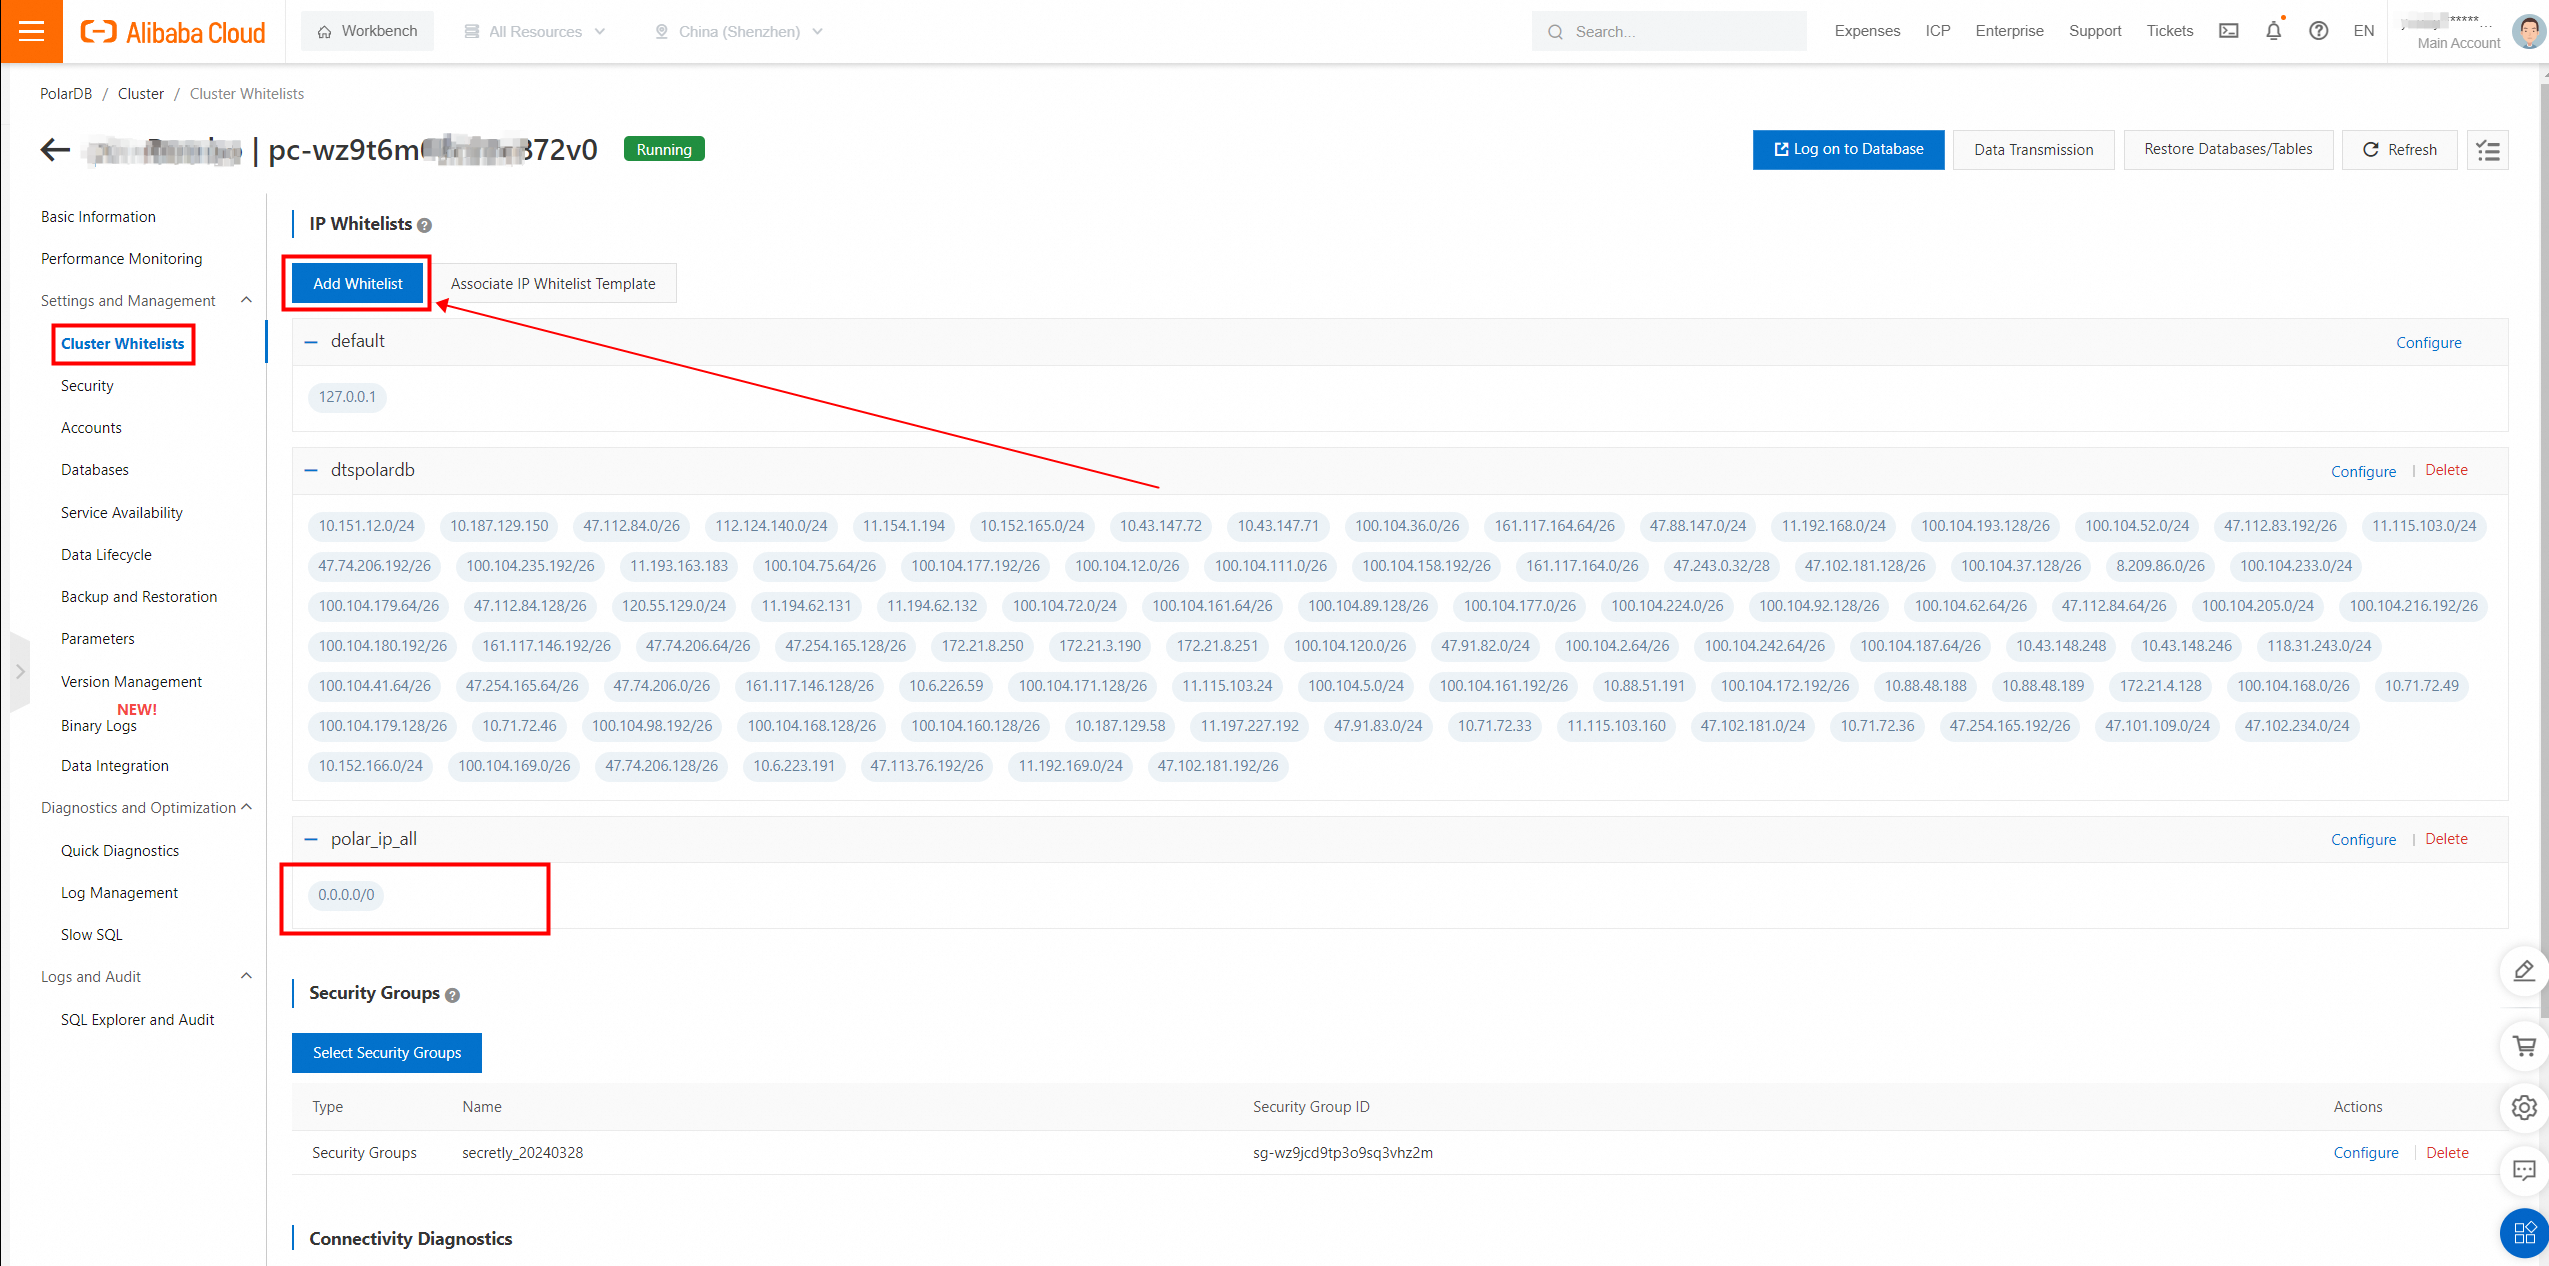
2.3 Enable the IP address whitelist for the cluster.
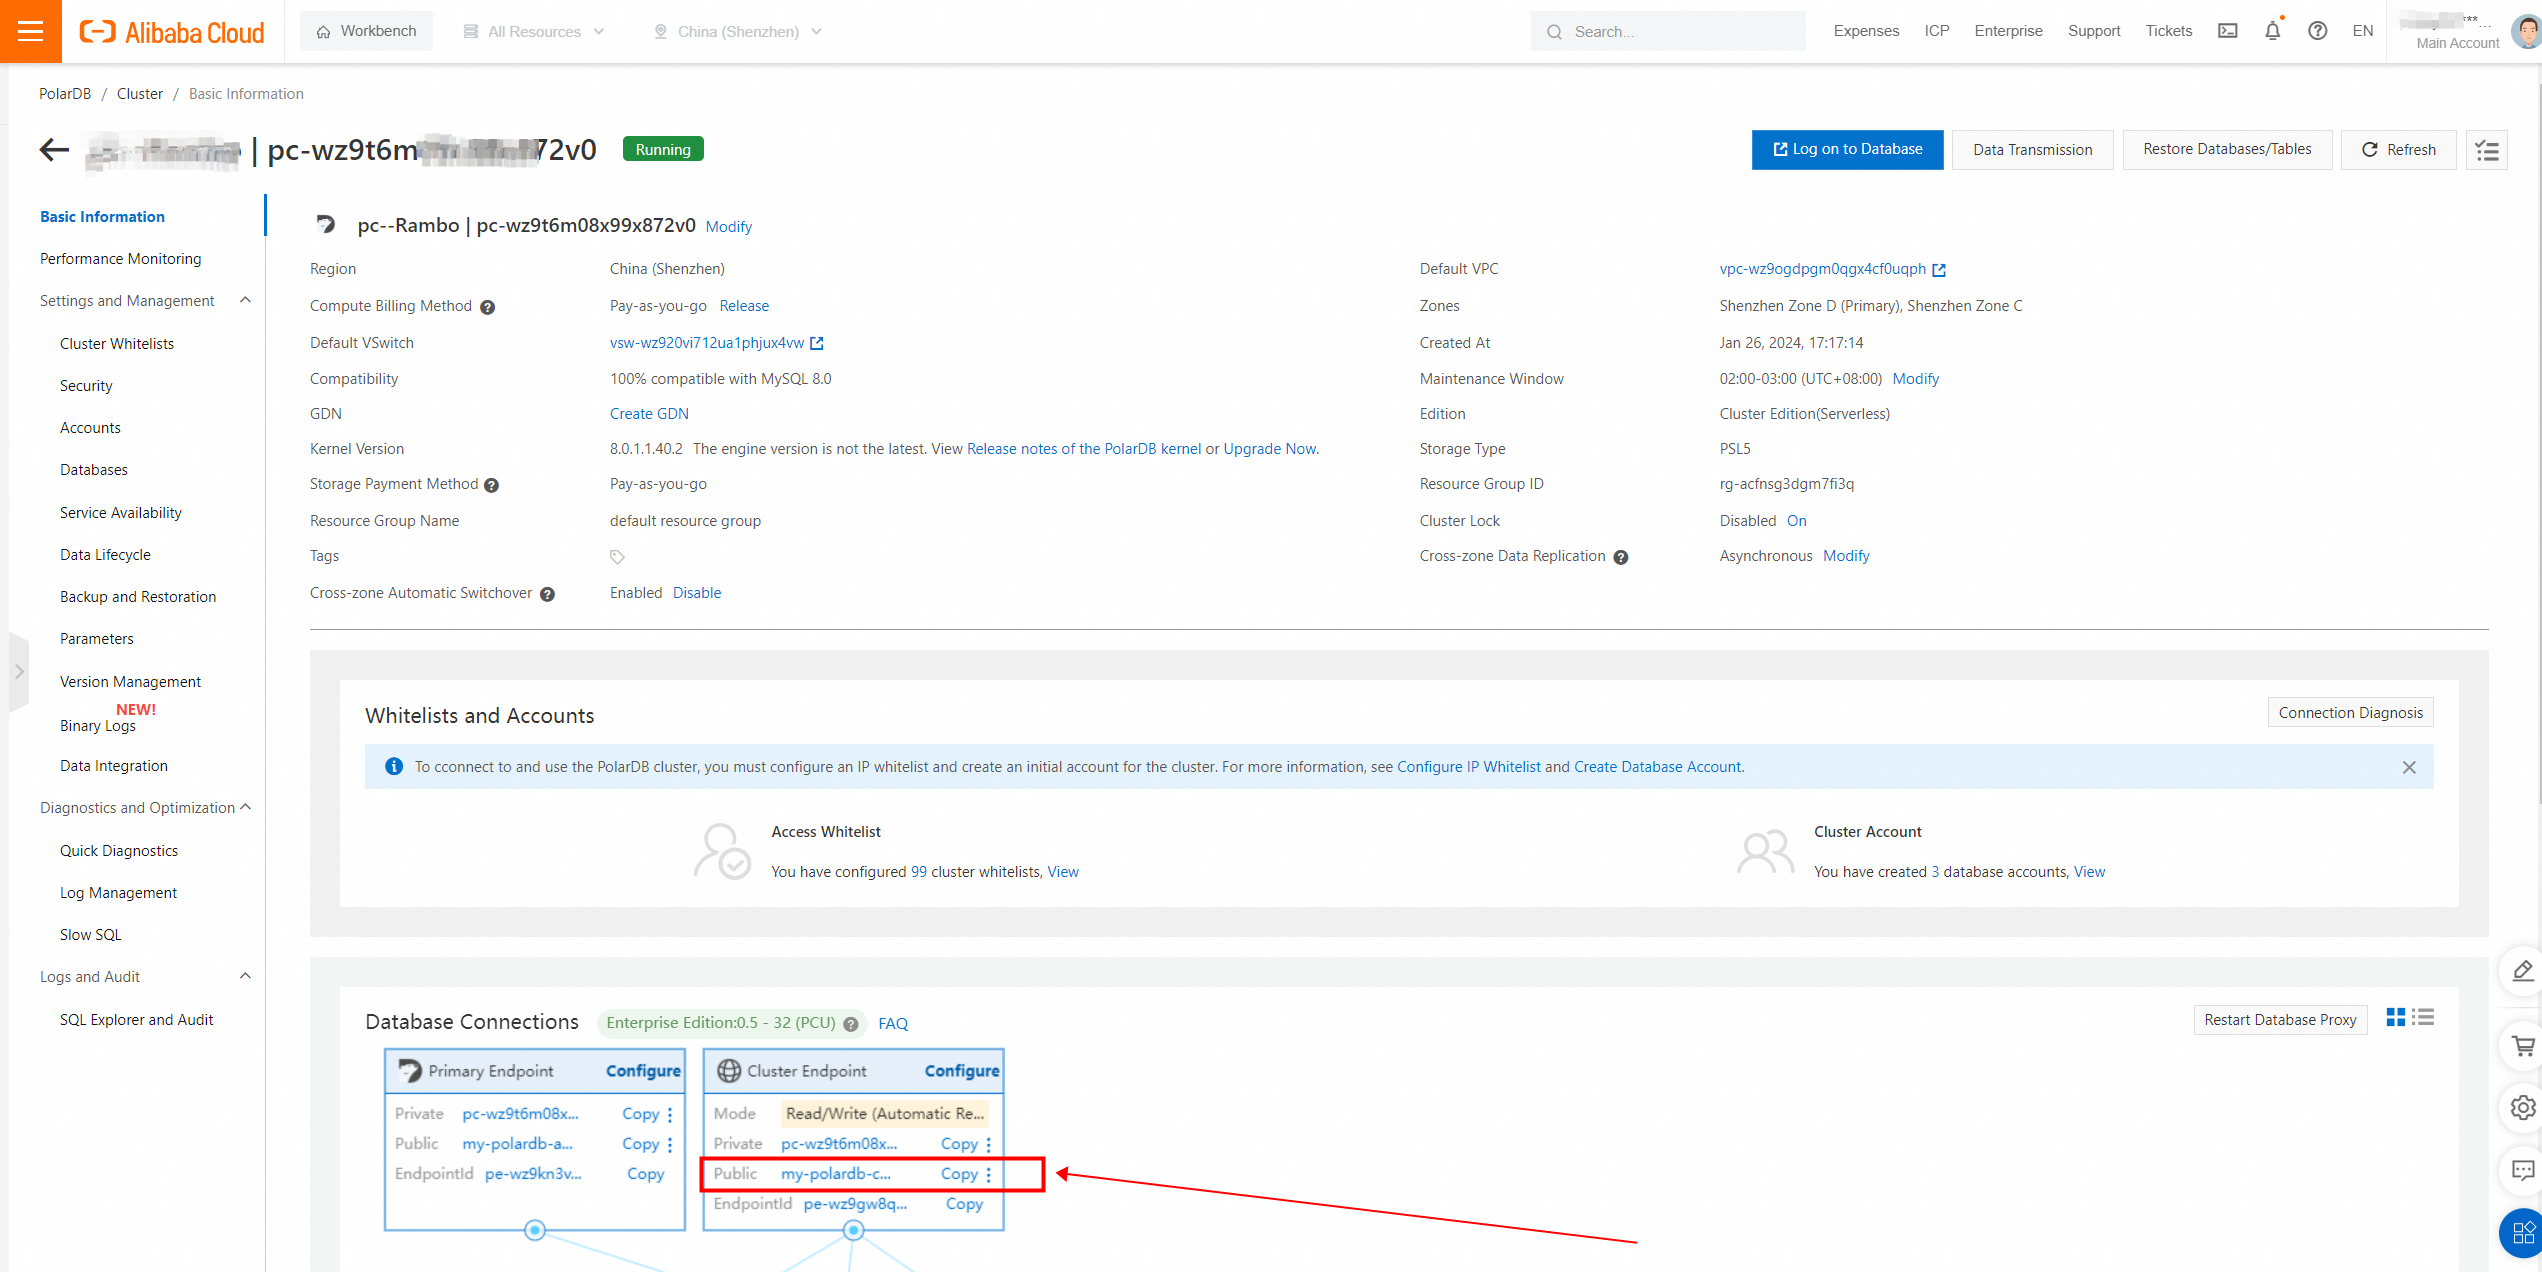
2.4 Enable the public endpoint.
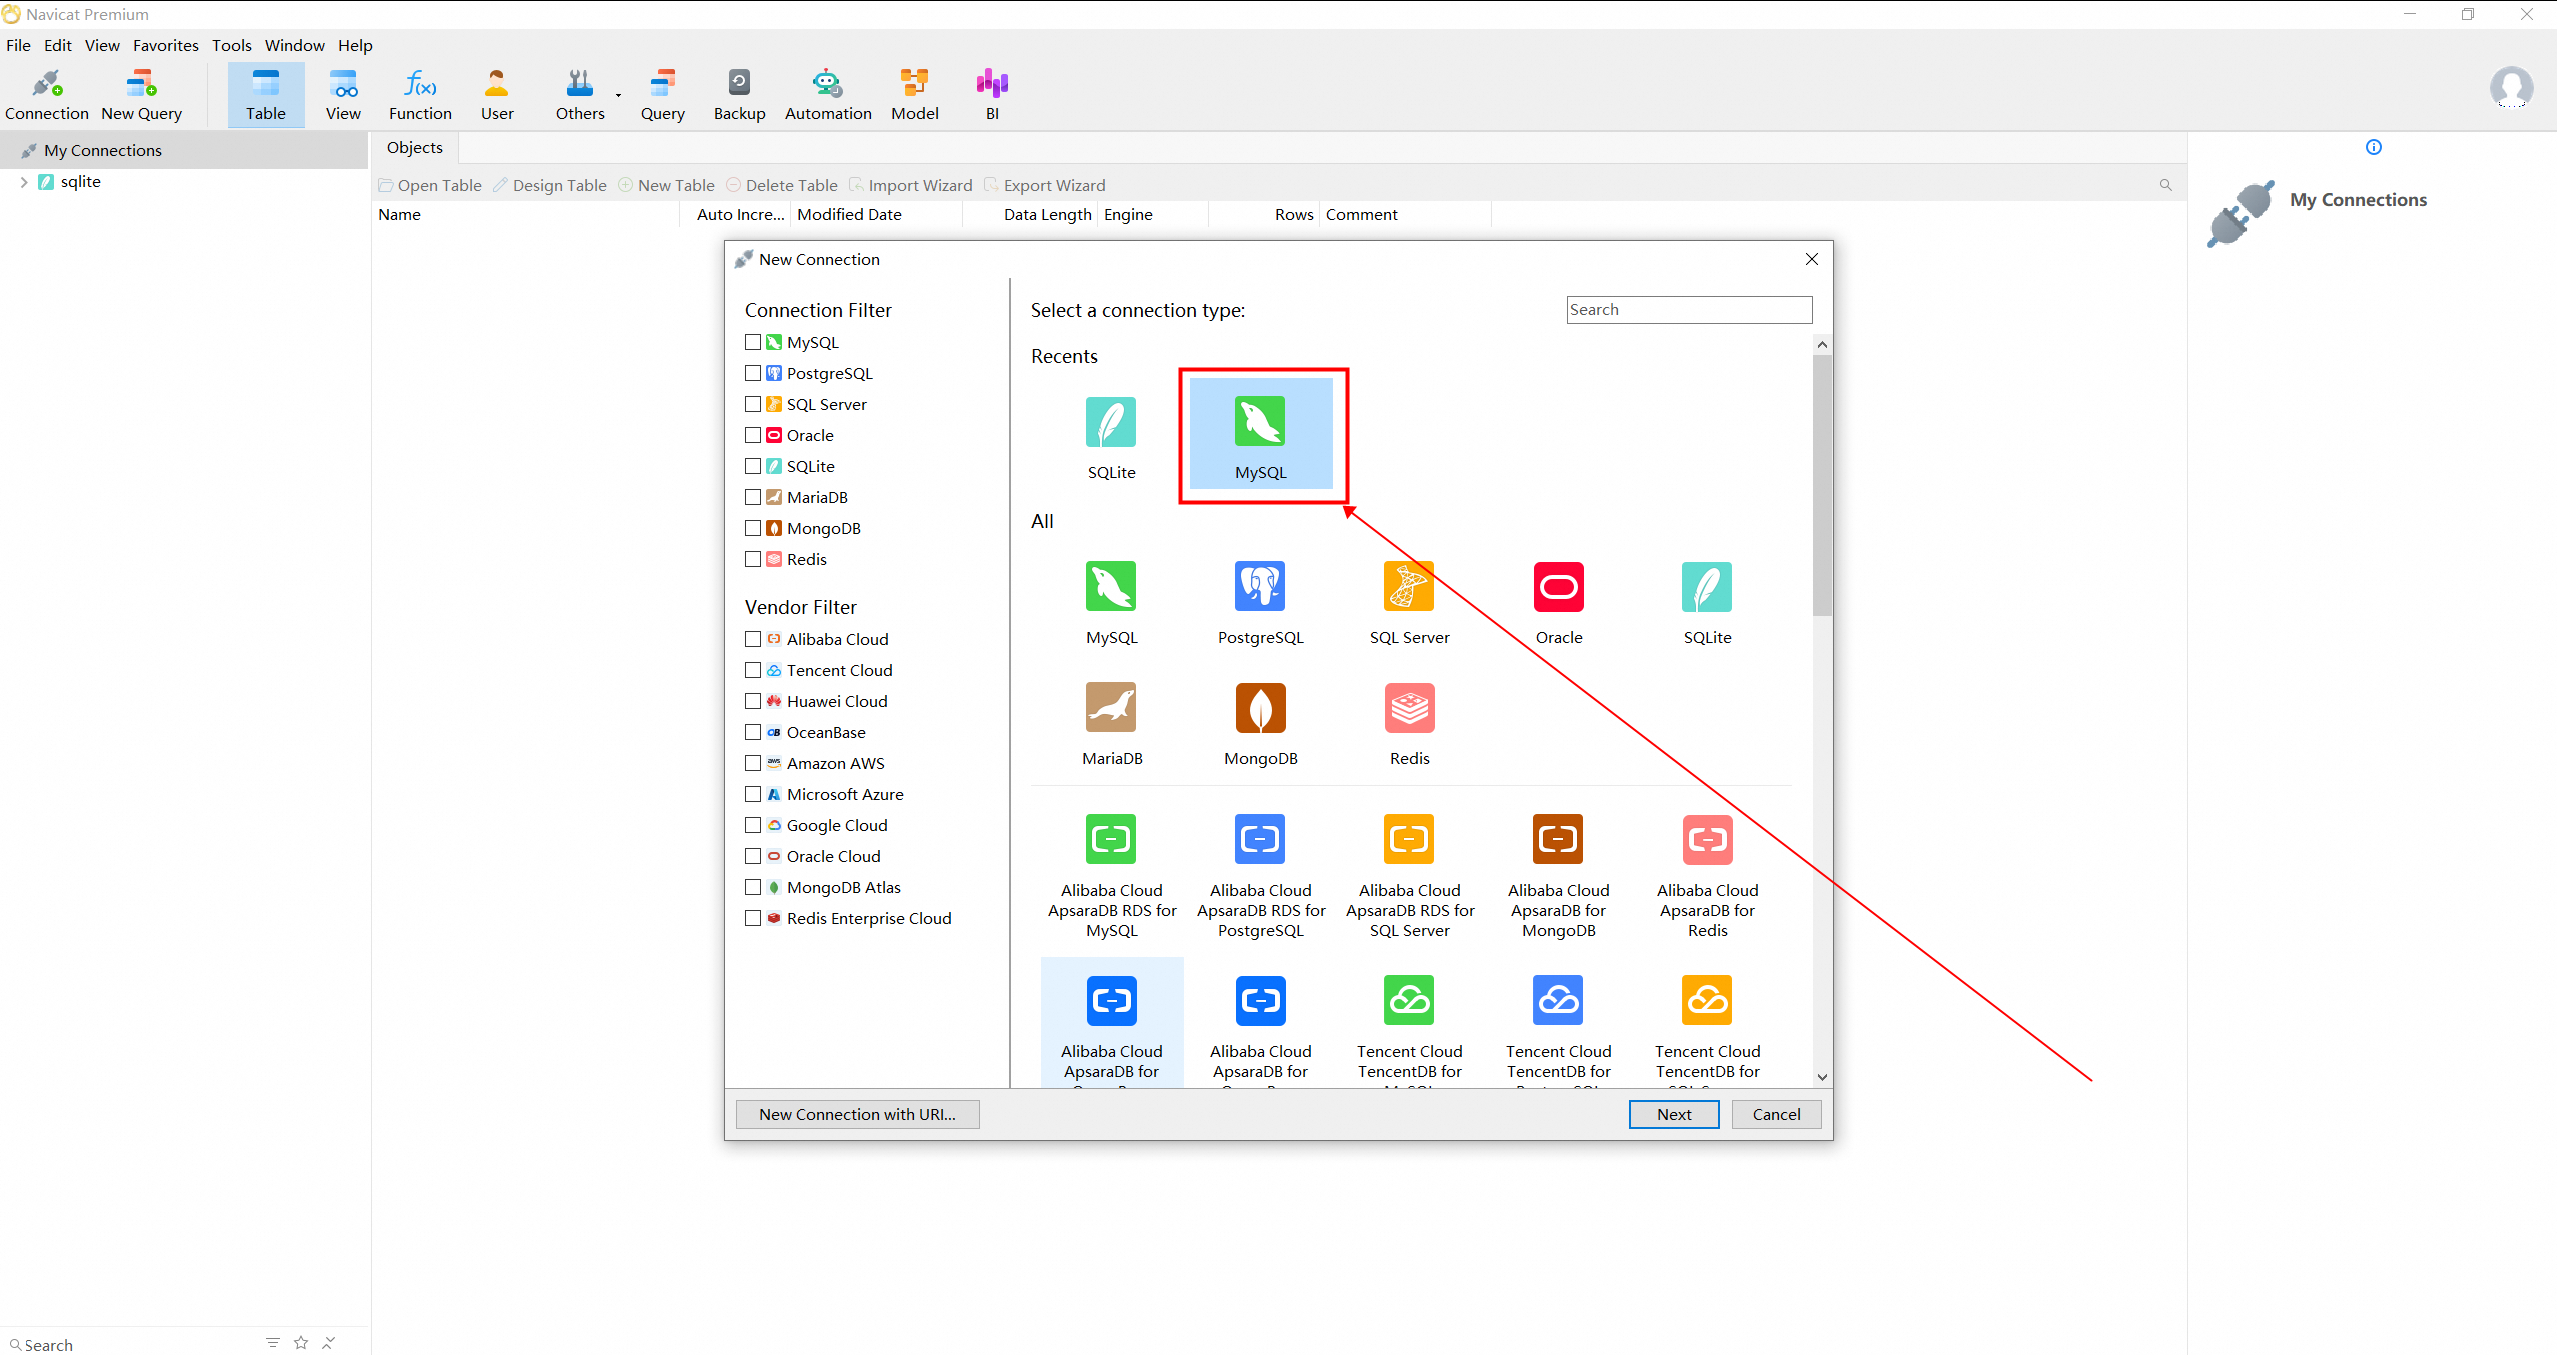
2.5 Use Navicat or Alibaba Cloud Data Management Service (DMS) to connect to PolarDB for MySQL.
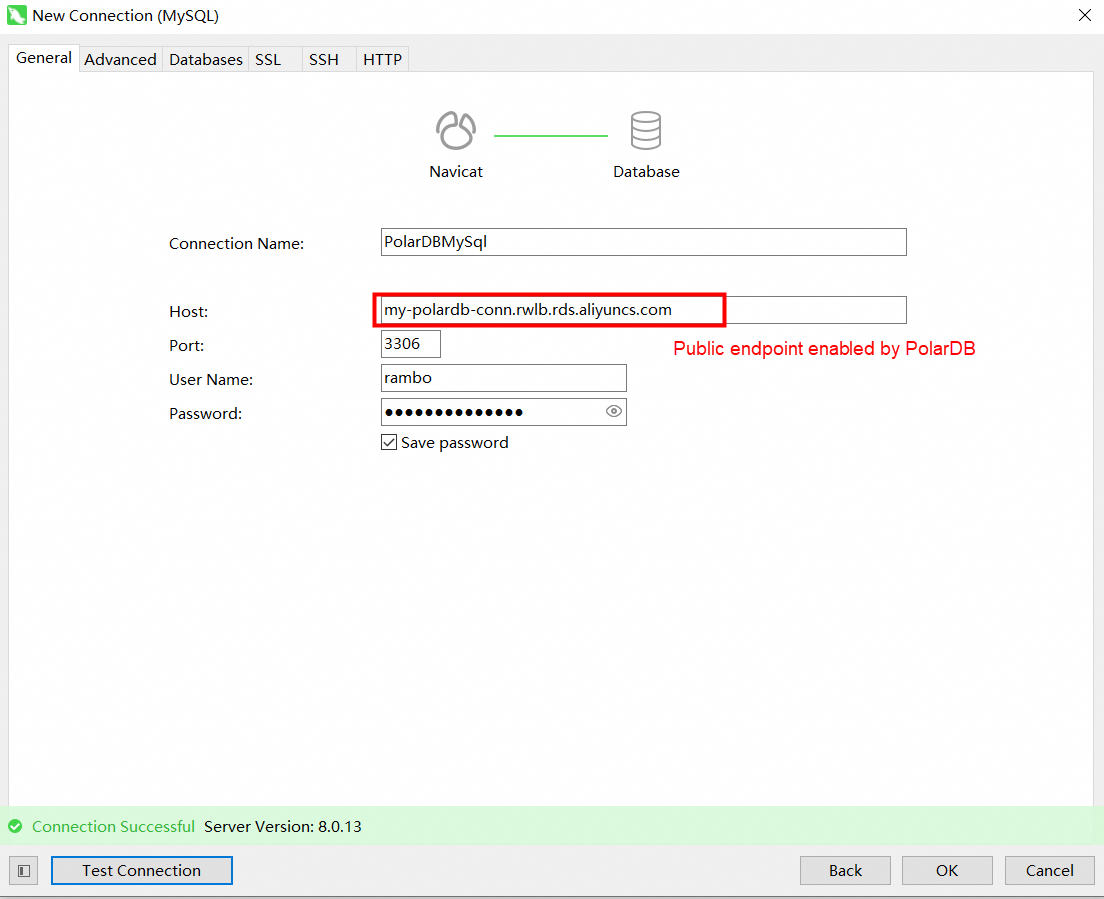
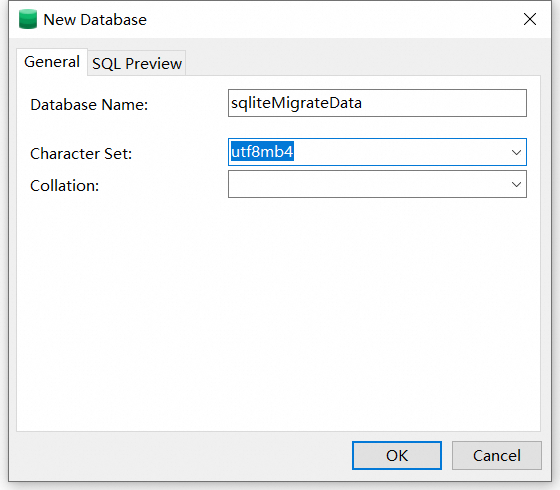
2.6 Create a database and import data.
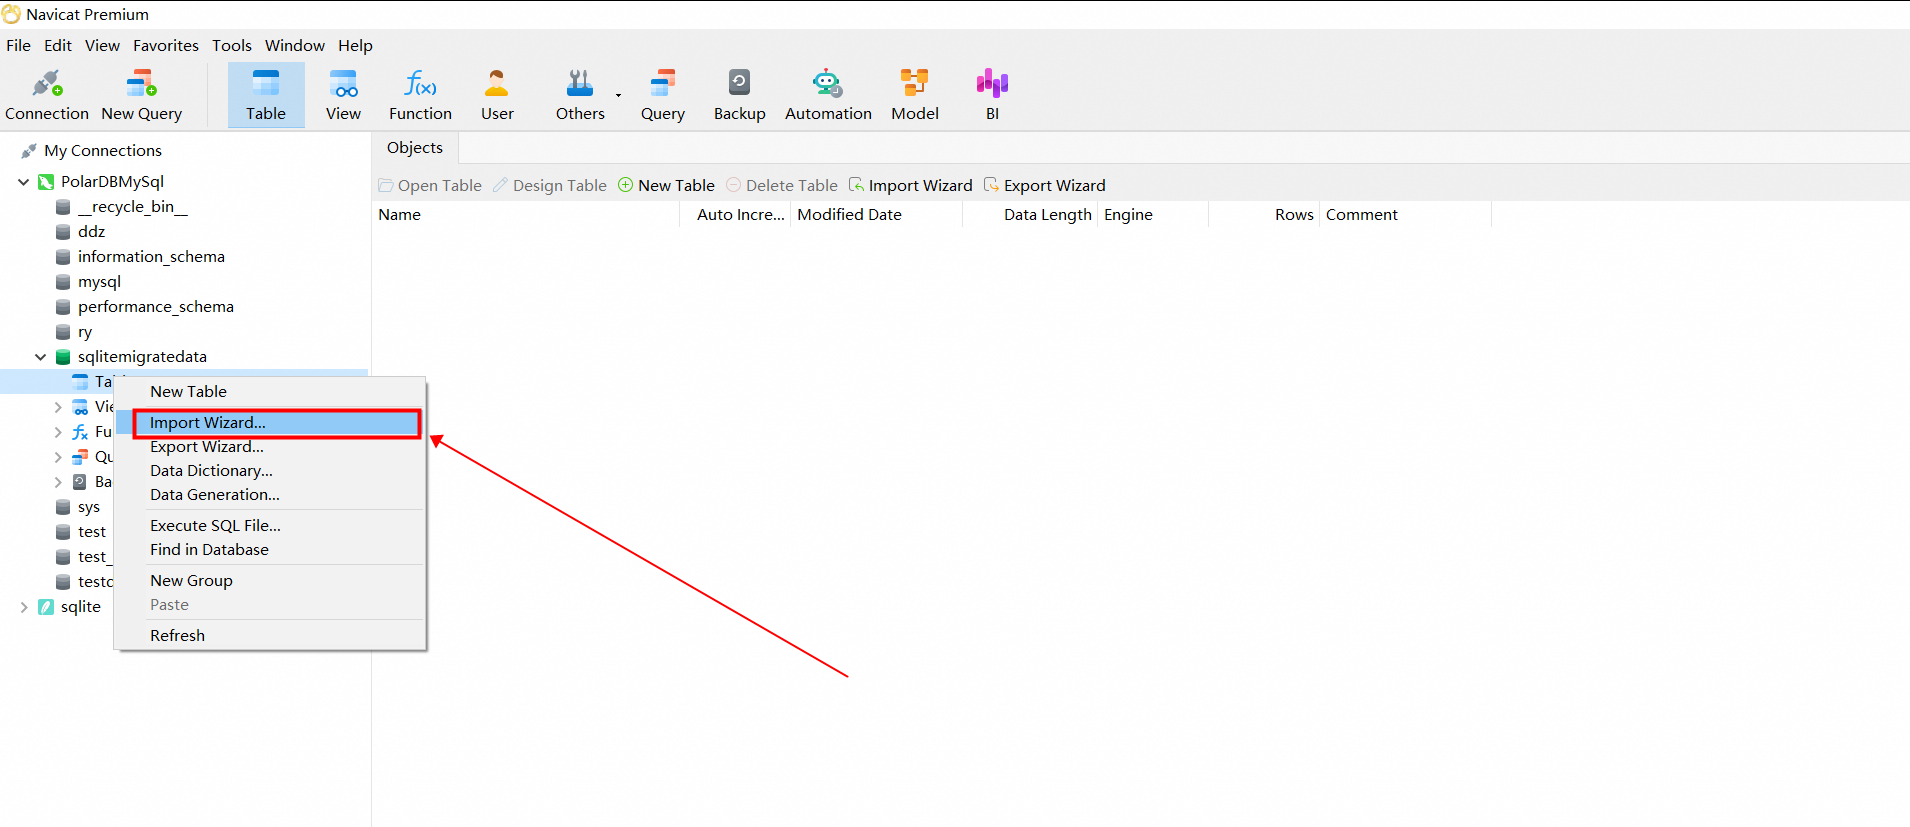
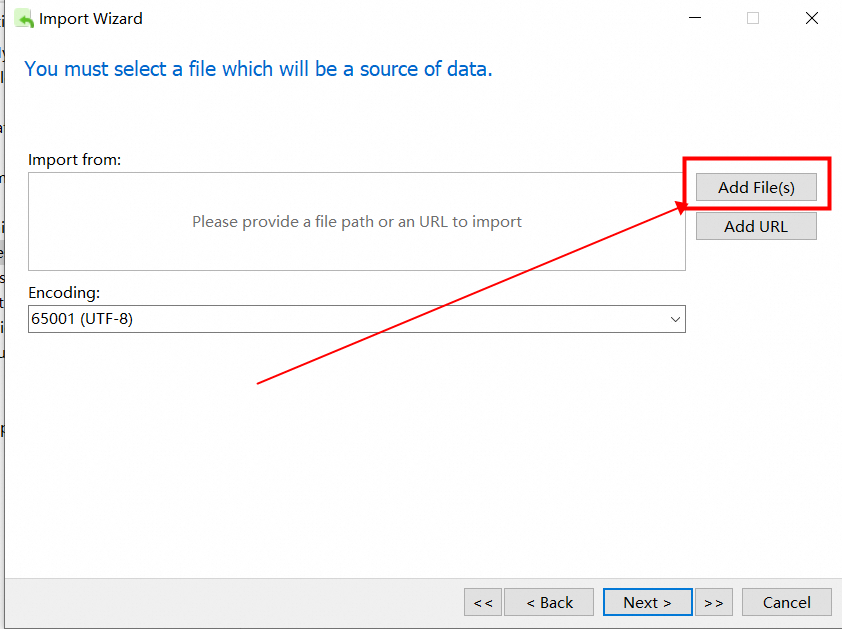
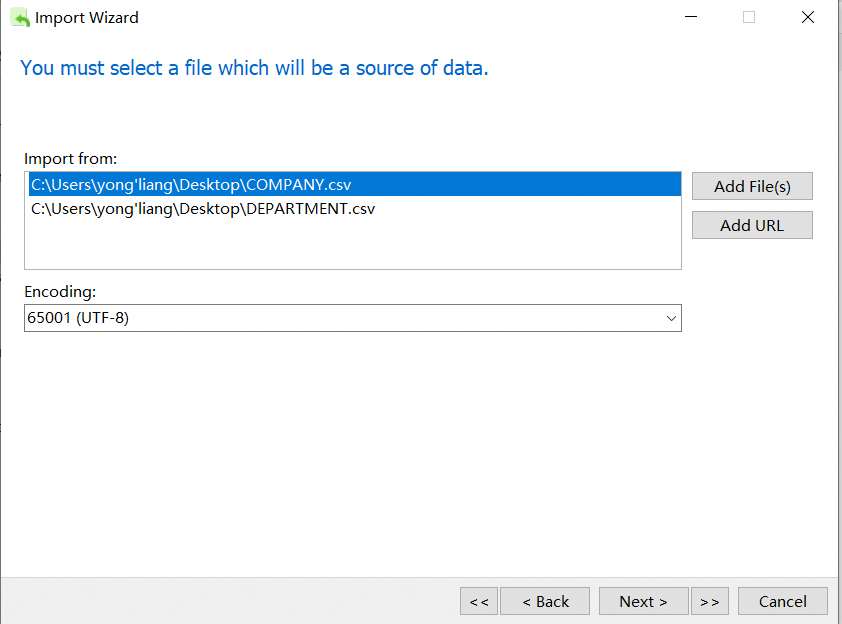
Select the CSV file to import.
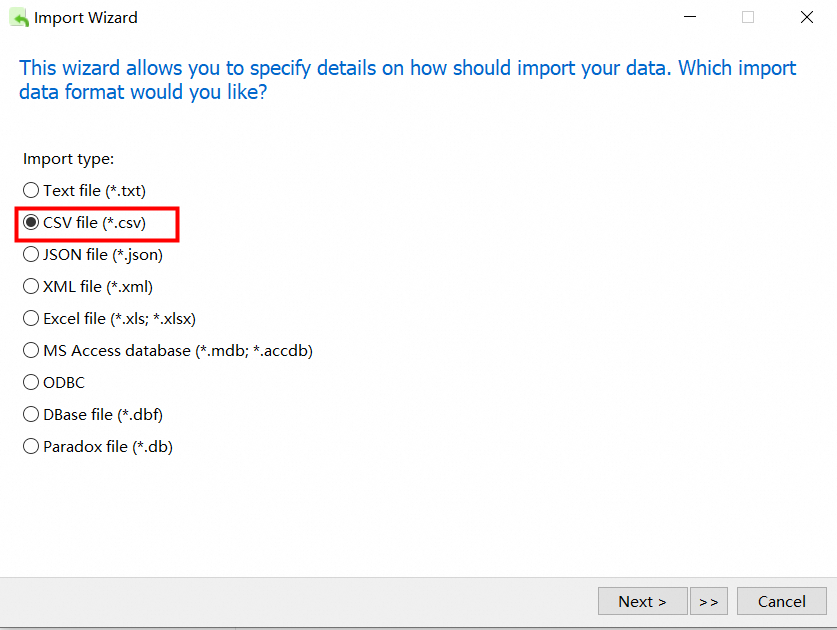
2.7 Select the CSV file exported by SQLite and import it into the database created by MySQL.
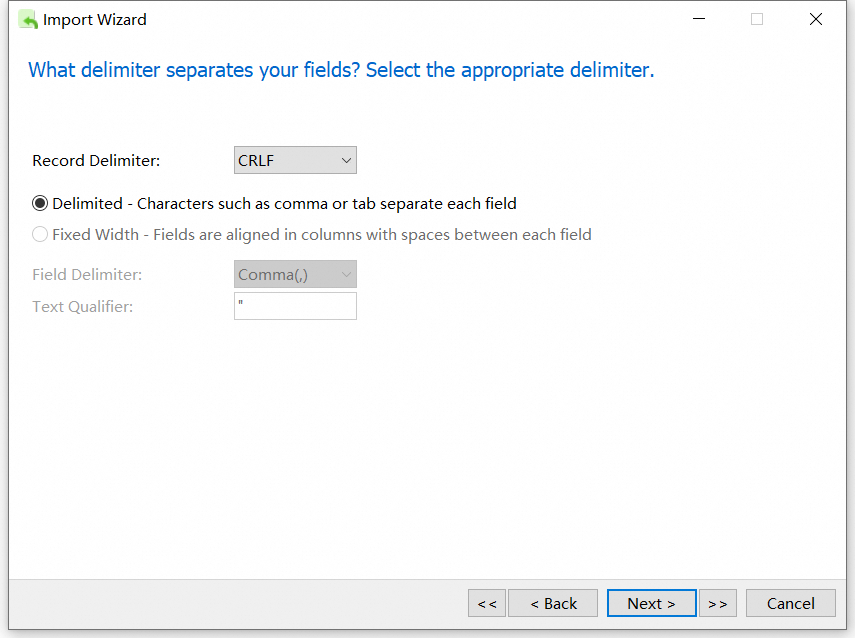
If you use Navicat throughout the operation, the settings here must be the same as those when you export the CSV file.
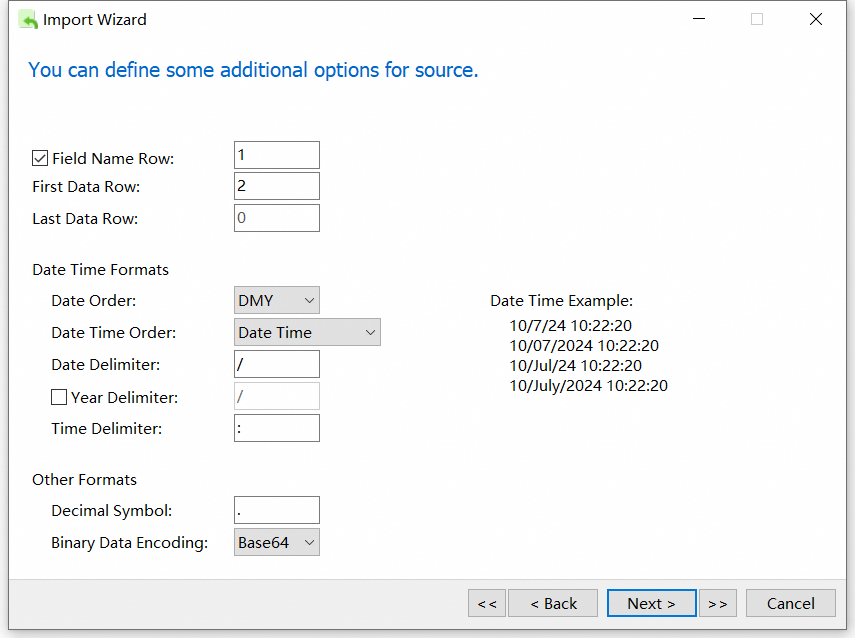
Here, the field length and primary key need to be modified according to the actual content.
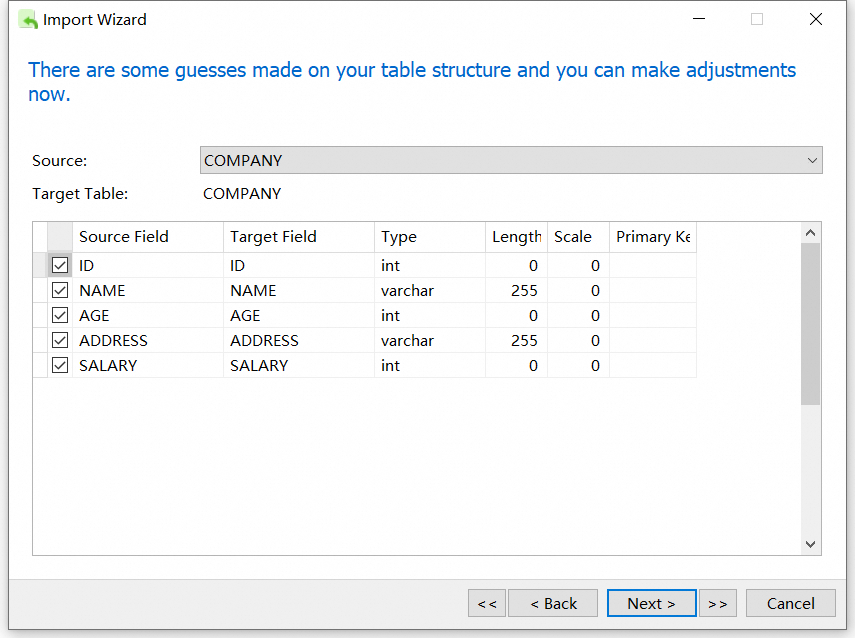
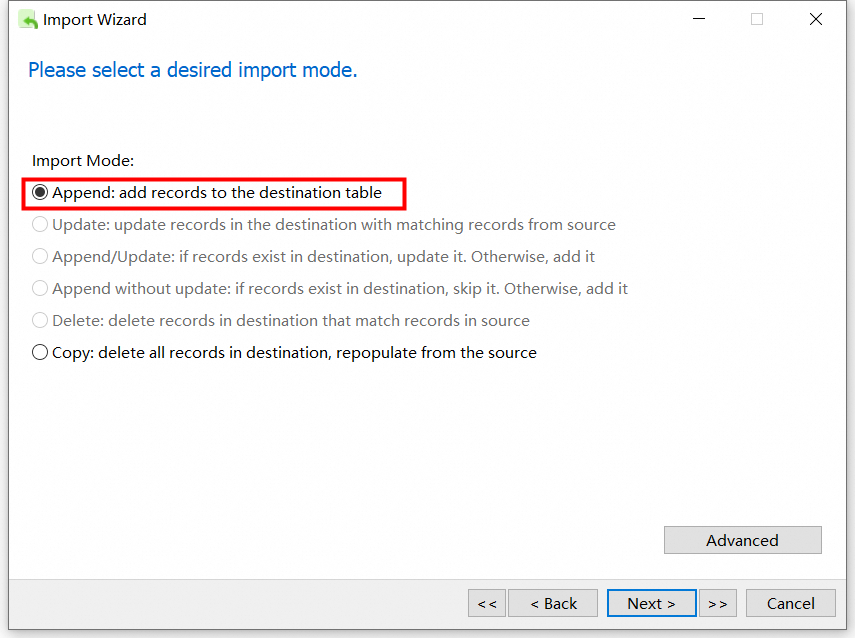
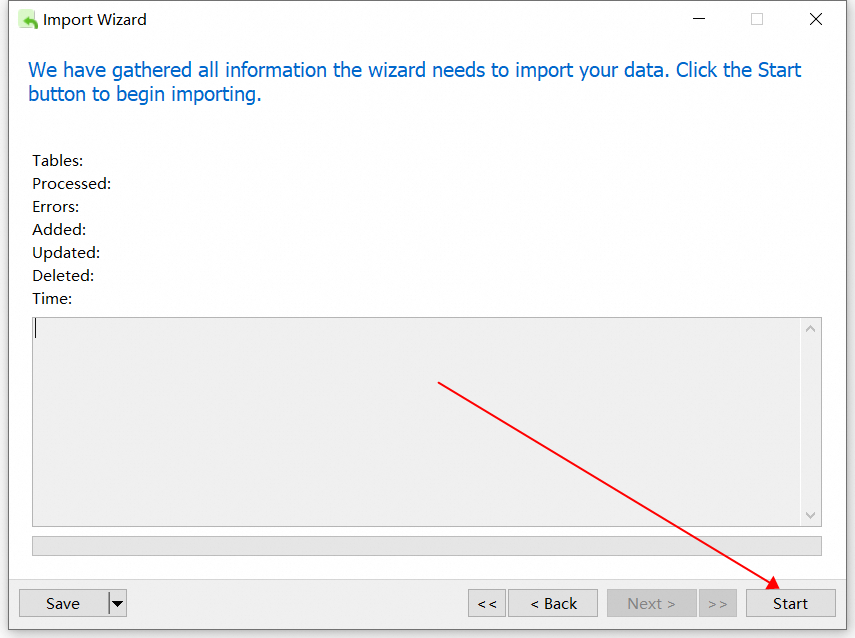
2.8 View the imported table data.
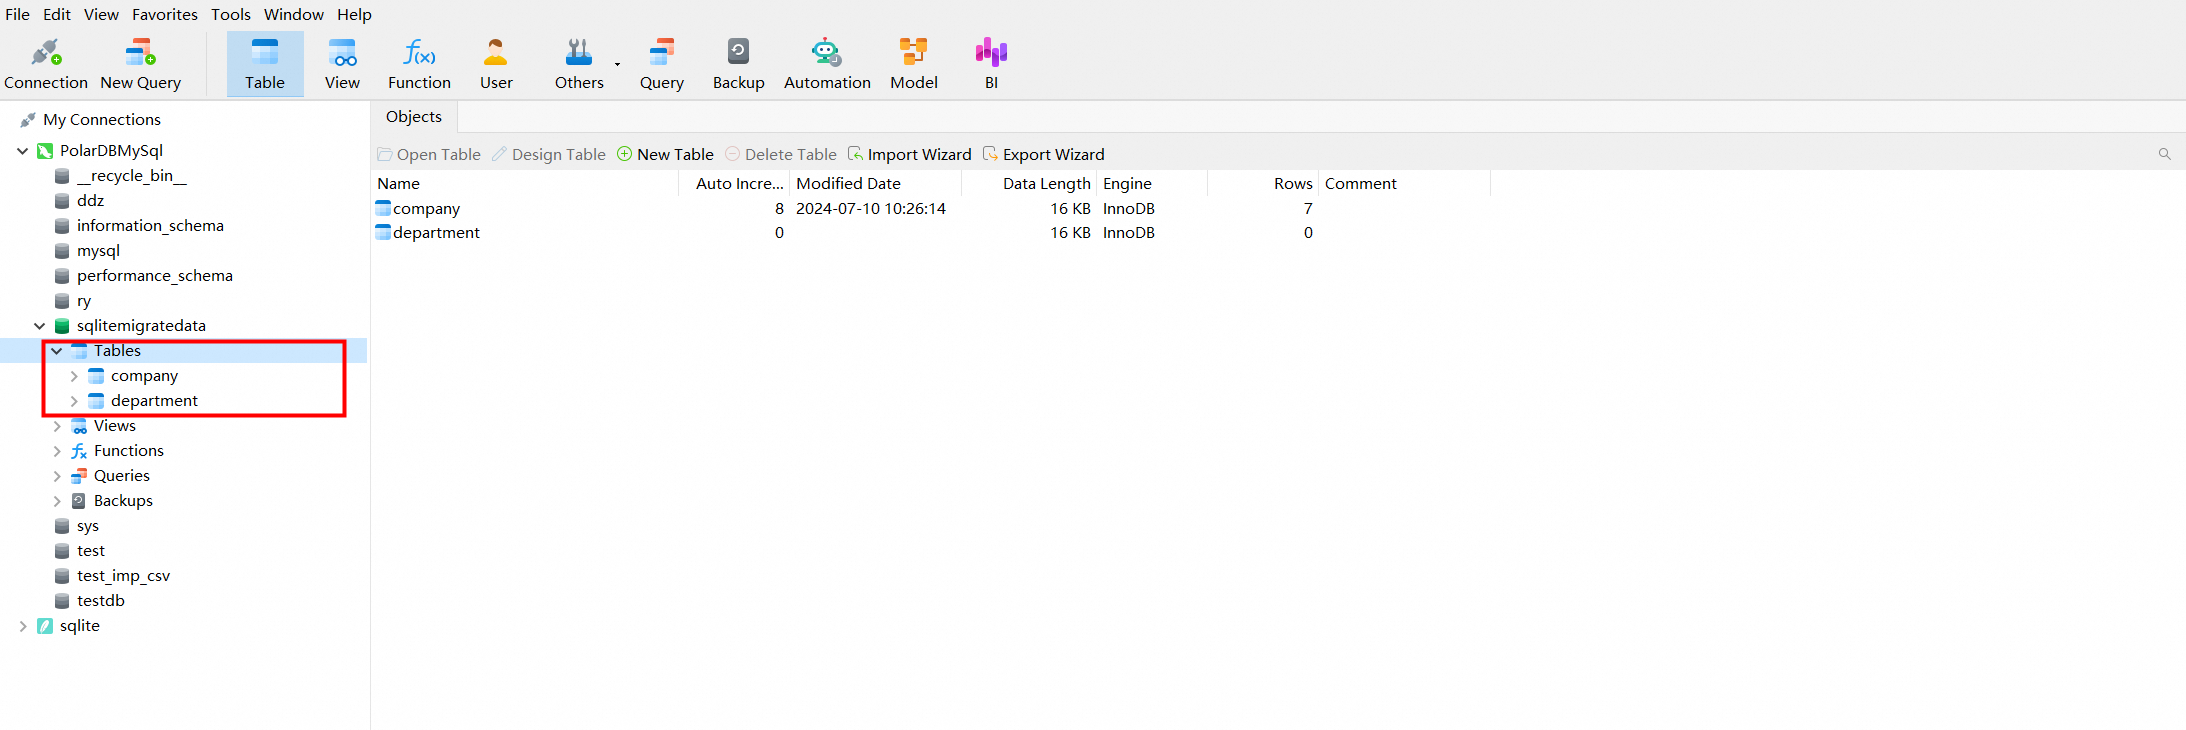
The above is the steps to import data from SQLite to MySQL.
The data is imported offline, not migrated online by using a tool. Therefore, data consistency must be checked. The following methods can help you check data consistency:
3.1 View the original SQLite database table and the count of data rows.
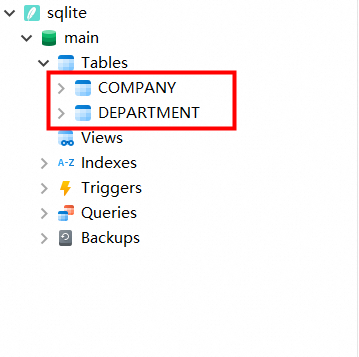
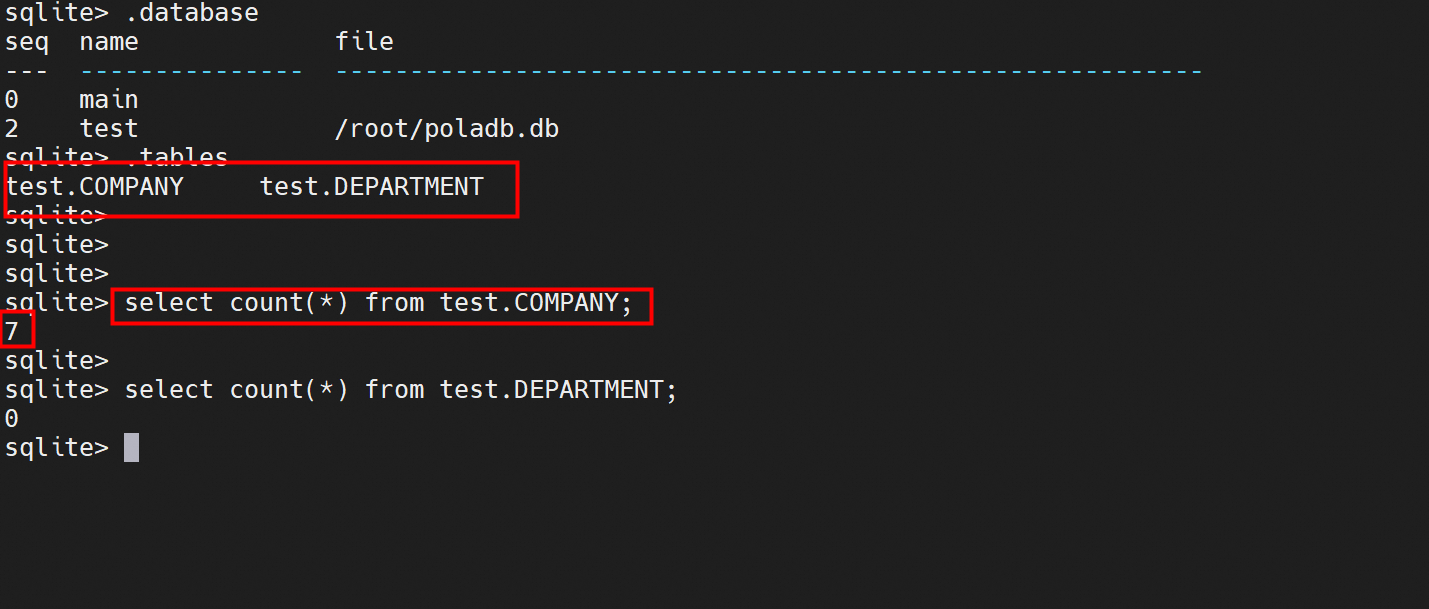
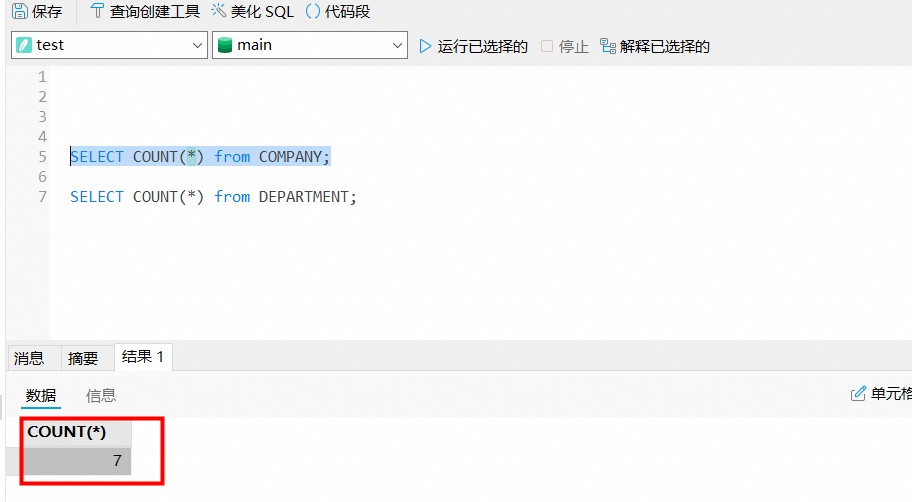
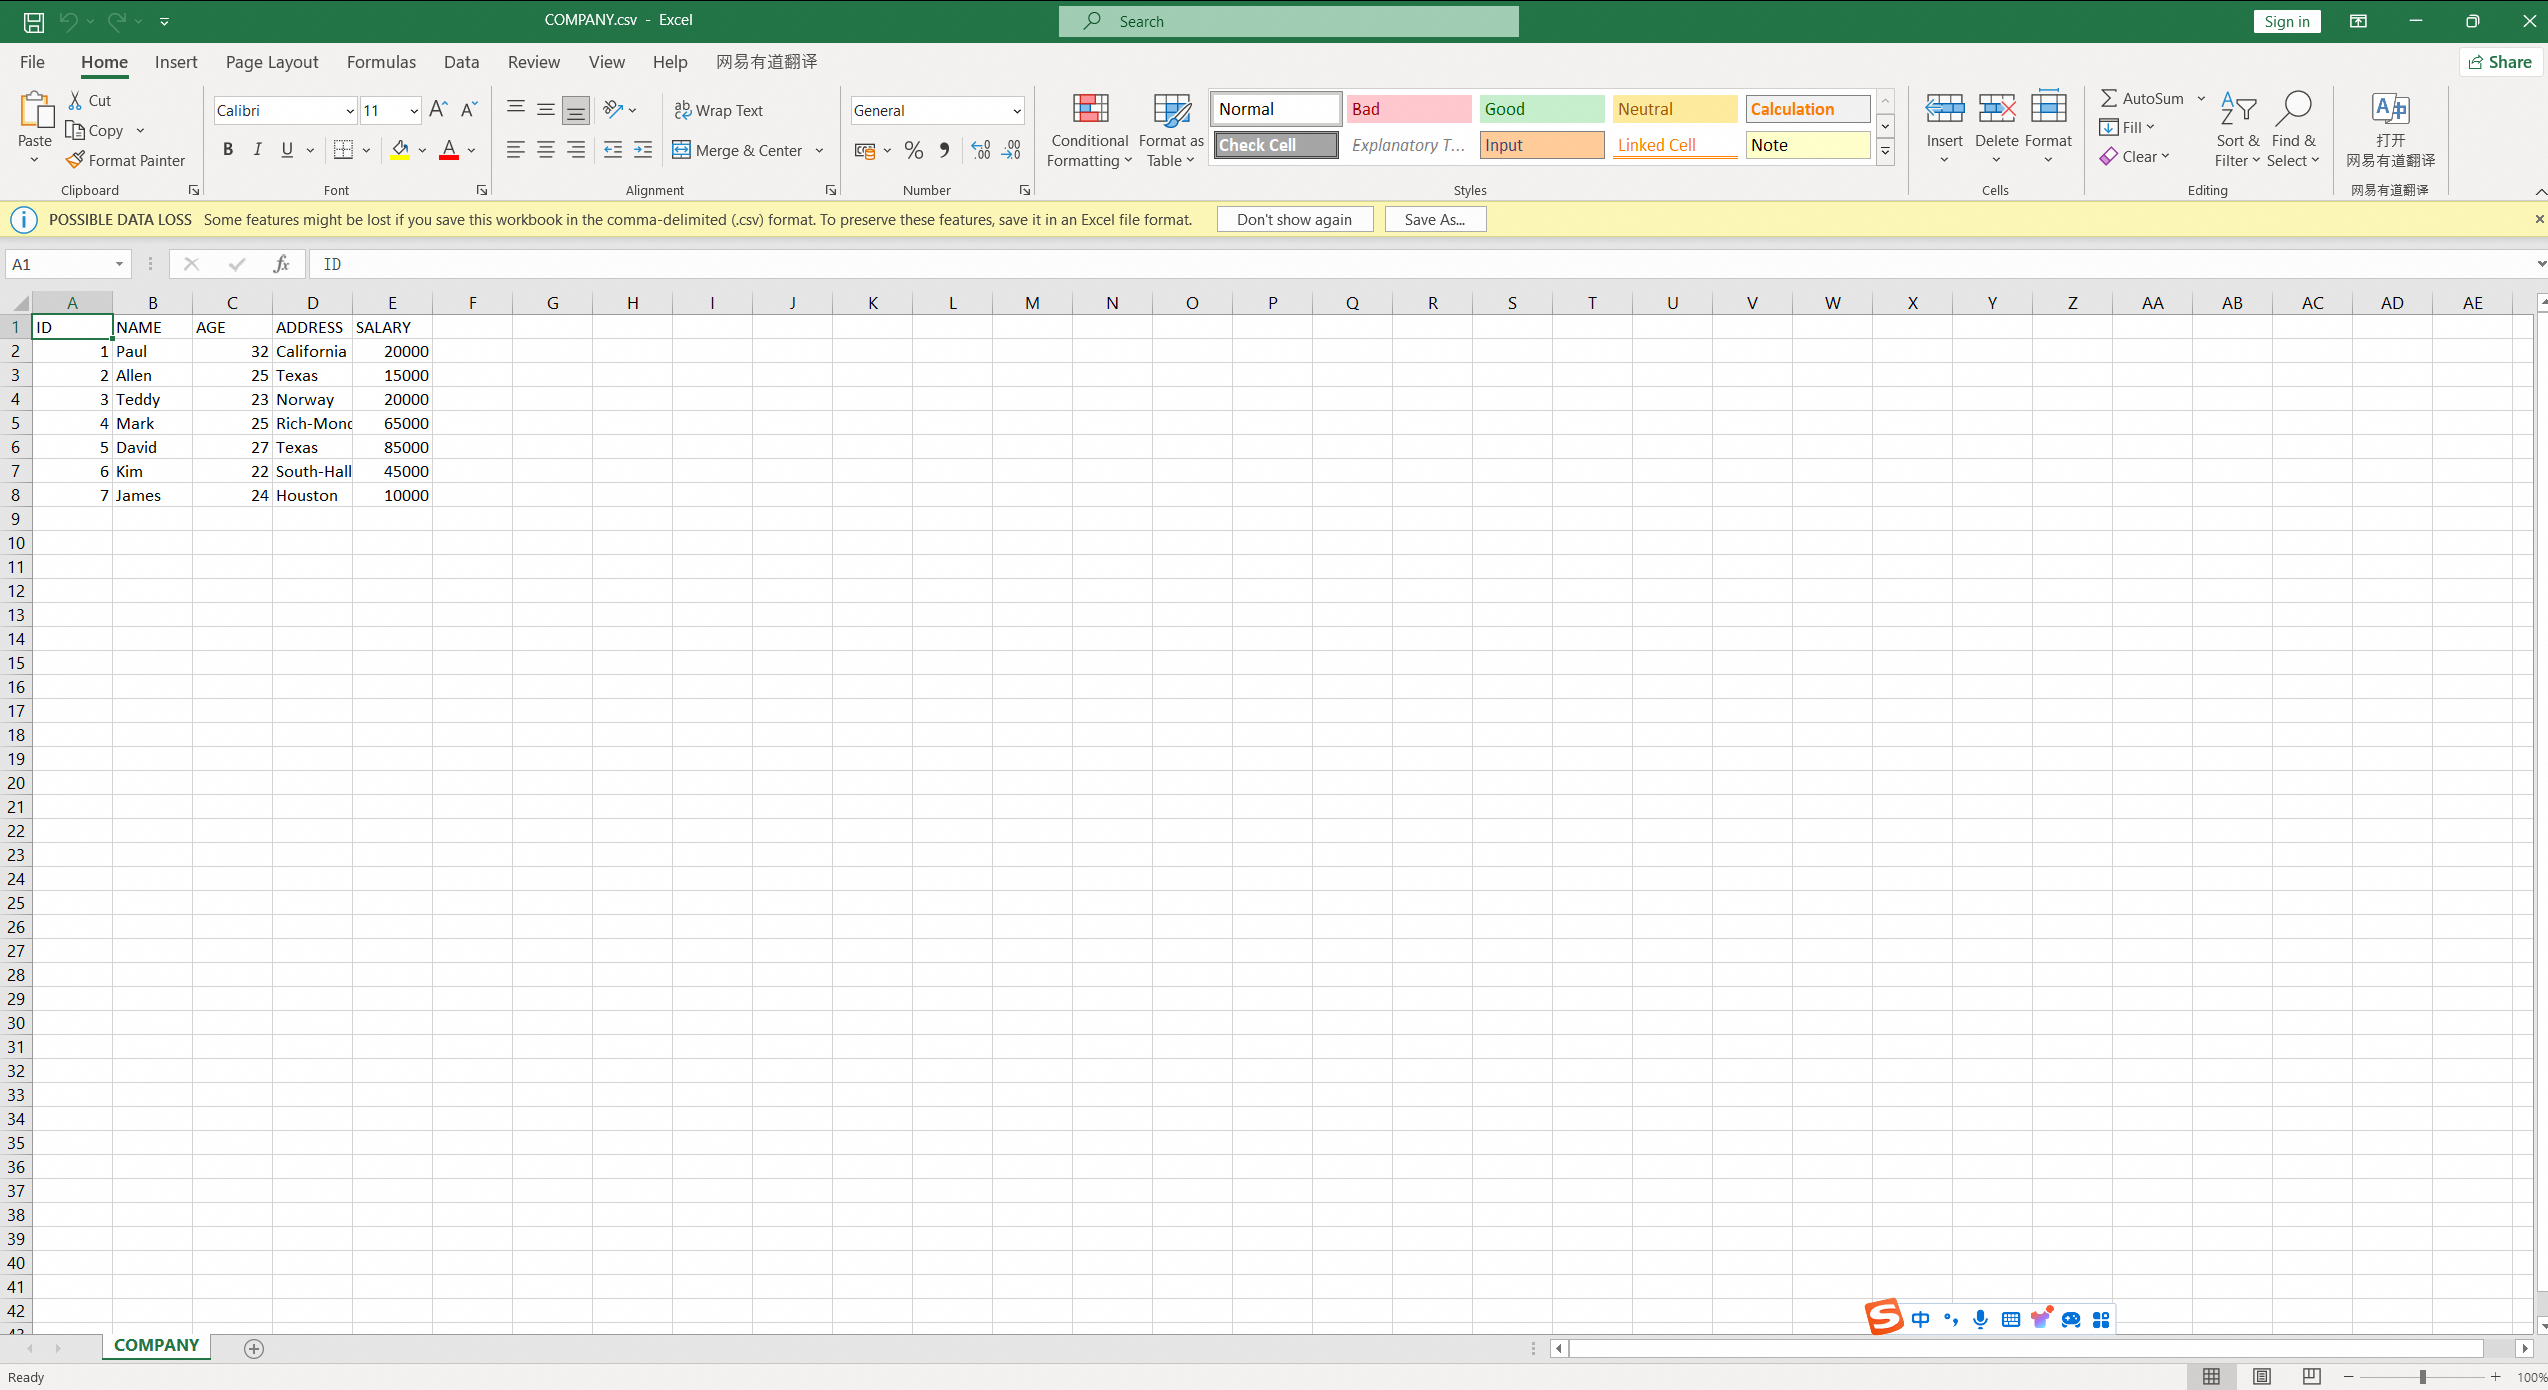
3.2 Check the exported CSV file to see whether the data and file encoding are normal.
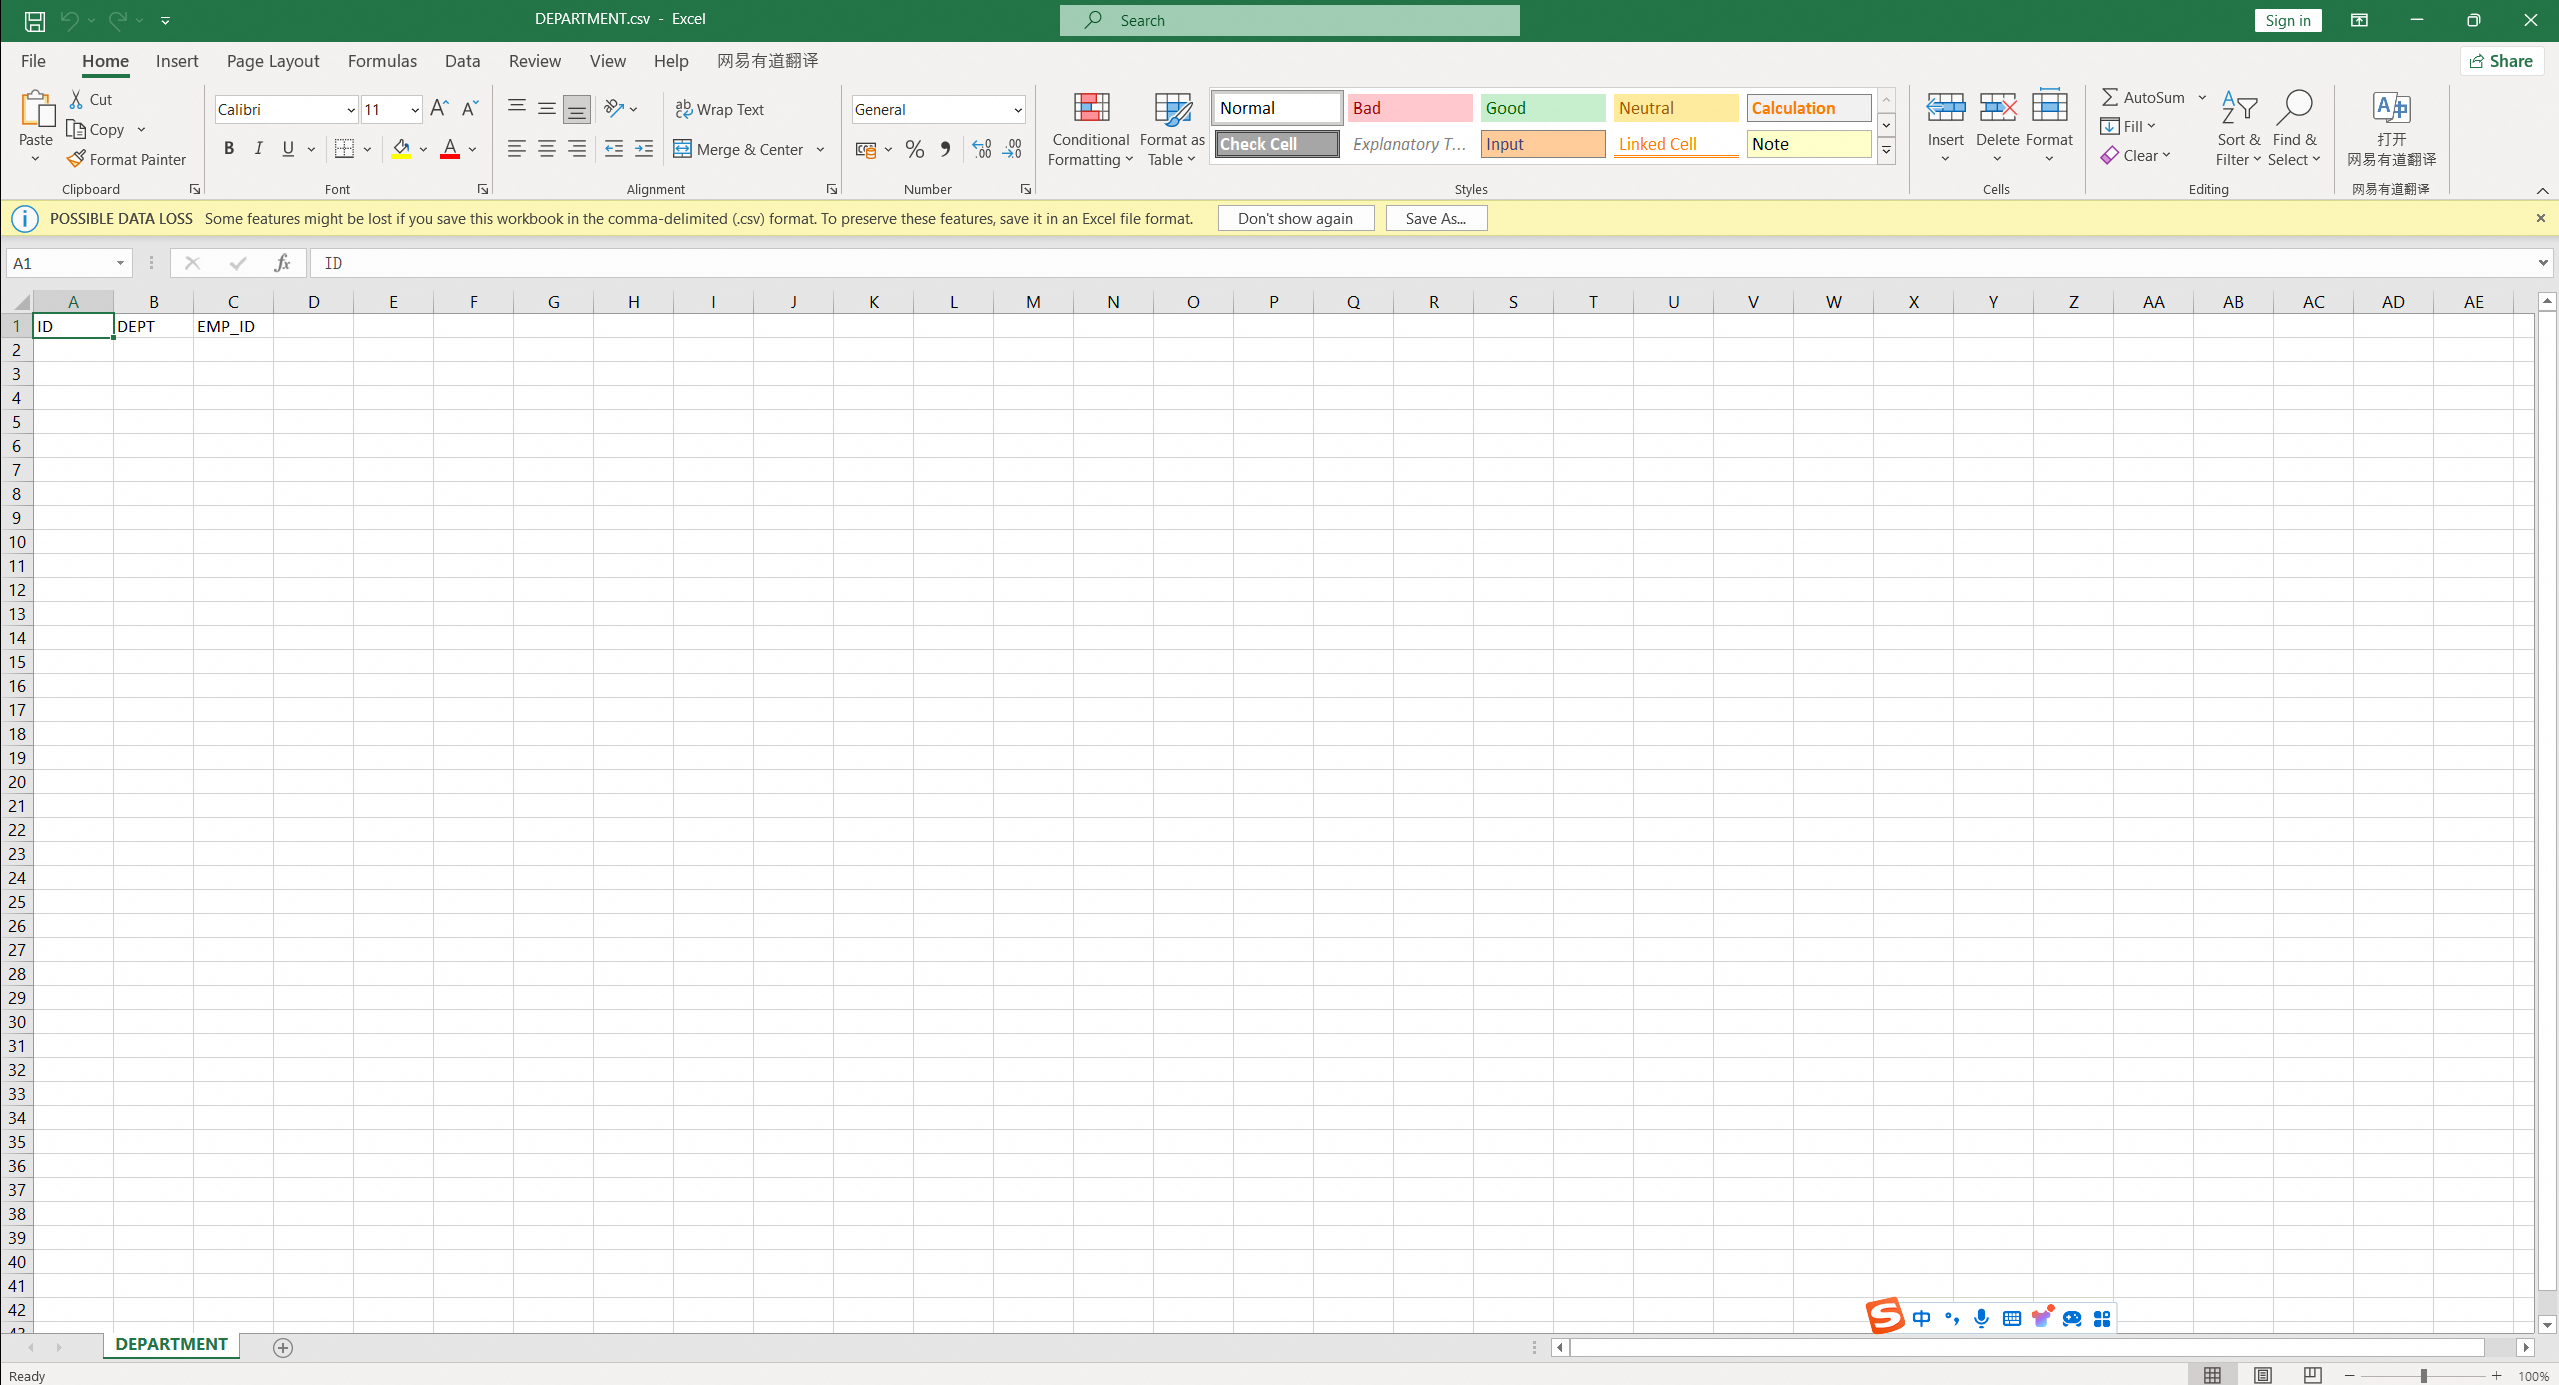
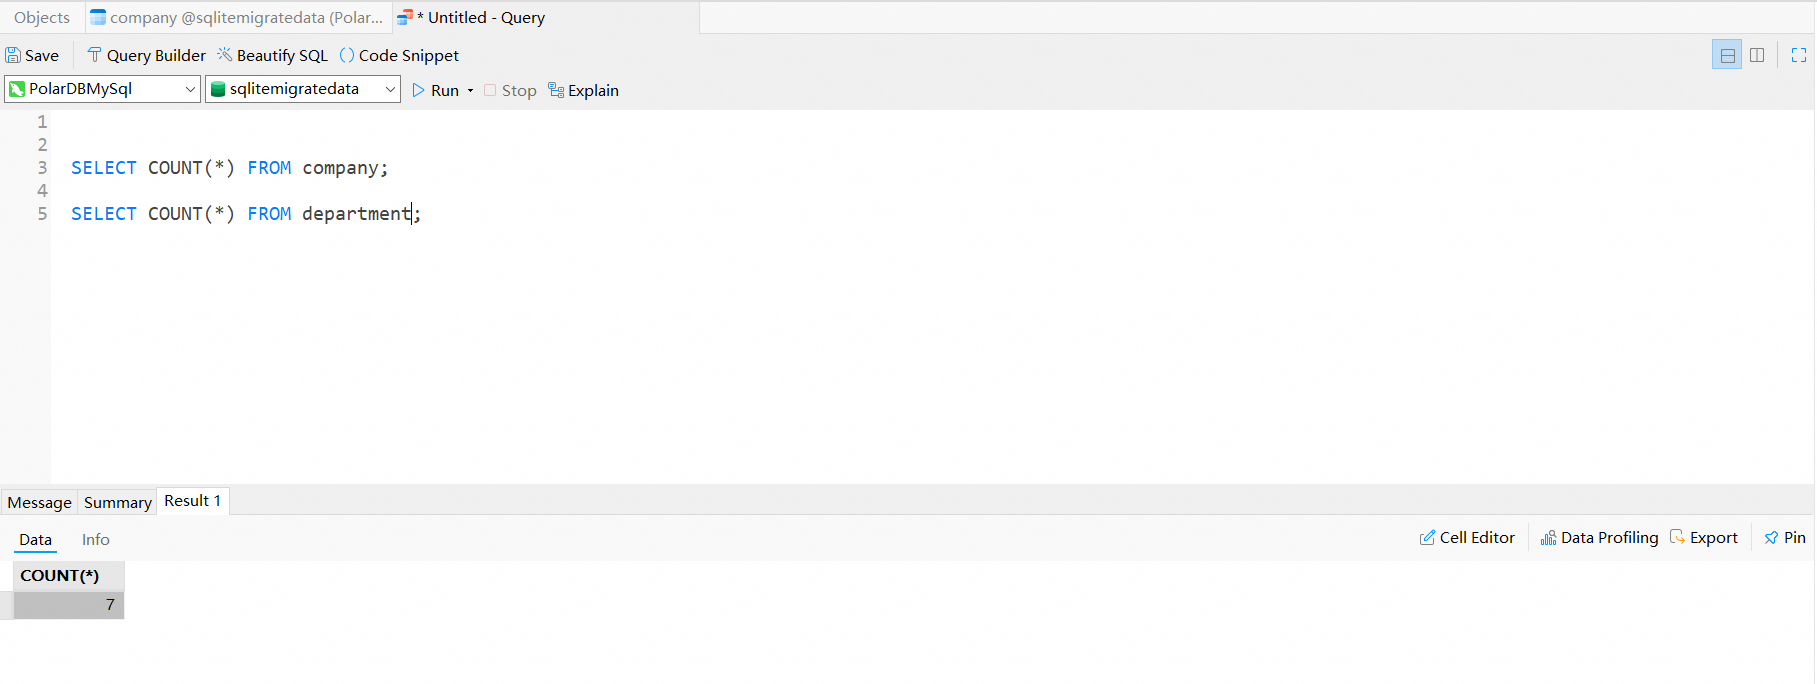
3.3 Check the database table and the count of rows imported into PolarDB for MySQL.

[Infographic] Highlights | Database New Features in August 2024
Best Practices for GanosBase Real-Time Heatmap Aggregation Query
Dikky Ryan Pratama - May 9, 2023
Alibaba Clouder - March 1, 2019
Alibaba Cloud Indonesia - May 4, 2021
Edwin Tack - August 30, 2023
Tran Phuc Hau - April 8, 2023
PM - C2C_Yuan - September 23, 2022
 Database Migration Solution
Migrating to fully managed cloud databases brings a host of benefits including scalability, reliability, and cost efficiency.
Learn More Oracle Database Migration Solution
Migrate your legacy Oracle databases to Alibaba Cloud to save on long-term costs and take advantage of improved scalability, reliability, robust security, high performance, and cloud-native features.
Learn More ADAM(Advanced Database & Application Migration)
An easy transformation for heterogeneous database.
Learn More PolarDB for PostgreSQL
Alibaba Cloud PolarDB for PostgreSQL is an in-house relational database service 100% compatible with PostgreSQL and highly compatible with the Oracle syntax.
Learn MoreMore Posts by ApsaraDB