This solution deploys simple cloud-native web app on Alibaba Cloud to visualize the spread and impact of COVID-19, subscribe for daily updates, and view stats.
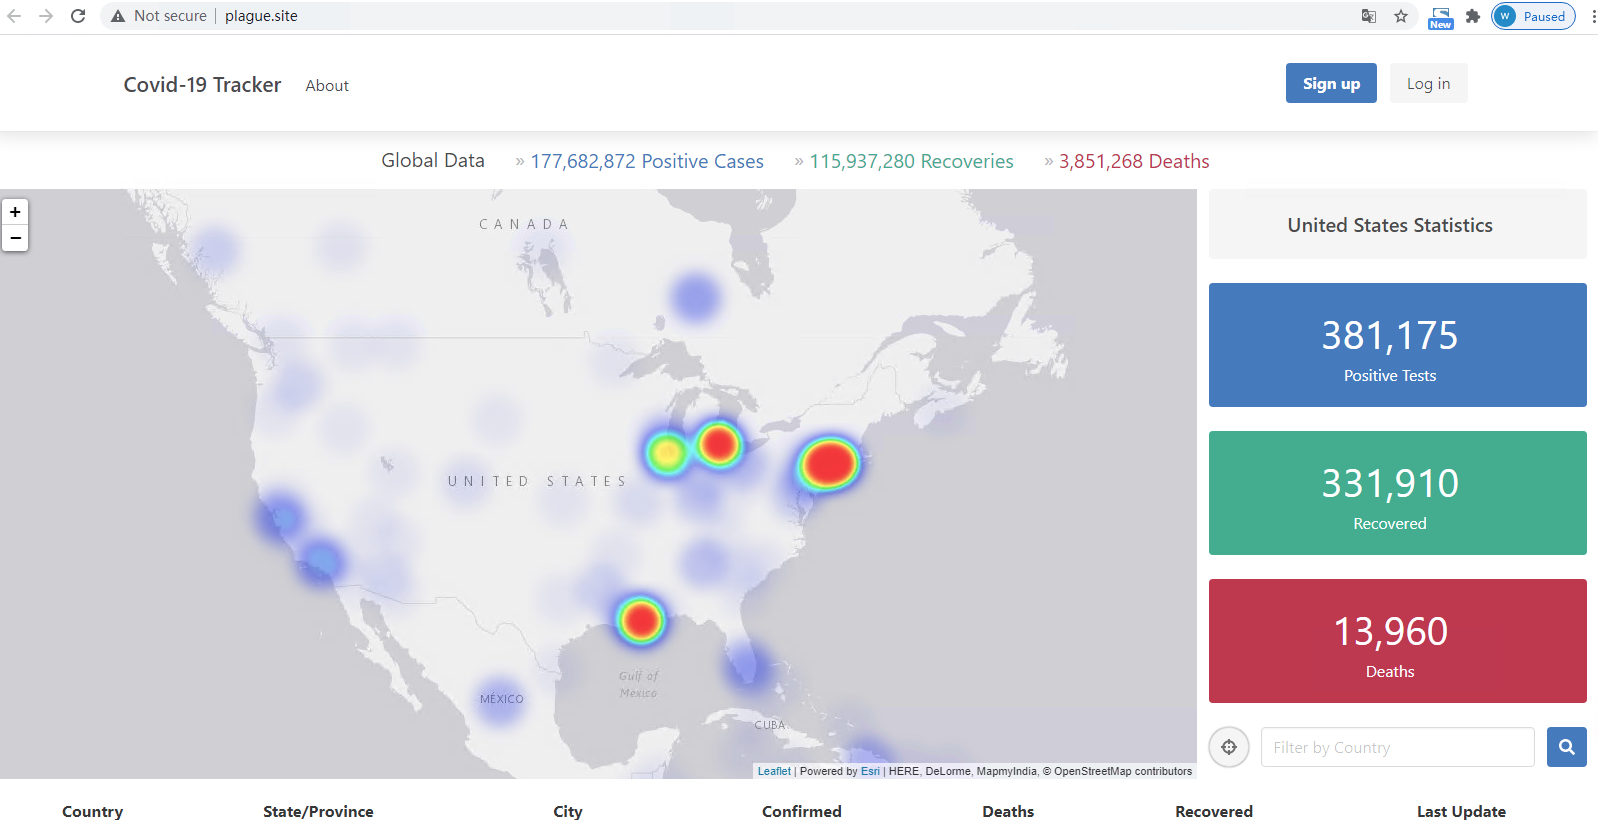
You can access all the tutorial resources, including deployment script (Terraform), related source code, sample data and instruction guidance from the github project: https://github.com/alibabacloud-howto/solution-covid19-tracker
For more tutorials around Alibaba Cloud Database, please refer to: https://github.com/alibabacloud-howto/database
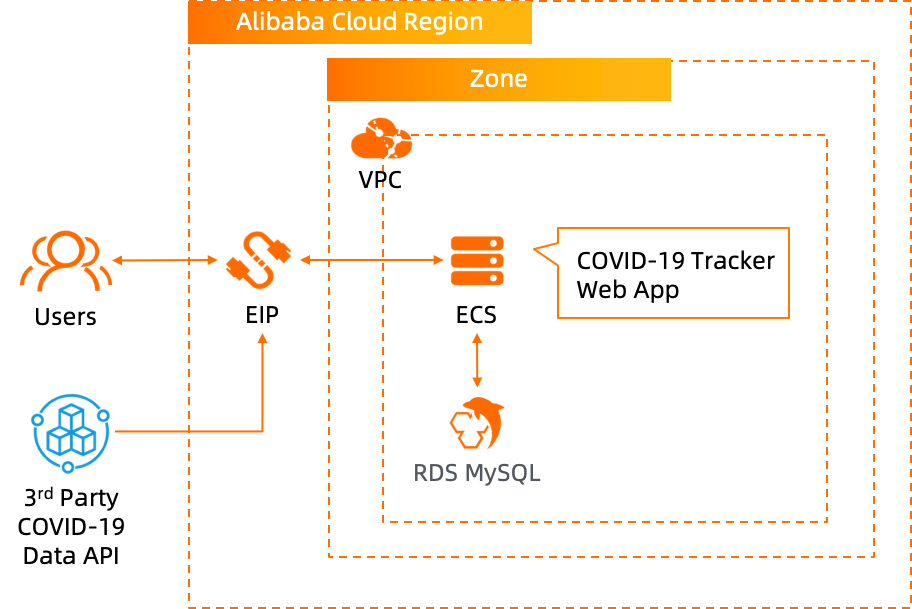
Set up terraform CLI environment on your desktop. For the tutorial about how to setup Terraform CLI, you can refer to https://www.alibabacloud.com/help/doc-detail/91289.htm
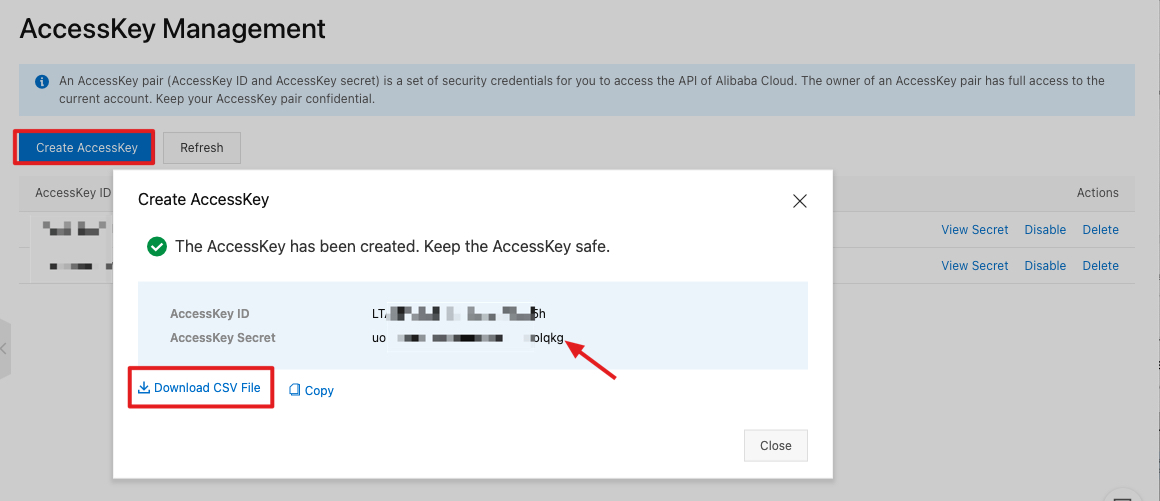
Refer back to the user's home directory as shown below, click AccessKey Management.

Click Create AccessKey. After AccessKey has been created successfully, AccessKeyID and AccessKeySecret are displayed. AccessKeySecret is only displayed once. Click Download CSV FIle to save the AccessKeySecret
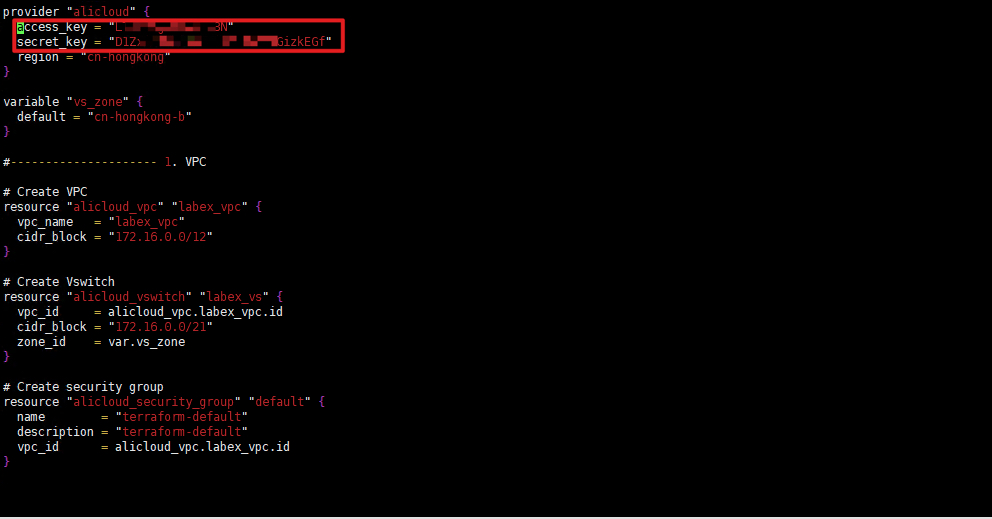
Go to the directory of Terraform script: deployment/terraform/. Enter the command vim main.tf, edit the Terraform script. Please pay attention to modify var.access_key and var.secret_key to the user's own AccessKey
Enter the following command,
terraform init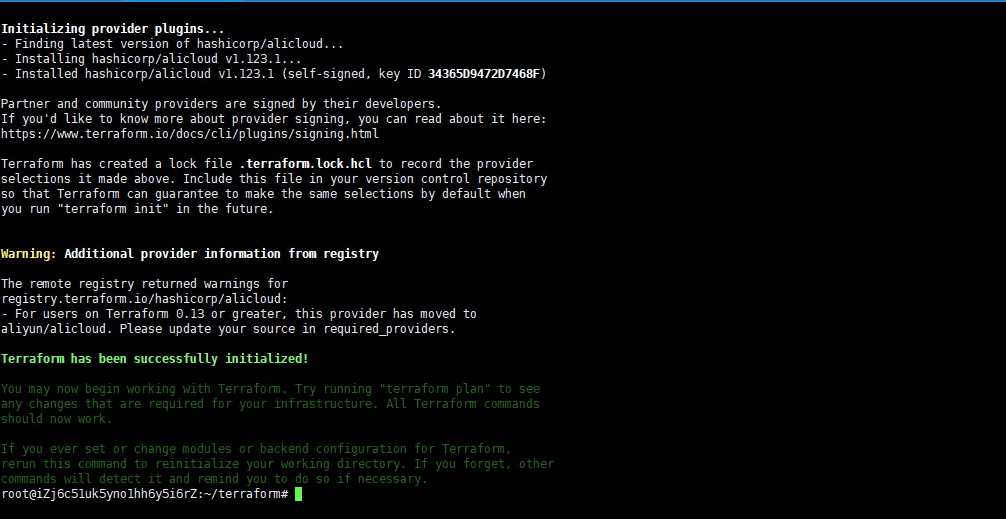
Enter the following command to list the resources planned to be created according to the template.
terraform plan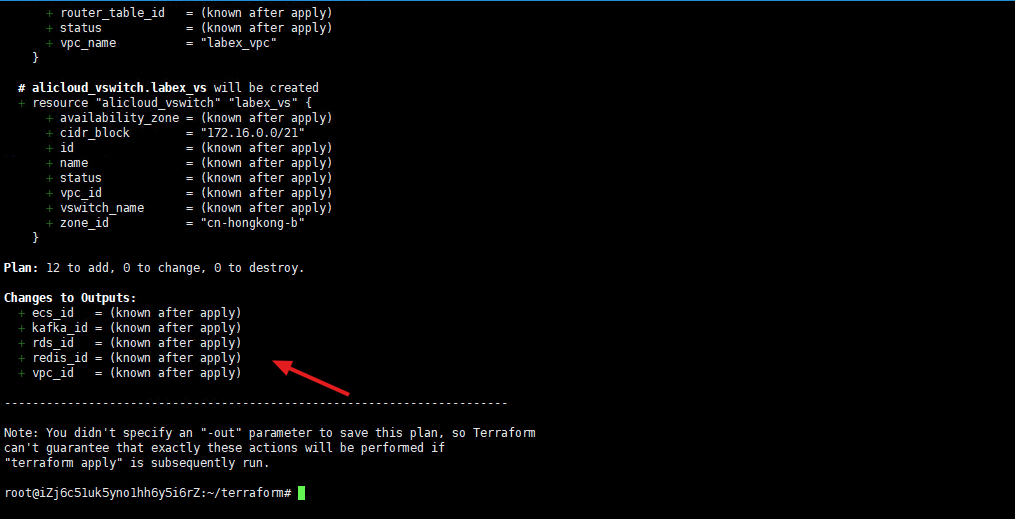
Enter the following command to start creating resources based on the template.
terraform apply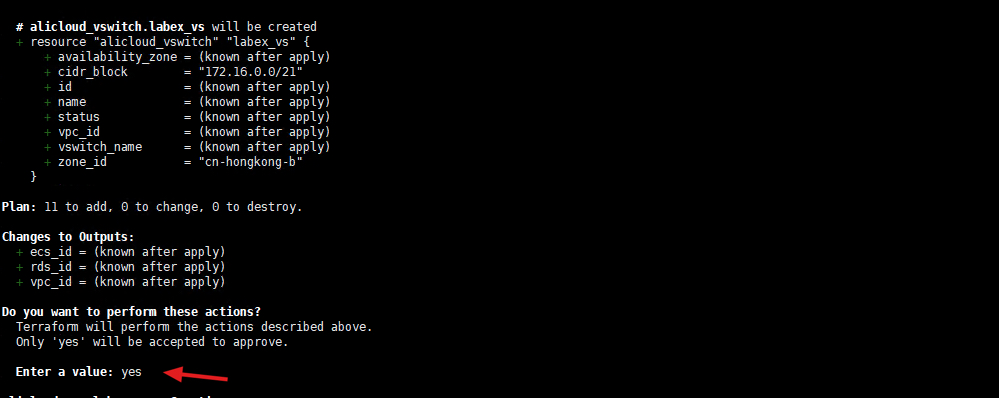
Enter "yes" to start creating related resources. It takes about 3 minutes, please wait patiently.
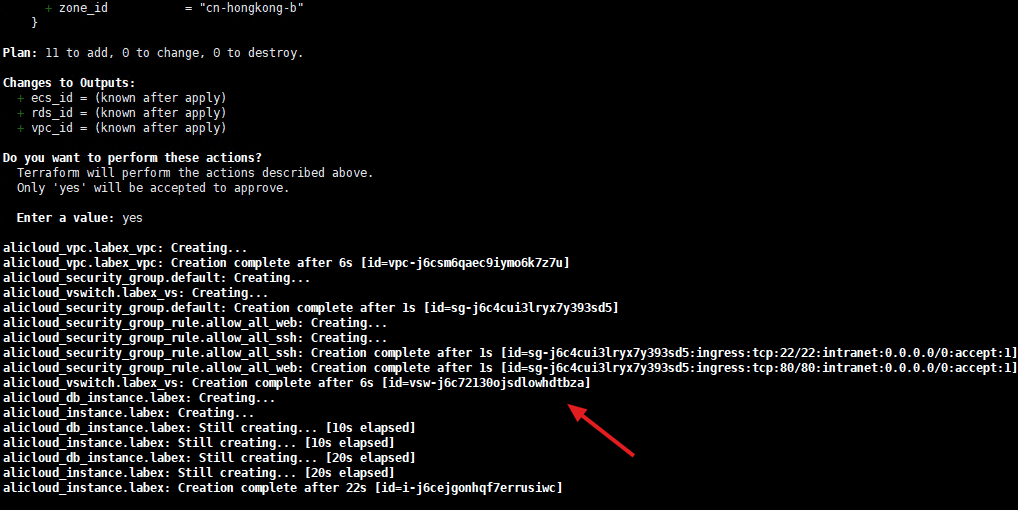
Created successfully.
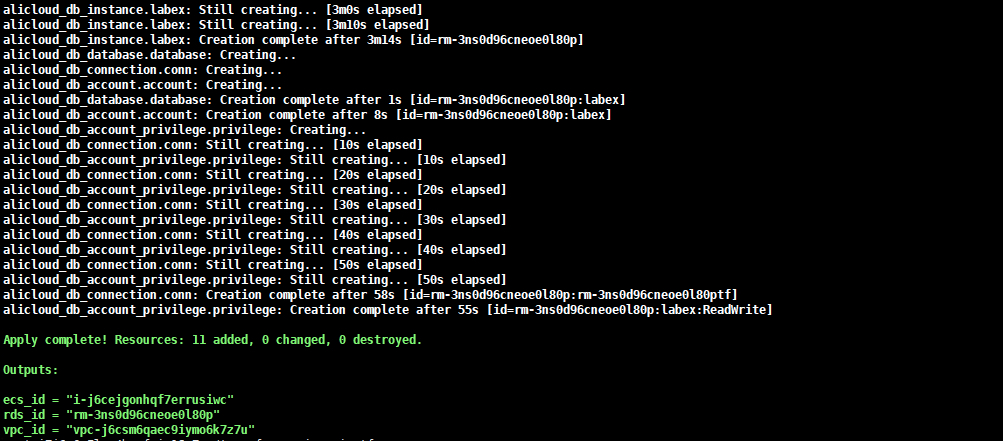
Back to the ECS console, you can see the new ECS instance you just created, and log in to the instance remotely.

The default account name and password of the ECS instance:
Account name: root
Password: Aliyun-test
Enter the following command to download the nodejs installation package.
wget https://nodejs.org/dist/v14.17.1/node-v14.17.1-linux-x64.tar.xz
Enter the following command to decompress the installation package.
tar -xf node-v14.17.1-linux-x64.tar.xz
Enter the following command to create a command soft link.
ln -s /root/node-v14.17.1-linux-x64/bin/node /usr/bin/

ln -s /root/node-v14.17.1-linux-x64/bin/npm /usr/bin/
Enter the following command to check the node version.
node -v

npm -v
Has been successfully installed.
Enter the following command to install git.
apt update && apt -y install git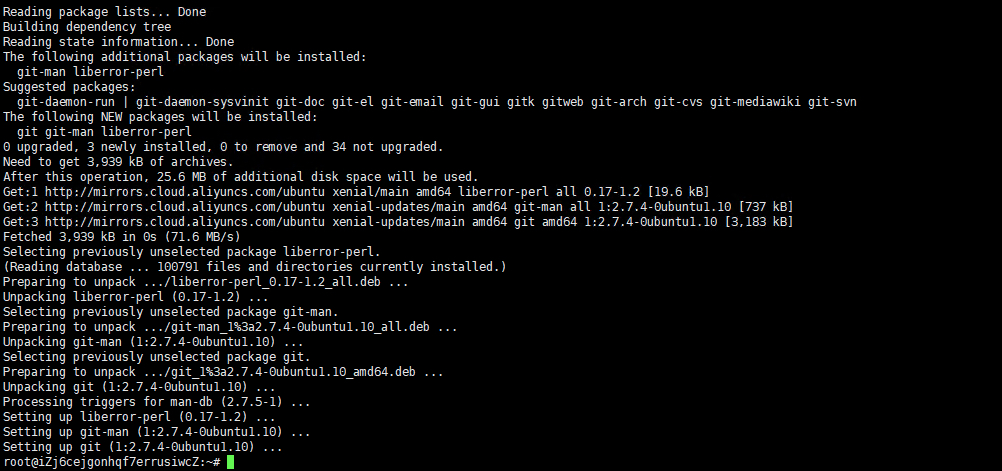
Enter the following command to pull the sample project.
git clone https://github.com/yankidank/covid-19-tracker.git
Enter the following command to enter the project directory.
cd covid-19-tracker
Enter the following command to install project dependencies.
npm install --unsafe-perm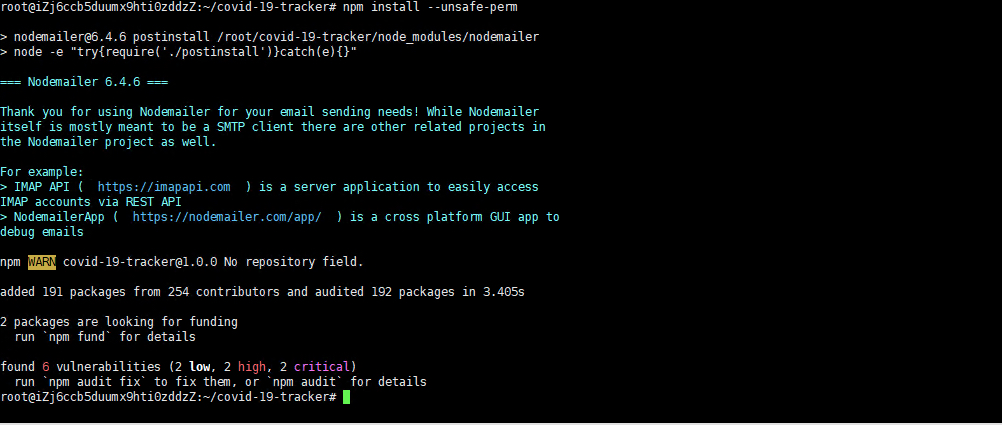
Refer to the figure below to go to the Alibaba Cloud RDS console,
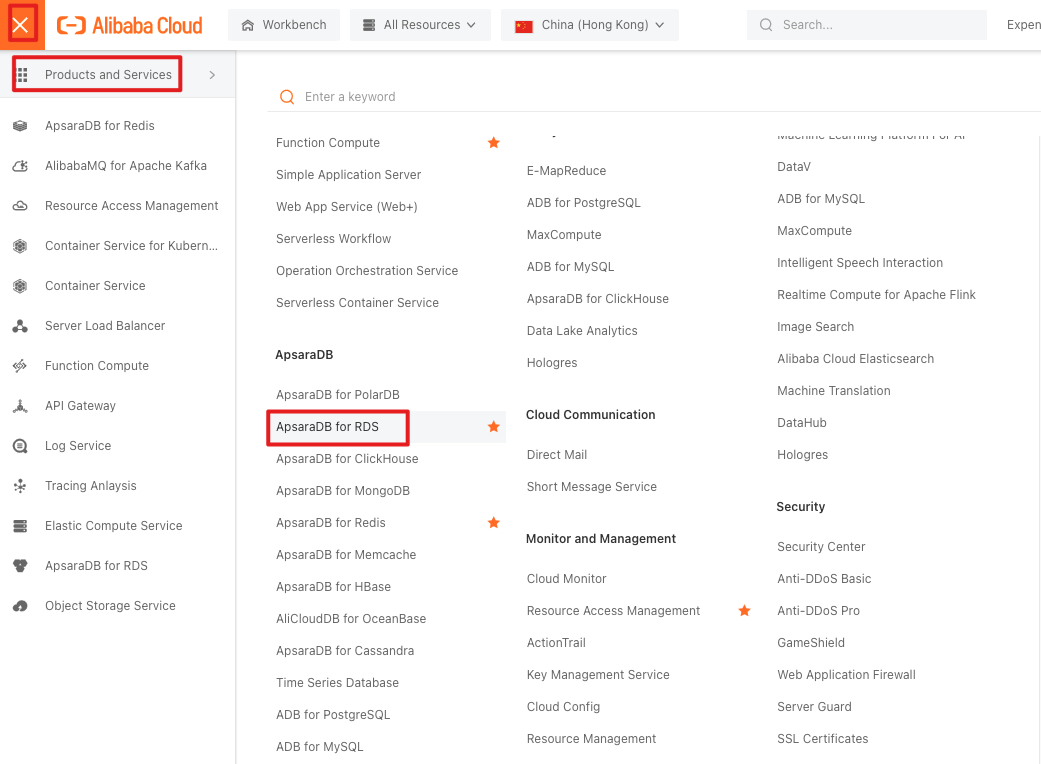
You can see the RDS database just created using Terraform.
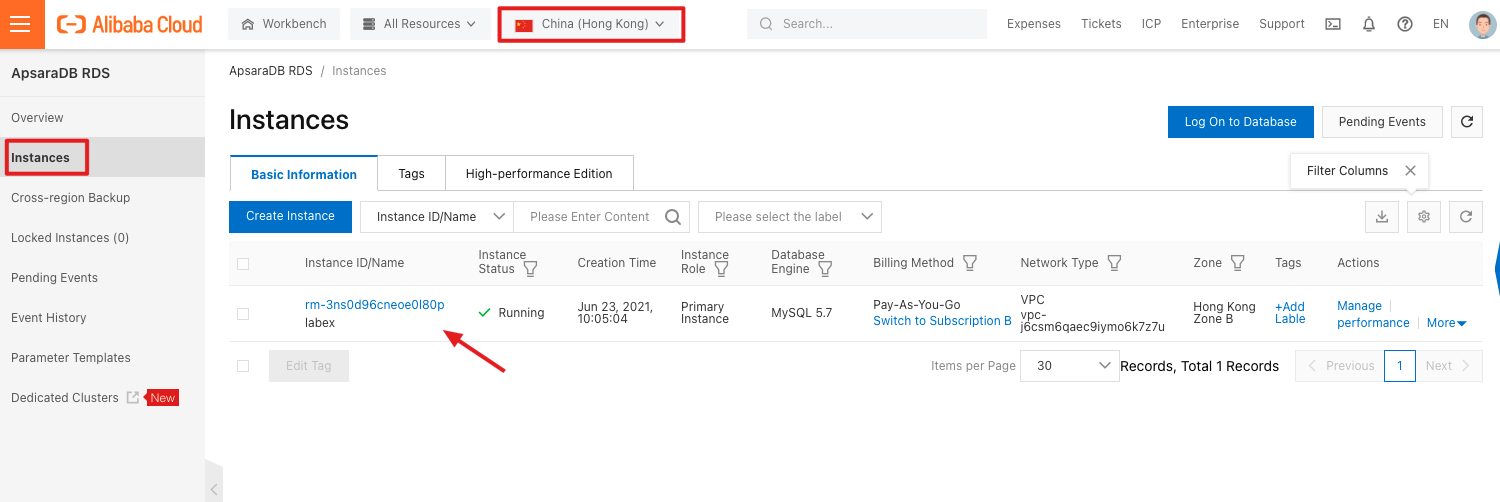
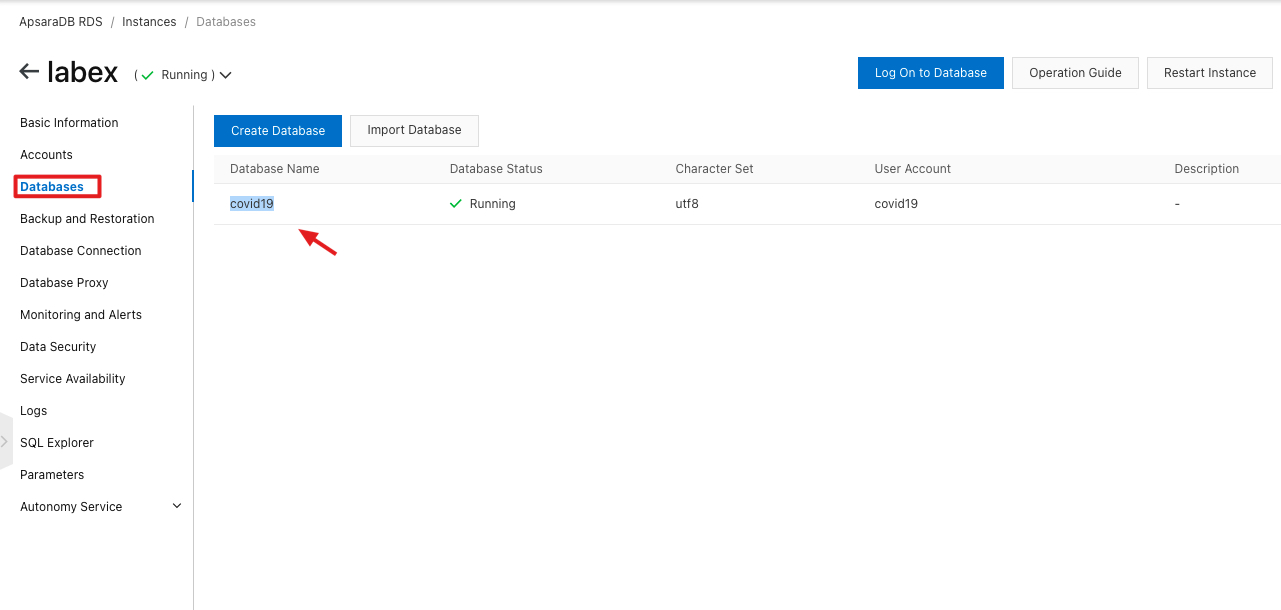
Click to enter the instance ID to enter the detailed page. You can see that the "covid19" database and account have been created automatically.

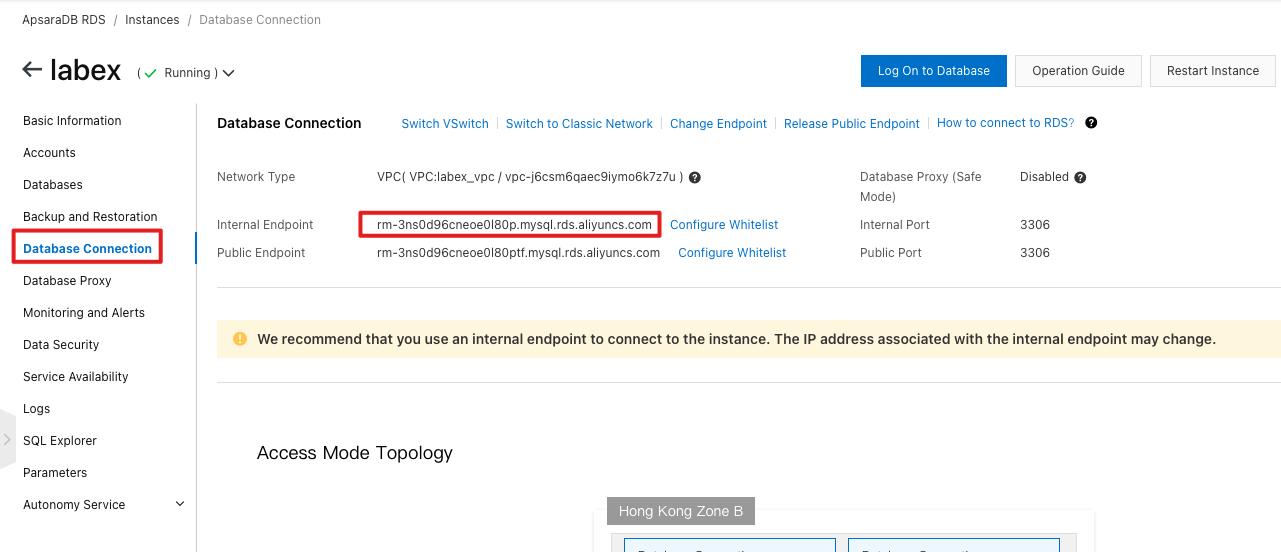
Intranet address of RDS.
Back to the ECS command line, enter the following command to install the mysql client.
apt -y install mysql-client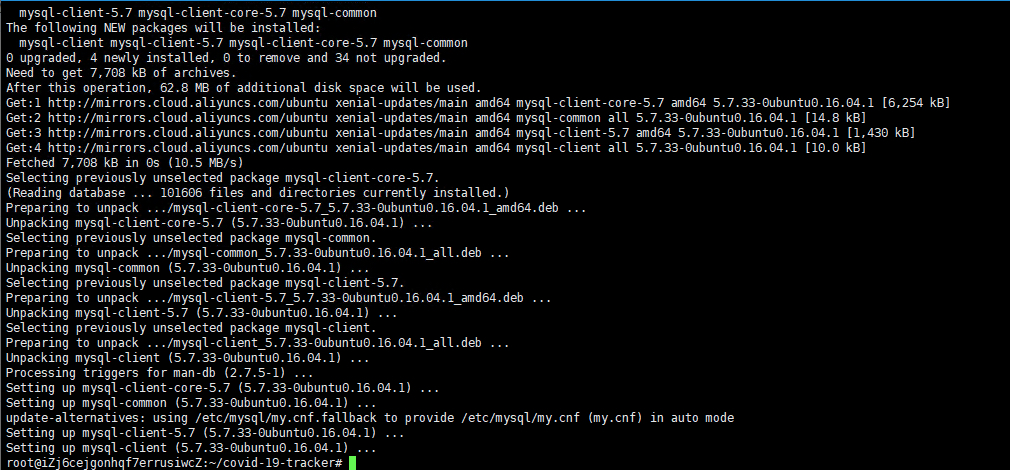
Enter the following command to log in to the RDS instance database. Please pay attention to replace YOUR-RDS-INTERNAL-ENDPOINT with the intranet address of the user's own RDS instance.
mysql -hYOUR-RDS-INTERNAL-ENDPOINT -ucovid19 -pAliyun-test -Dcovid19 
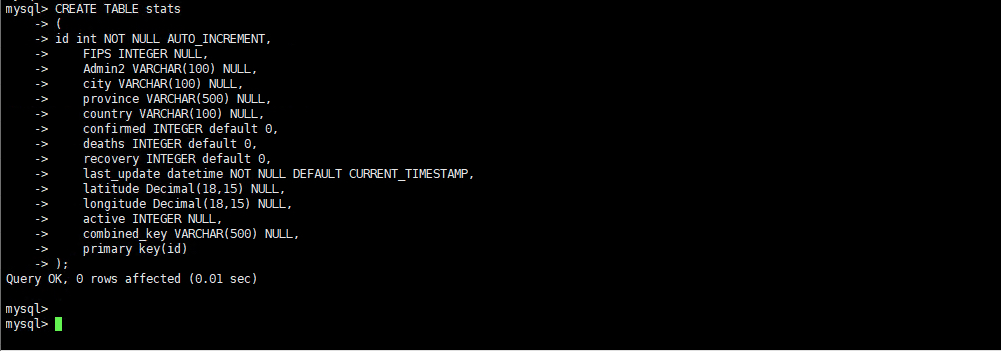
Enter the following command to create the "stats" table.
CREATE TABLE stats
(
    id int NOT NULL AUTO_INCREMENT,
    FIPS INTEGER NULL,
    Admin2 VARCHAR(100) NULL,
    city VARCHAR(100) NULL,
    province VARCHAR(500) NULL,
    country VARCHAR(100) NULL,
    confirmed INTEGER default 0,
    deaths INTEGER default 0,
    recovery INTEGER default 0,
    last_update datetime NOT NULL DEFAULT CURRENT_TIMESTAMP,
    latitude Decimal(18,15) NULL,
    longitude Decimal(18,15) NULL,
    active INTEGER NULL,
    combined_key VARCHAR(500) NULL,
    primary key(id)
);
Enter the following command to exit the database first.
exit
Enter the command vim config/config.json to open the configuration file and modify the connection configuration of the database referring to the following figure.
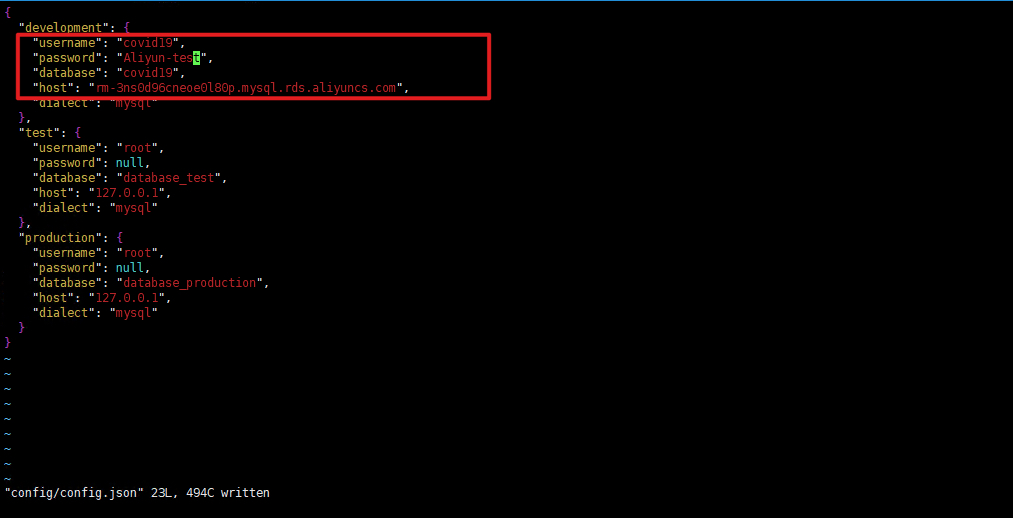
Enter the command vim csv_to_mysql/read-file-4.js to open the configuration file and also modify the connection configuration of the database.
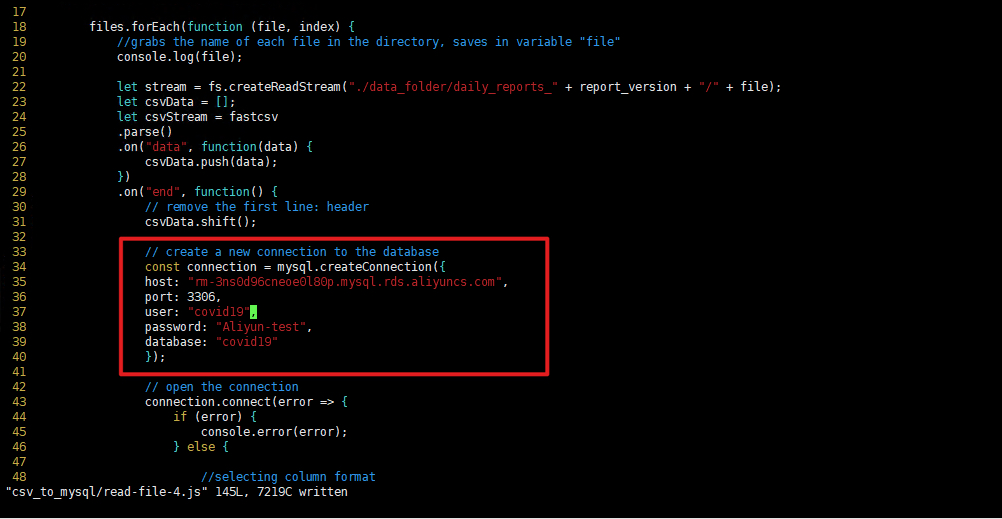
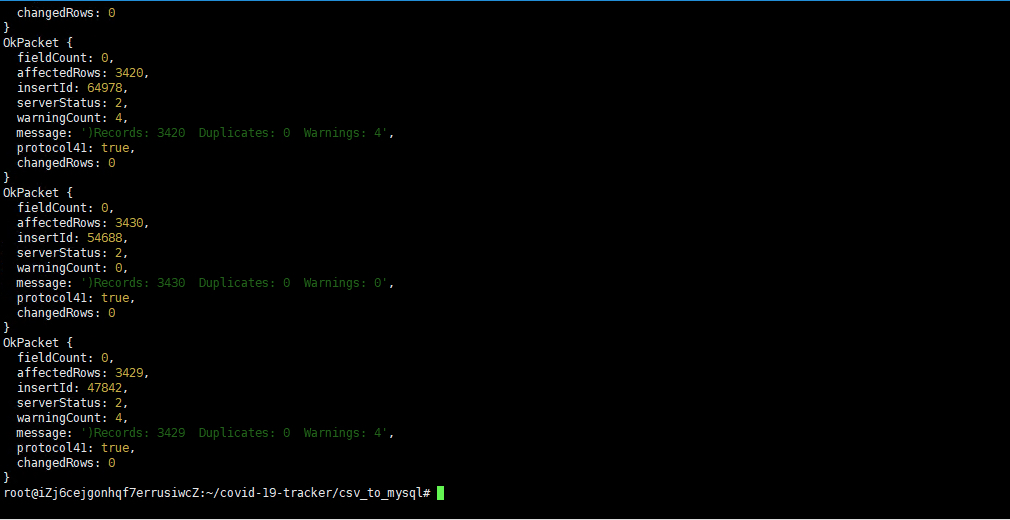
Enter the following command to execute the script file to import data into the database.
cd csv_to_mysql

node read-file-4.js
SparkPost is a developer-centric email delivery service. All email sending and receiving can be done using API.
Users need to log in to the Sparkpost official website to register an account.
https://www.sparkpost.com/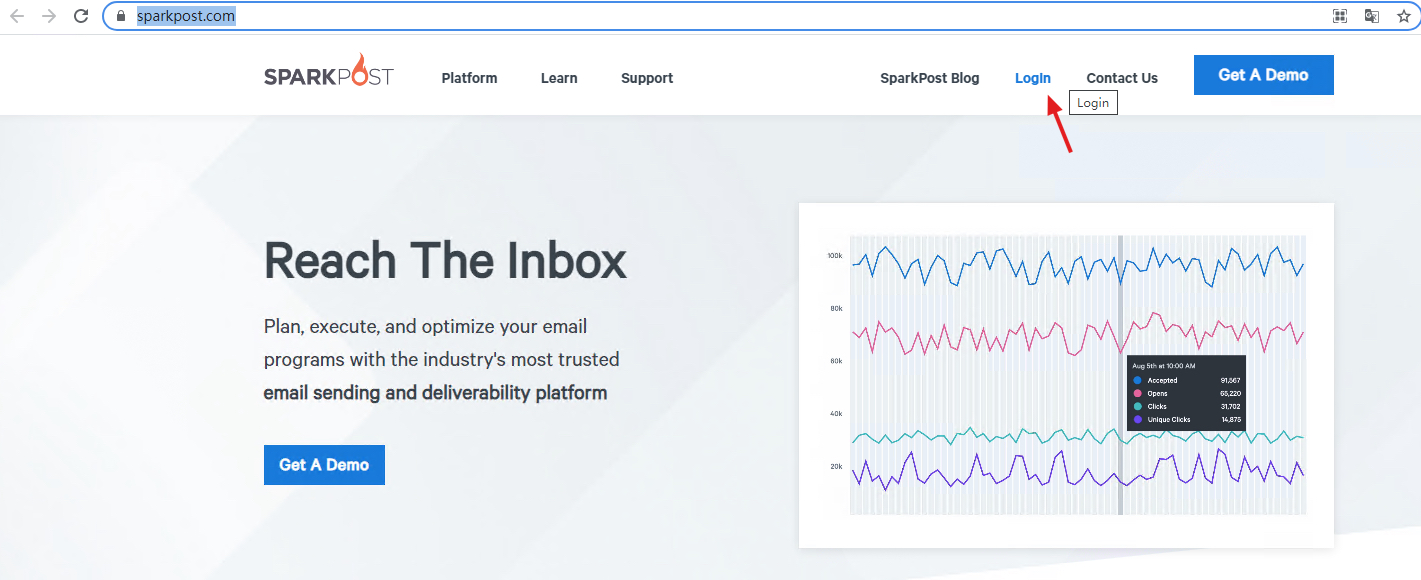
Refer to the figure below to create a KEY.
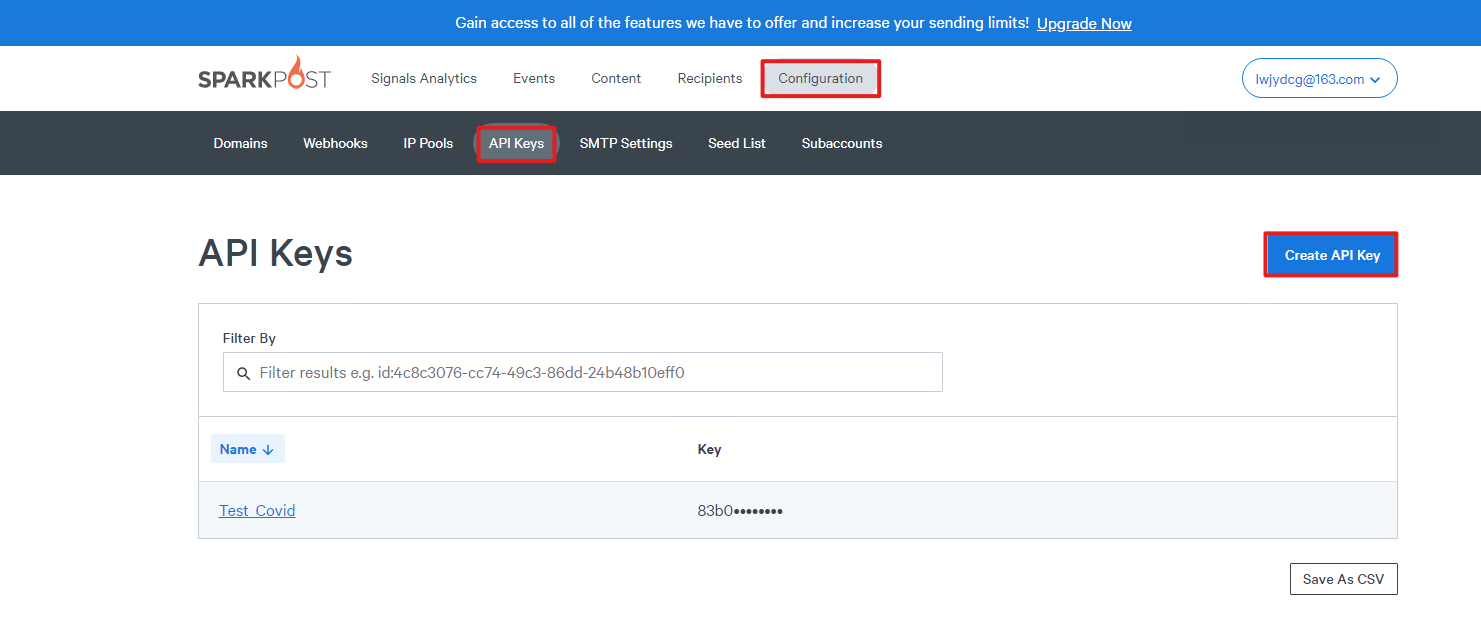
Back to the ECS command line,
Enter the command "vim /etc/profile" and add the following content to the end of the file. Please pay attention to replace YOUR-API-KEY and YOUR-SECRET with your own.
vim /etc/profileexport SPARKPOST_API_KEY=YOUR-API-KEY
export LOGIN_SECRET=YOUR-SECRET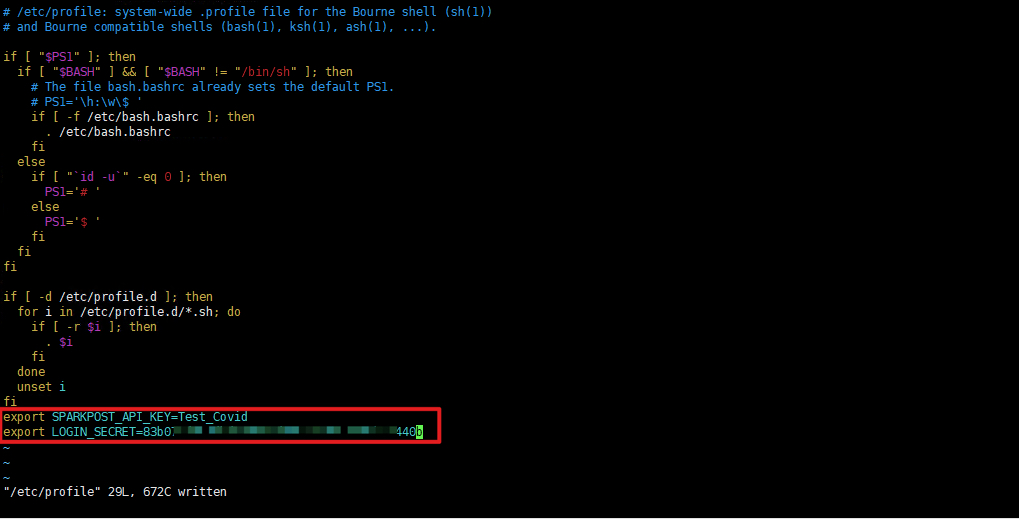
Enter the following command to make the modification effective.
source /etc/profile
Enter the following command to start the application.
cd /root/covid-19-tracker

node server.js
Refer to the figure below and visit on the browser with ECS public IP:
http://<ECS_IP>:8080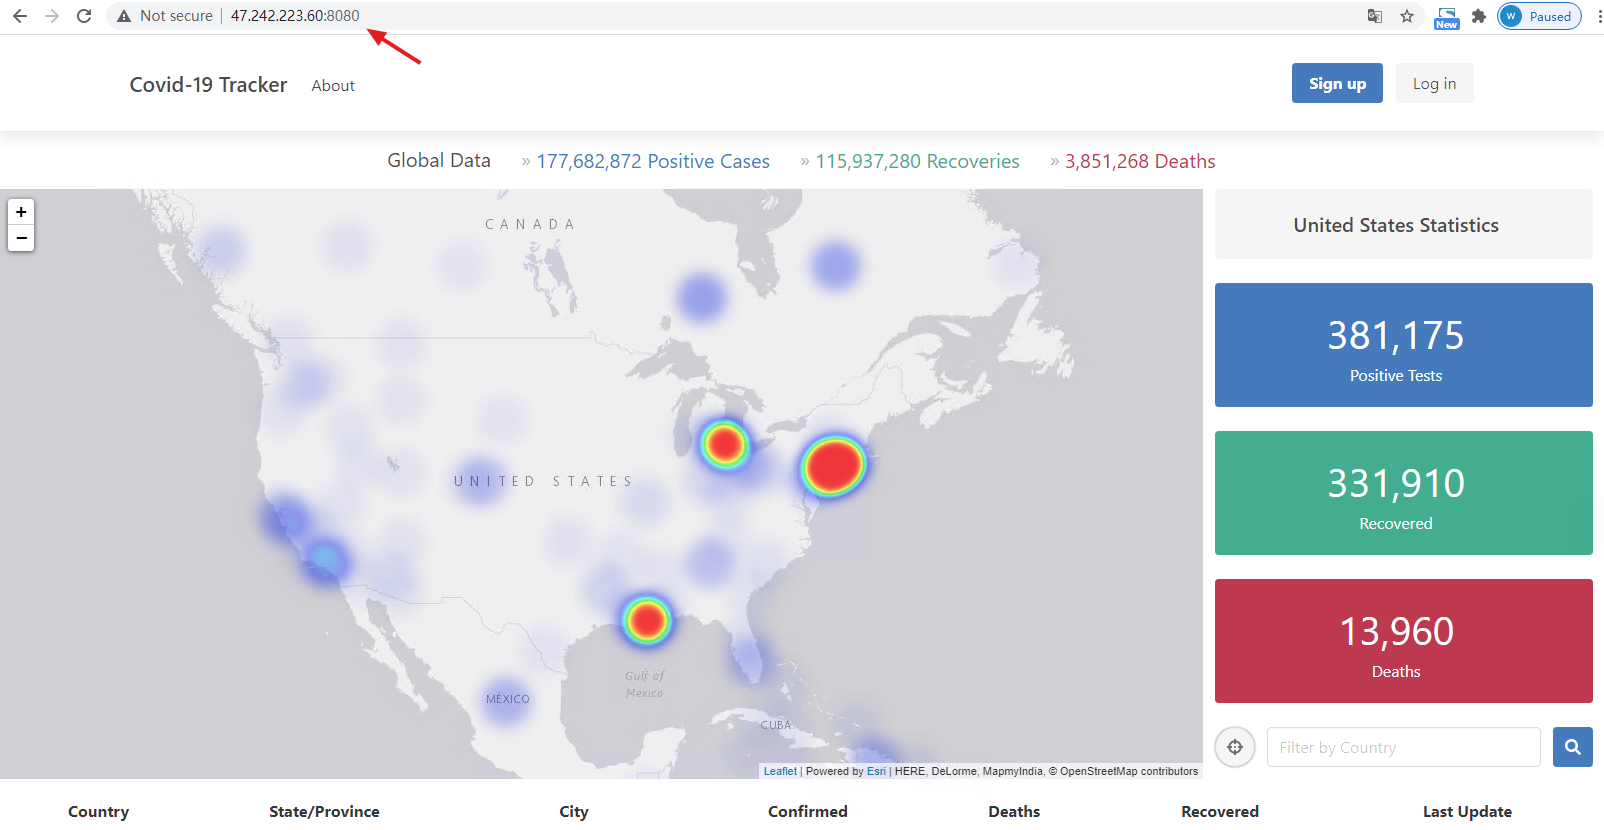
It shows that the startup is successful.
Alibaba Clouder - April 3, 2020
Alibaba Clouder - April 3, 2020
Alibaba Clouder - March 28, 2019
Alibaba Clouder - April 16, 2020
Alibaba Cloud Native - February 7, 2021
Alibaba Clouder - March 24, 2020
 Web Hosting Solution
Explore Web Hosting solutions that can power your personal website or empower your online business.
Learn More Web Hosting
Explore how our Web Hosting solutions help small and medium sized companies power their websites and online businesses.
Learn More Database Migration Solution
Migrating to fully managed cloud databases brings a host of benefits including scalability, reliability, and cost efficiency.
Learn More Database for FinTech Solution
Leverage cloud-native database solutions dedicated for FinTech.
Learn MoreMore Posts by ApsaraDB