This topic describes how to deploy a Next.js application to Function Compute. Function
Compute provides a method different from traditional deployment methods. You can deploy
a traditional Next.js application to Function Compute and use the application for
production without performing operations such as purchasing a server. The deployed
Next.js application can use the auto scaling, pay-as-you-go, and O&M-free features
of Function Compute.
Prerequisites
The following operations are complete:
Notice
The content about how to use Funcraft to migrate an application from a traditional
framework is no longer maintained. We recommend that you use Serverless Devs to migrate
relevant frameworks to Function Compute.
For more information about how to migrate Function Compute-related resources from
Funcraft to Serverless Devs, see Migrate resources from Funcraft to Serverless Devs.
For more information about how to use Serverless Devs to migrate an application from
a web framework, see Use Serverless Devs to migrate web frameworks.
We apologize for any inconvenience caused.
Background information
Next.js is a React framework with server-side rendering. The framework is integrated with
webpack, Babel, and Express. You can build server-side rendered (SSR) React applications
by using only Next.js, React, and ReactDOM, and do not need to be concerned about
routing. Next.js is highly integrated. This facilitates code splitting, redirection,
hot updates, server-side rendering, and frontend rendering.
Procedure
- Create a Next.js project in the specified directory.
- Run the following command:
npm init next-app
Note If a Next.js project already exists, skip this step.
- Customize the project name during command output and press the ENTER key. In this
example, the project name is nextjs.
Sample command output:
npx: installed 1 in 4.593s
√ What is your project named? ... nextjs
Creating a new Next.js app in C:\Users\test\Desktop\ggg\nextjs.

Using npm.

Installing dependencies:
- react
- react-dom
- next

npm notice created a lockfile as package-lock.json. You should commit this file.
npm WARN optional SKIPPING OPTIONAL DEPENDENCY: fsevents@~2.3.1 (node_modules\chokidar\node_modules\fsevents):
npm WARN notsup SKIPPING OPTIONAL DEPENDENCY: Unsupported platform for fsevents@2.3.2: wanted {"os":"darwin","arch":"any"} (current: {"os":"win32","arch":"x64"})

+ next@10.2.2
+ react-dom@17.0.2
+ react@17.0.2
added 269 packages from 225 contributors and audited 270 packages in 83.034s

45 packages are looking for funding
  run `npm fund` for details

found 0 vulnerabilities


Success! Created nextjs at C:\Users\test\Desktop\ggg\nextjs
Inside that directory, you can run several commands:

  npm run dev
    Starts the development server.

  npm run build
    Builds the app for production.

  npm start
    Runs the built app in production mode.

We suggest that you begin by typing:

  cd nextjs
  npm run dev
- Run the following command to open the created sample project or an existing project:
- Run the on-premises project.
npm run dev
Sample command output:
> nextjs@0.1.0 dev C:\Users\test\Desktop\ggg\nextjs
> next dev

ready - started server on 0.0.0.0:3000, url: http://localhost:3000
info  - Using webpack 5. Reason: no next.config.js https://nextjs.org/docs/messages/webpack5
event - compiled successfully
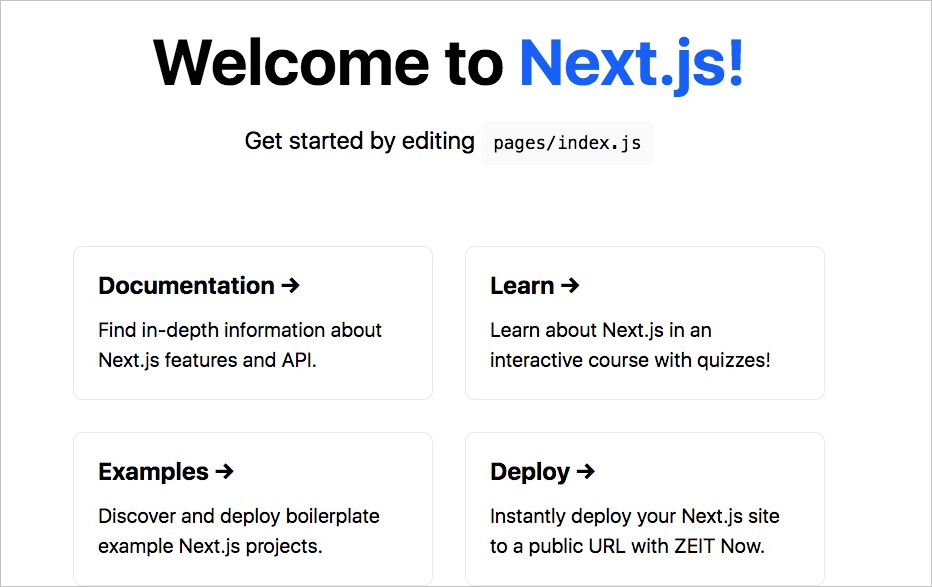
Enter
http://localhost:3000 in the expected output in your browser. The following result is returned:

- Run the following command to compile the Next.js project:
npm run build
Expected output:
> nextjs@0.1.0 build C:\Users\test\Desktop\ggg\nextjs
> next build

info  - Using webpack 5. Reason: no next.config.js https://nextjs.org/docs/messages/webpack5
info  - Checking validity of types
info  - Creating an optimized production build
info  - Compiled successfully
info  - Collecting page data
info  - Generating static pages (3/3)
info  - Finalizing page optimization

Page                                Size     First Load JS
┌ ○ /                               5.86 KB        68.9 KB
├   └ css/115bd9a6a9ada811c579.css  665 B
├   /_app                           0 B              63 KB
├ ○ /404                            3.06 KB        66.1 KB
└ λ /api/hello                      0 B              63 KB
+ First Load JS shared by all       63 KB
  ├ chunks/framework.64eb71.js      42 KB
  ├ chunks/main.899697.js           19.4 KB
  ├ chunks/pages/_app.968165.js     555 B
  ├ chunks/webpack.189c53.js        994 B
  └ css/fb7e07ce64500530d3fc.css    194 B

λ  (Server)  server-side renders at runtime (uses getInitialProps or getServerSideProps)
○  (Static)  automatically rendered as static HTML (uses no initial props)
●  (SSG)     automatically generated as static HTML + JSON (uses getStaticProps)
   (ISR)     incremental static regeneration (uses revalidate in getStaticProps)
- Run the following command to deploy the application to Function Compute:
After the application is deployed, you can check logs to find the temporary domain
name that is generated by Function Compute. You can use the temporary domain name
to access the deployed application.
Note The temporary domain name is used only for demonstration and development purposes.
It is valid for a limited period of time. You must use a domain name that has obtained
an Internet Content Provider (ICP) filing from Alibaba Cloud for production. For more
information, see
Configure a custom domain name.
