This topic describes how to migrate phone numbers in the ChatAPP console.
Usage notes
Downtime
Before the migration of phone numbers is complete, you can use the source WhatsApp Business account (WABA) to send and receive messages. This ensures the continuity of service. Once the migration is complete, you can immediately use the destination WABA to send messages without any downtime.
Message templates
All high-quality message templates in the source WABA are copied and automatically approved in the destination WABA. Existing message templates in the destination WABA are not affected. Low-quality, rejected, or pending templates are not copied.
Billing
The source business is charged for messages that are sent before migration.
The source business is also charged for messages that are sent from the source but not delivered before migration.
Migrated content
The following content in the source WABA is migrated to the destination WABA:
Display name
Quality rating
Message limit
Official Business Account (OBA)
Approved high-quality message templates
Limits
You cannot migrate phone numbers for test services that are published by WhatsApp.
You cannot migrate messages and chat history.
You cannot migrate multiple API operations at one time.
Before you begin
Asset | Requirements |
Phone number | 1. Phone numbers that are migrated must be currently registered with the source WABA. 2. If two-factor authentication, namely, two-step verification, has been enabled for the phone number, you must disable the authentication first. |
Source WABA | 1. The source WABA must complete the service authentication and pass the authentication. 2. The review status of the source WABA must be approved. |
Destination WABA | 1. The destination WABA must complete the service authentication and pass the authentication. 2. The review status of the destination WABA must be approved. |
Procedure
Log on to the ChatAPP console and click WABA onboarding.
Click register.

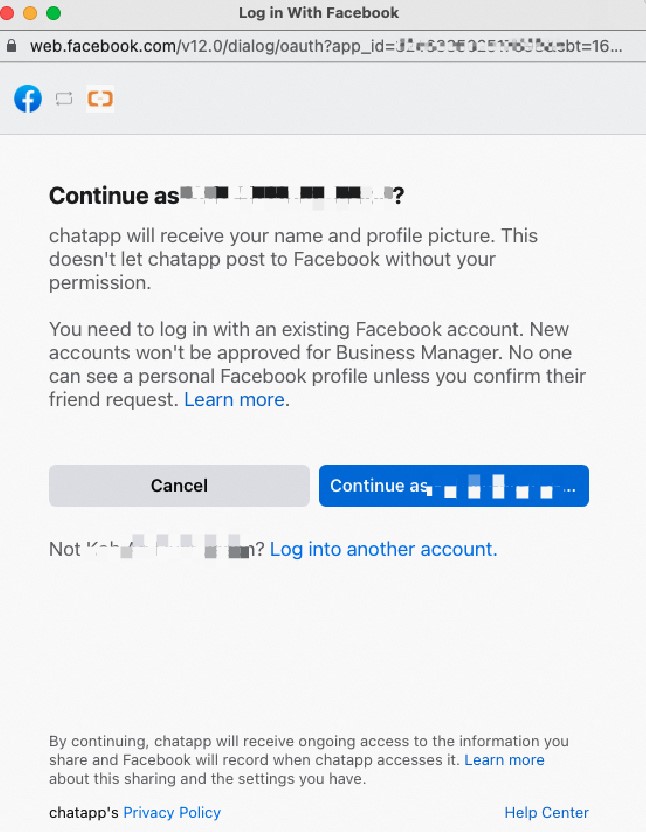
Log on to your Facebook account.
ImportantDo not create a new account.
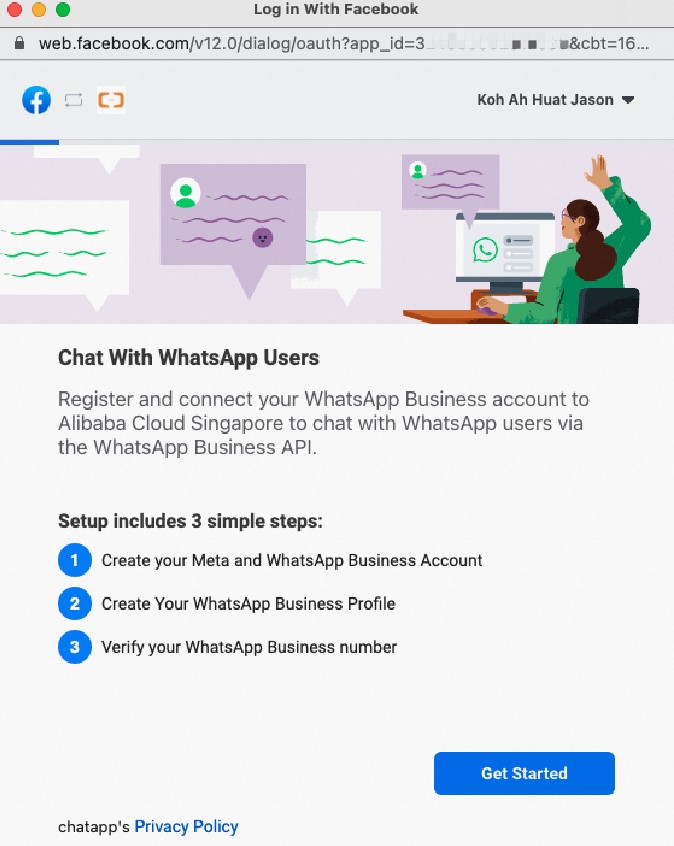
Click Get Started.
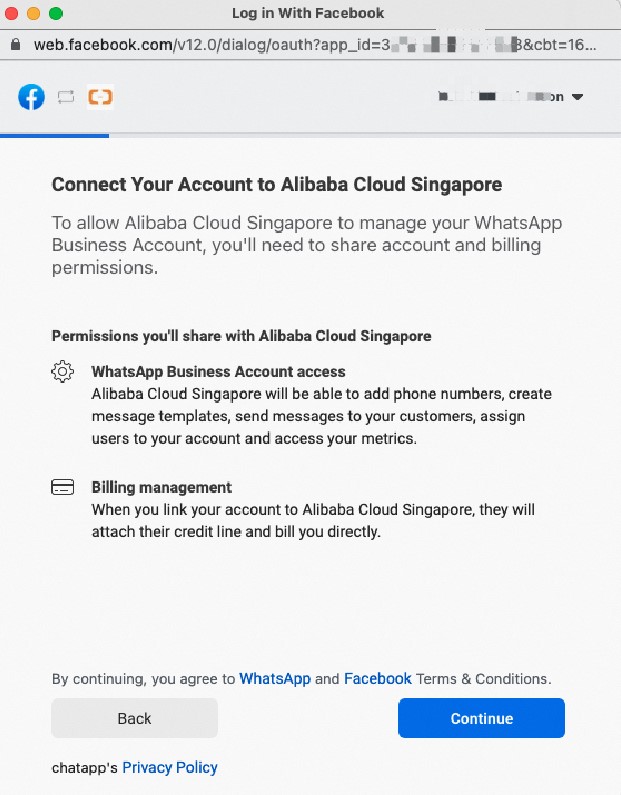
Click Continue.
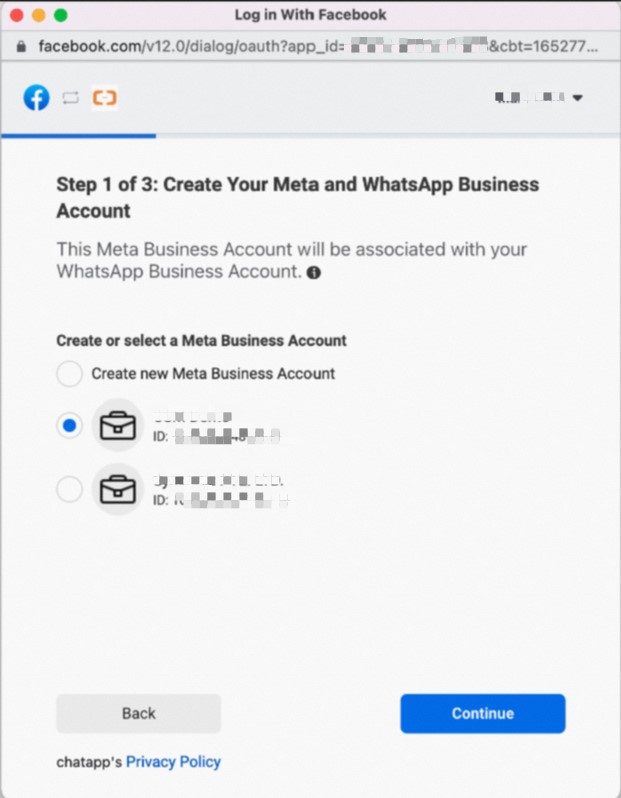
On the page that displays Step 1 of 3: Create Your Meta and WhatsApp Business Account, select the Meta Business account to which the phone numbers you want to migrate are bound and click Continue.
Select Create new WhatsApp Business account, enter a company name, and then click Continue. A WABA account is created.
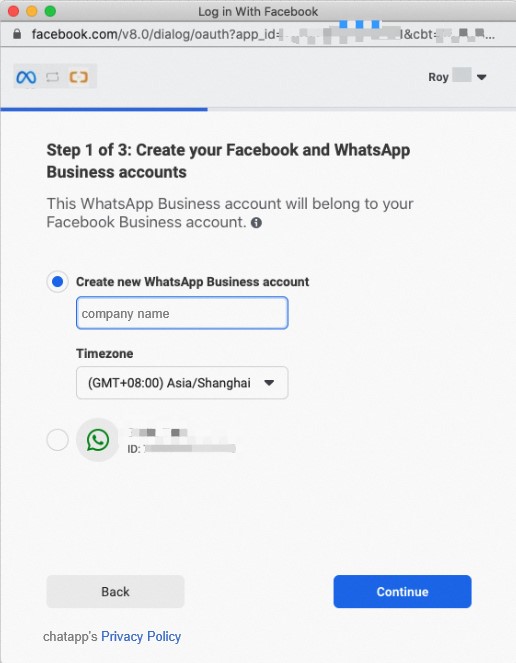
Close the page to complete the embedded signup after you register a new WABA.
ImportantDo not proceed to Step 2 after you register a new WABA.
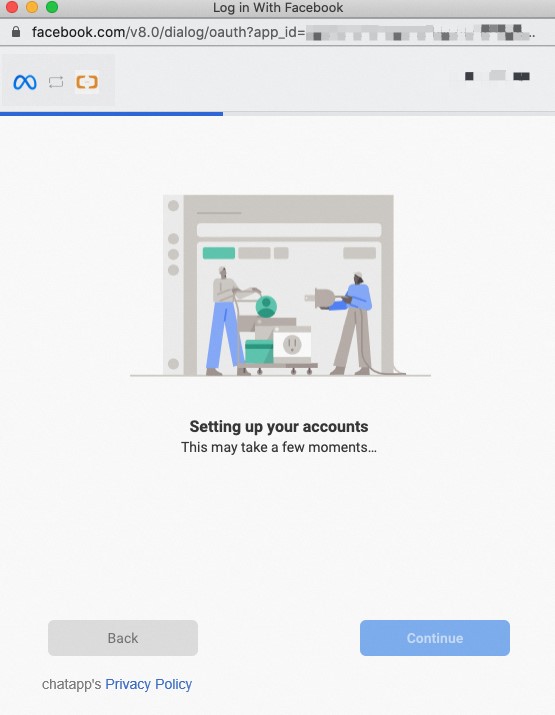
After you complete the above procedures, you have successfully created a WABA.
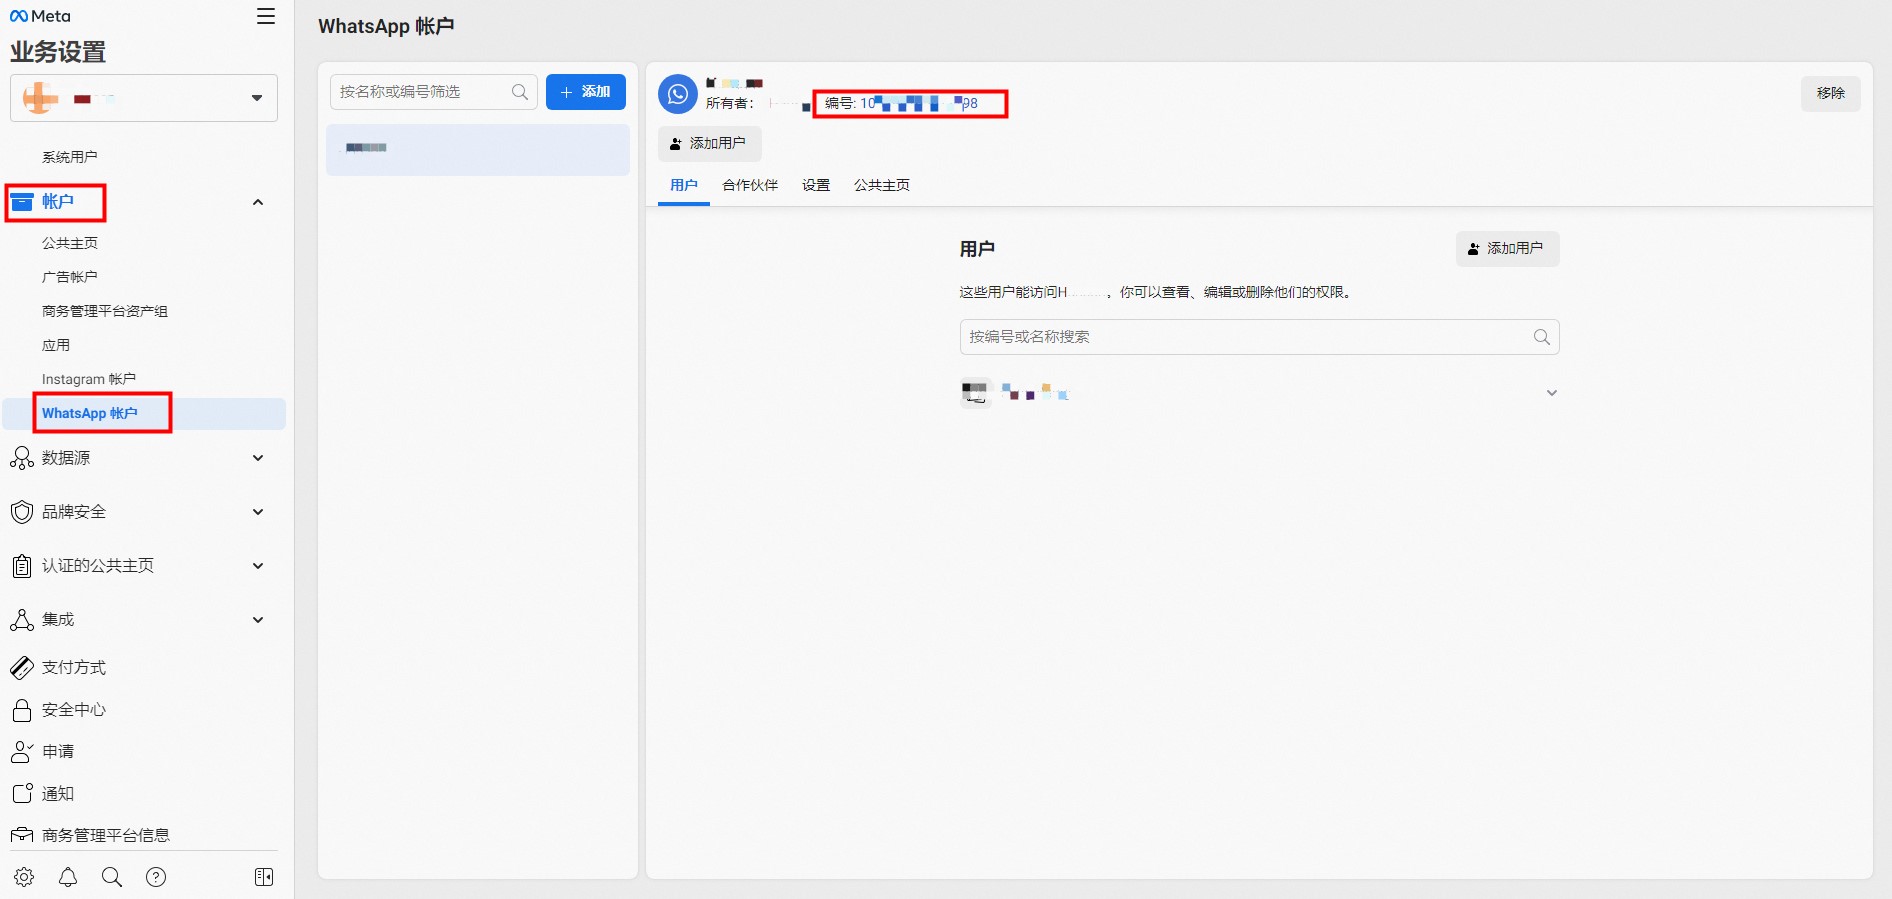
Check whether the service authentication and WABA verification have been approved, and whether the payment method has been specified.
After you confirm that all the verification has been approved, click WABA onboarding in the ChatAPP console. In the upper-right of the page, click Number migration.

Follow the instructions on the page to perform subsequent operations.
Read the notes on the page and click Next.
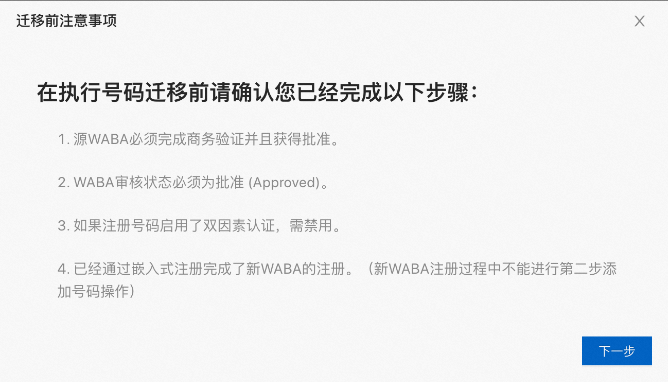
On the Start migration dialog box, enter the ID of the destination WABA and check the information.
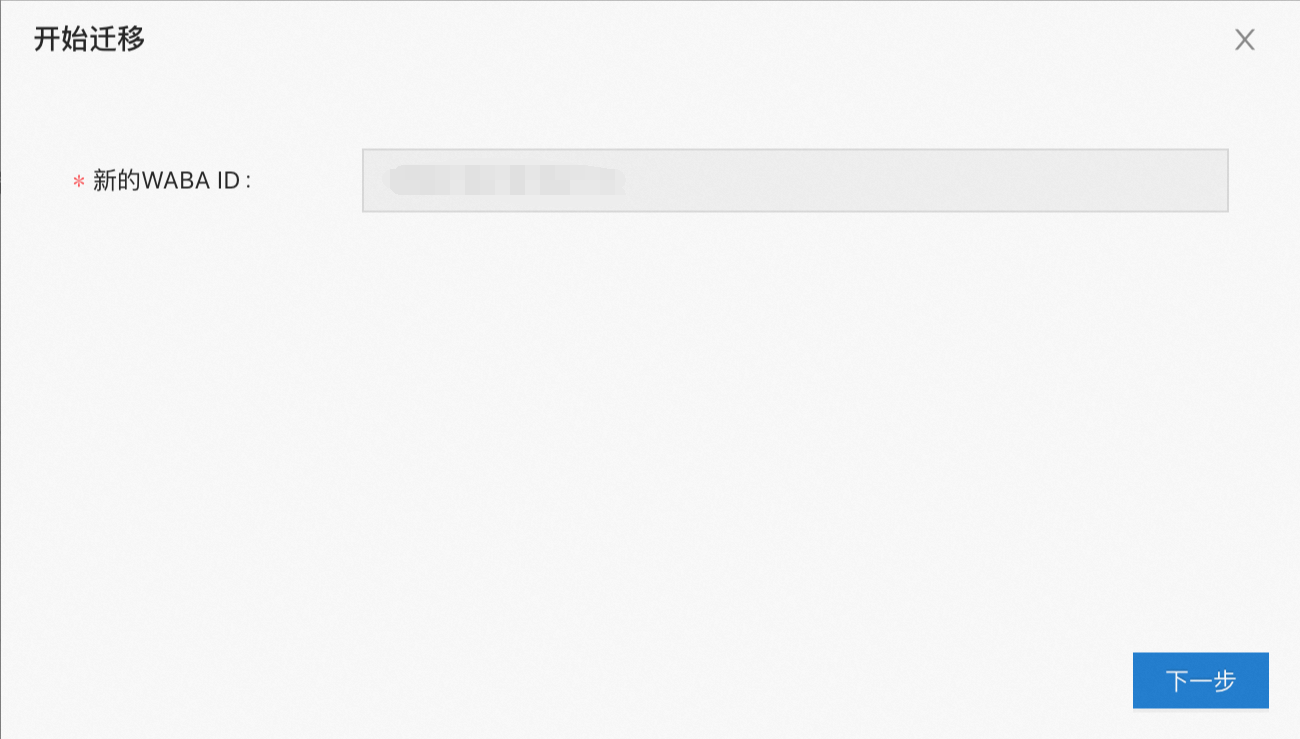
New WABA ID: Make sure that the ID of the newly registered WABA is correct.
Click Next.
On the Start migration dialog box, enter the ID of the destination WABA and check the information.
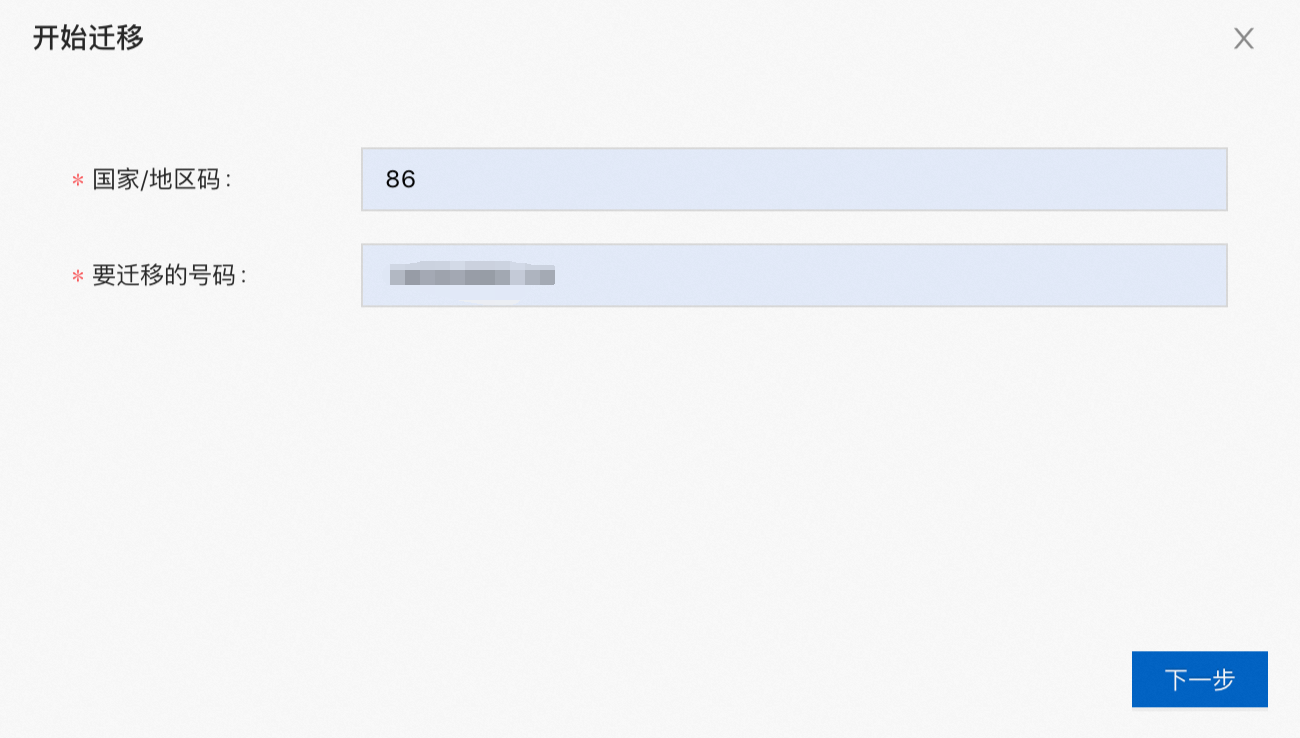
Country/Region code: Enter the country or region code of the phone number to migrate. Example: 86.
Number to migrate: Enter the phone number to migrate. Example: 130********.
Click Next.
On the Obtain verification code dialog box, set the parameters as needed.
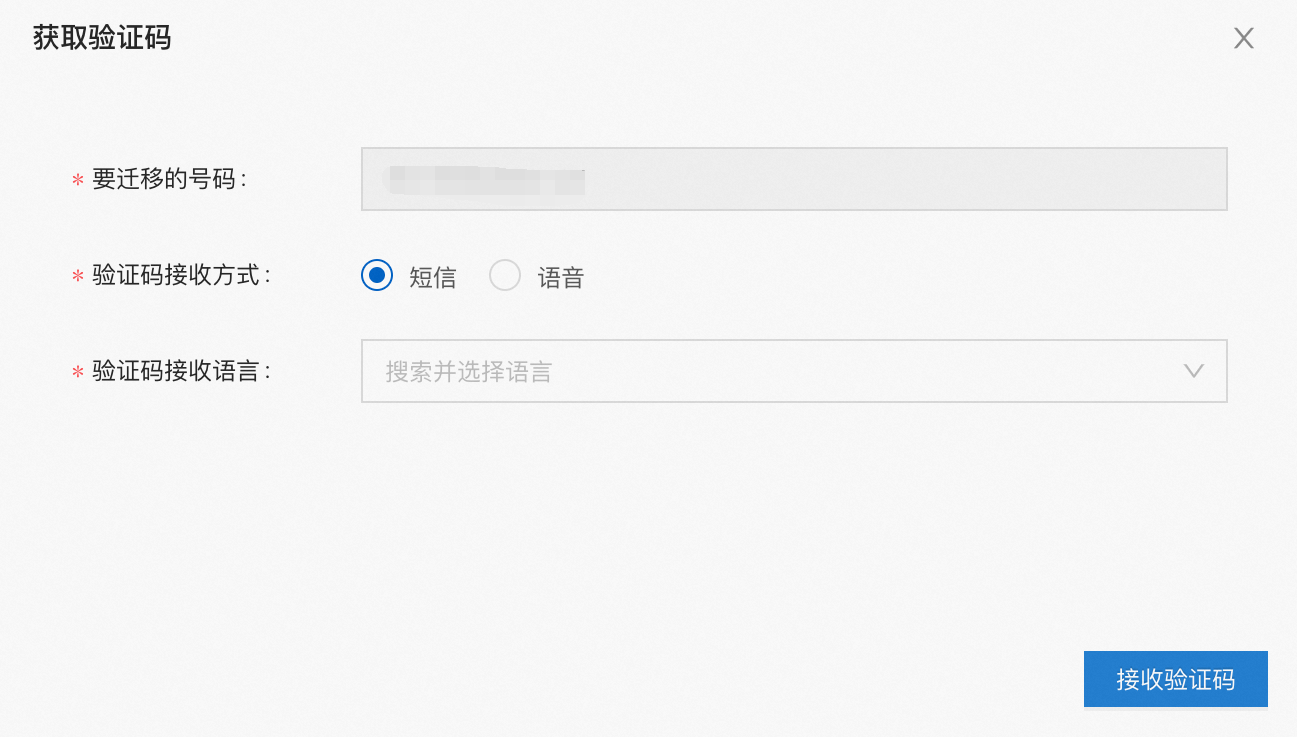
Number to migrate: Check whether the phone number is correct.
Method to obtain the verification code: Select the method in which you want to receive the verification code. If the phone number to migrate is the landline, set this parameter to Voice.
Language: Select the language in which the verification code message is written or in which the voice call is made.
After you check all parameters, click Receive verification code. You will receive a verification code message or voice call from Facebook.
On the Submit verification code dialog box, enter the verification code and start the migration.
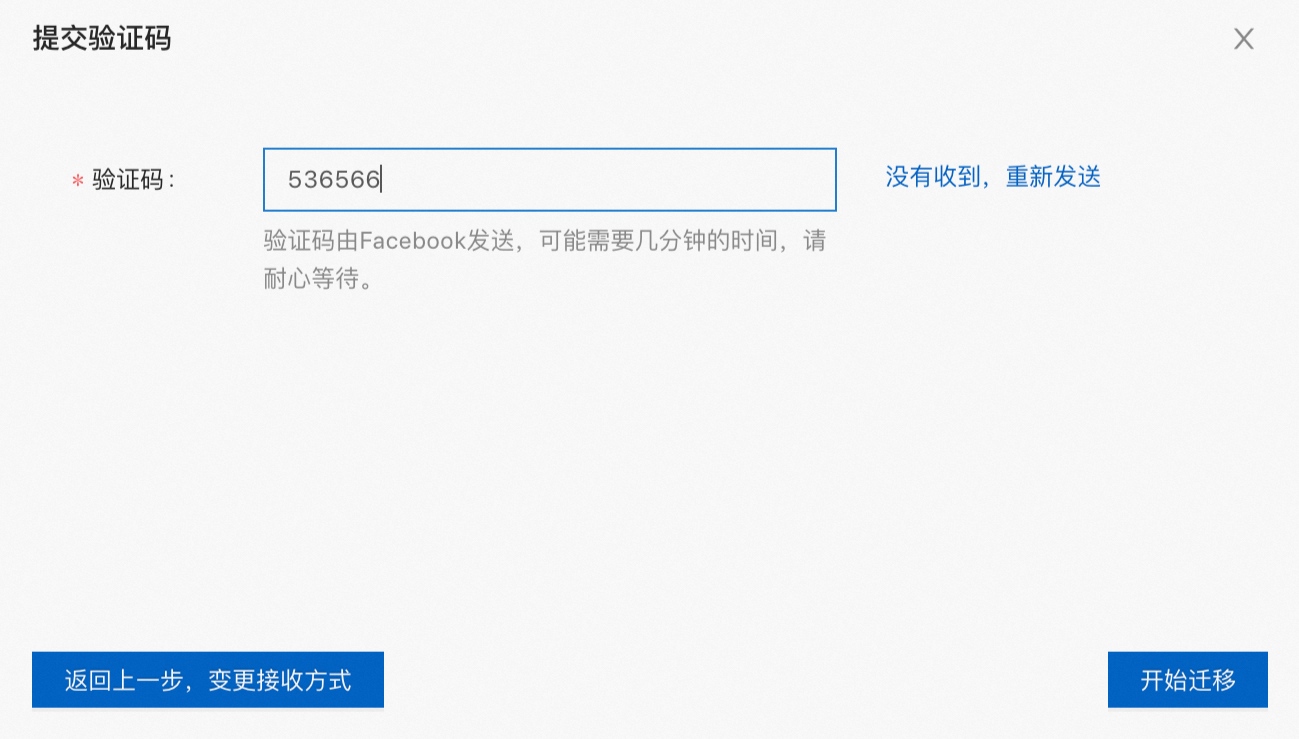
Verification code: Enter the verification code provided by Facebook.
It may take several minutes to obtain the verification code. If you do not receive the verification code and do not need to change the method to obtain the code, click Not received and send again to obtain the verification code again.
If you want to change the method to obtain the verification code, click Back and change the method to return to the previous step and change the method.
Click Start migration. After the verification code is confirmed, the migration starts.
Wait for the migration result. Do not close or refresh the page before the migration is complete.
After the migration is complete, you are informed of the migration result. The migration is complete.
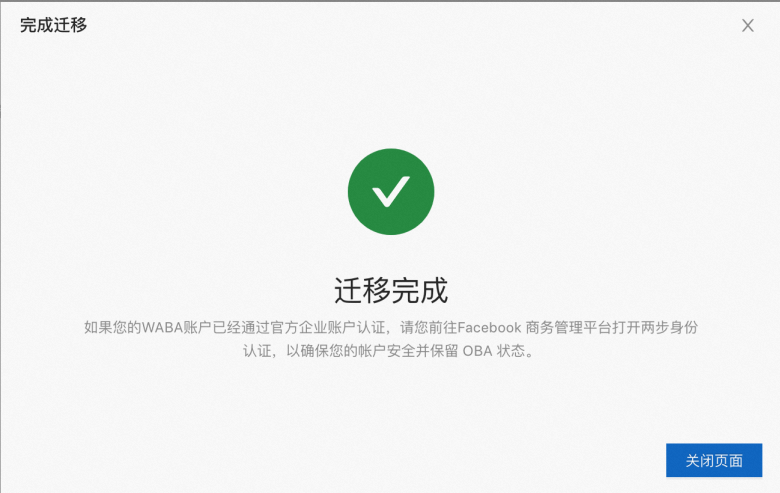
After the migration
After the migration is complete, if your destination WABA is an OBA or you have completed two-step verification, go to Facebook Business Manager and enable the two-step verification again. This ensures the security of your account and retains the OBA status.