To share resources across multiple VPCs in the same region, you can use Cloud Enterprise Network (CEN) to enable connection between VPCs.
This topic describes how to use a CEN to connect two VPCs in the same region as an introductory example. You can extend it to connecting multiple VPCs.
Scenario

Two VPCs have been created in the China (Hangzhou) region as illustrated in the preceding figure. Each VPC has two vSwitches for disaster recovery and an ECS instance to verify connectivity:
VPC1
IPv4 CIDR block: 10.0.0.0/16
vSwitch 1 in Zone J. CIDR block: 10.0.0.0/24
vSwitch 2 in Zone K. CIDR block: 10.0.1.0/24
ECS1 address: 10.0.0.1
VPC2
IPv4 CIDR block: 172.16.0.0/16
vSwitch 1 in Zone J. CIDR block: 172.16.0.0/24
vSwitch 2 in Zone K. CIDR block: 172.16.1.0/24
ECS2 address: 172.16.0.1
You can connect both VPCs to the transit router of the CEN to enable connection.
Ensure that the CIDR blocks of the VPCs do not overlap with each other when you plan the network.
Procedure
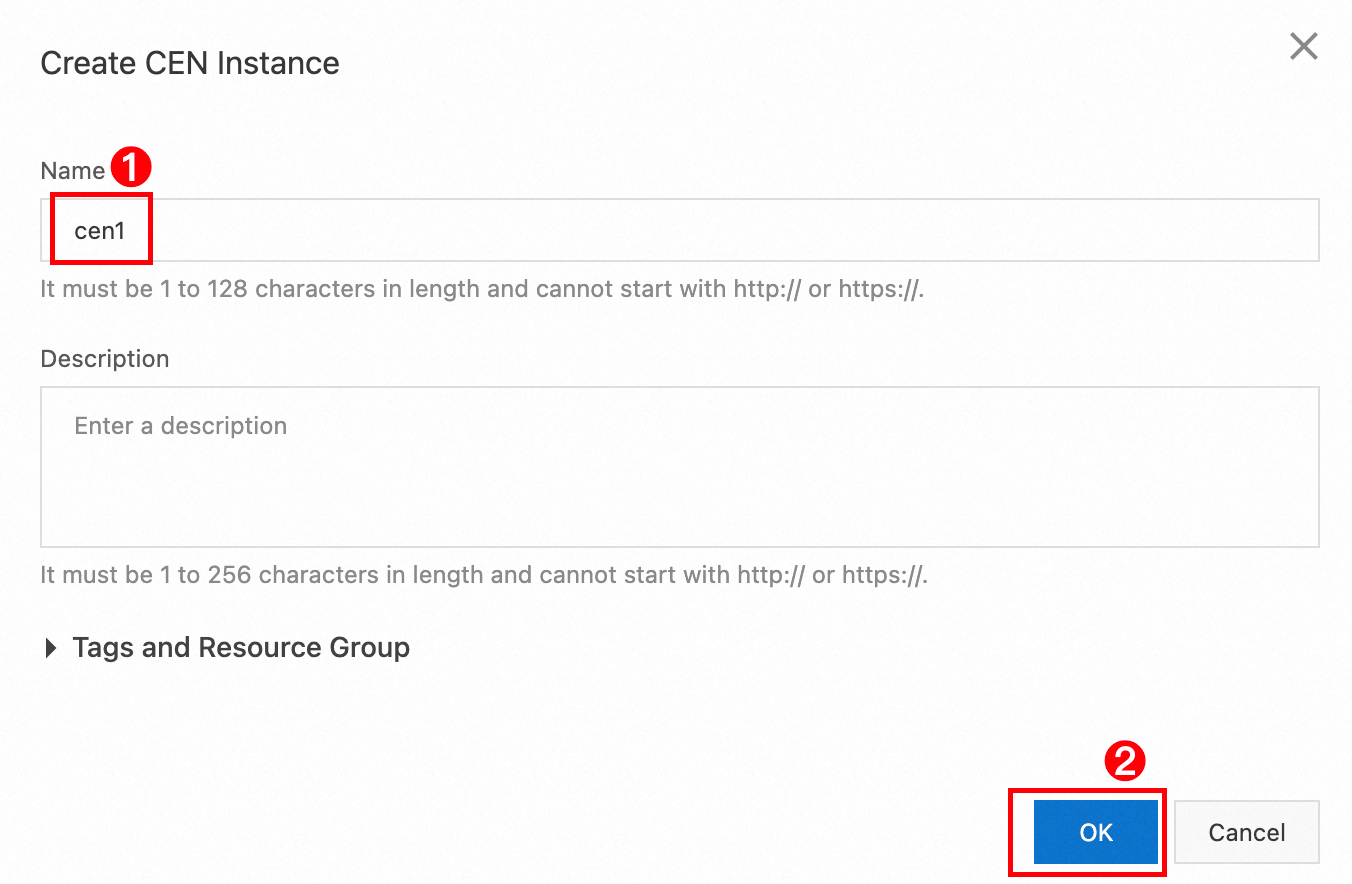
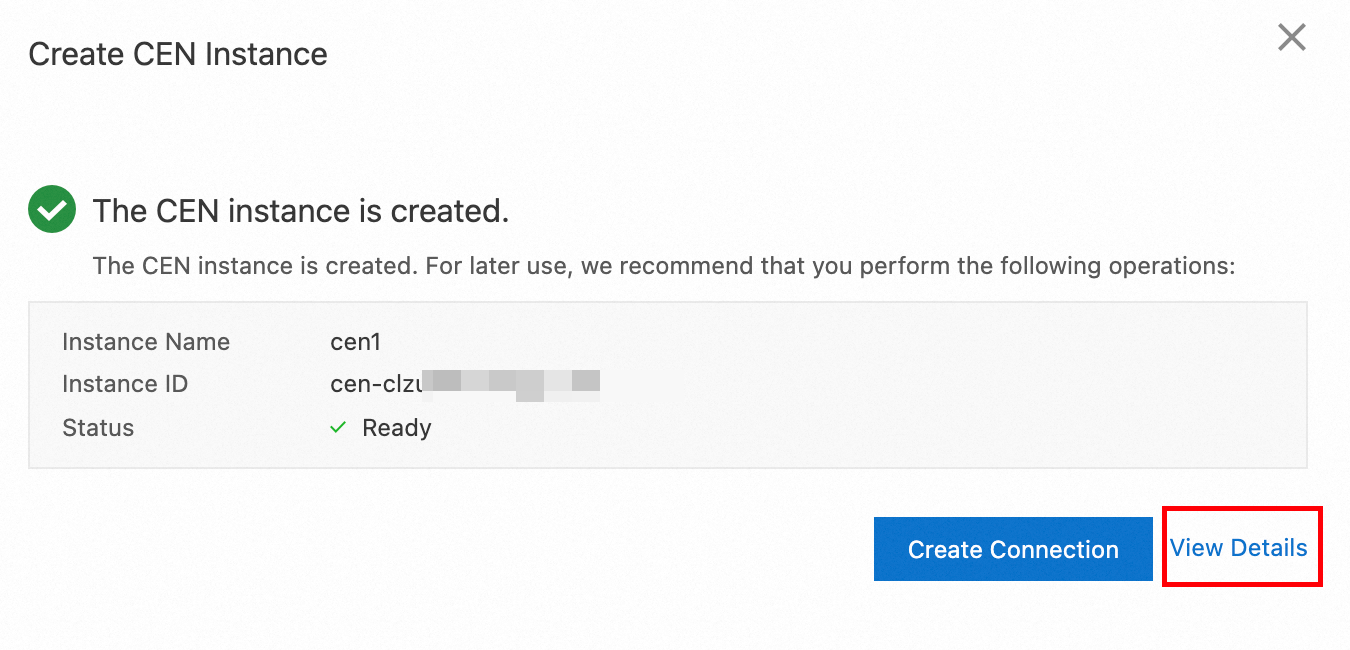
Step 1: Create CEN
|
|
|
|
|
|

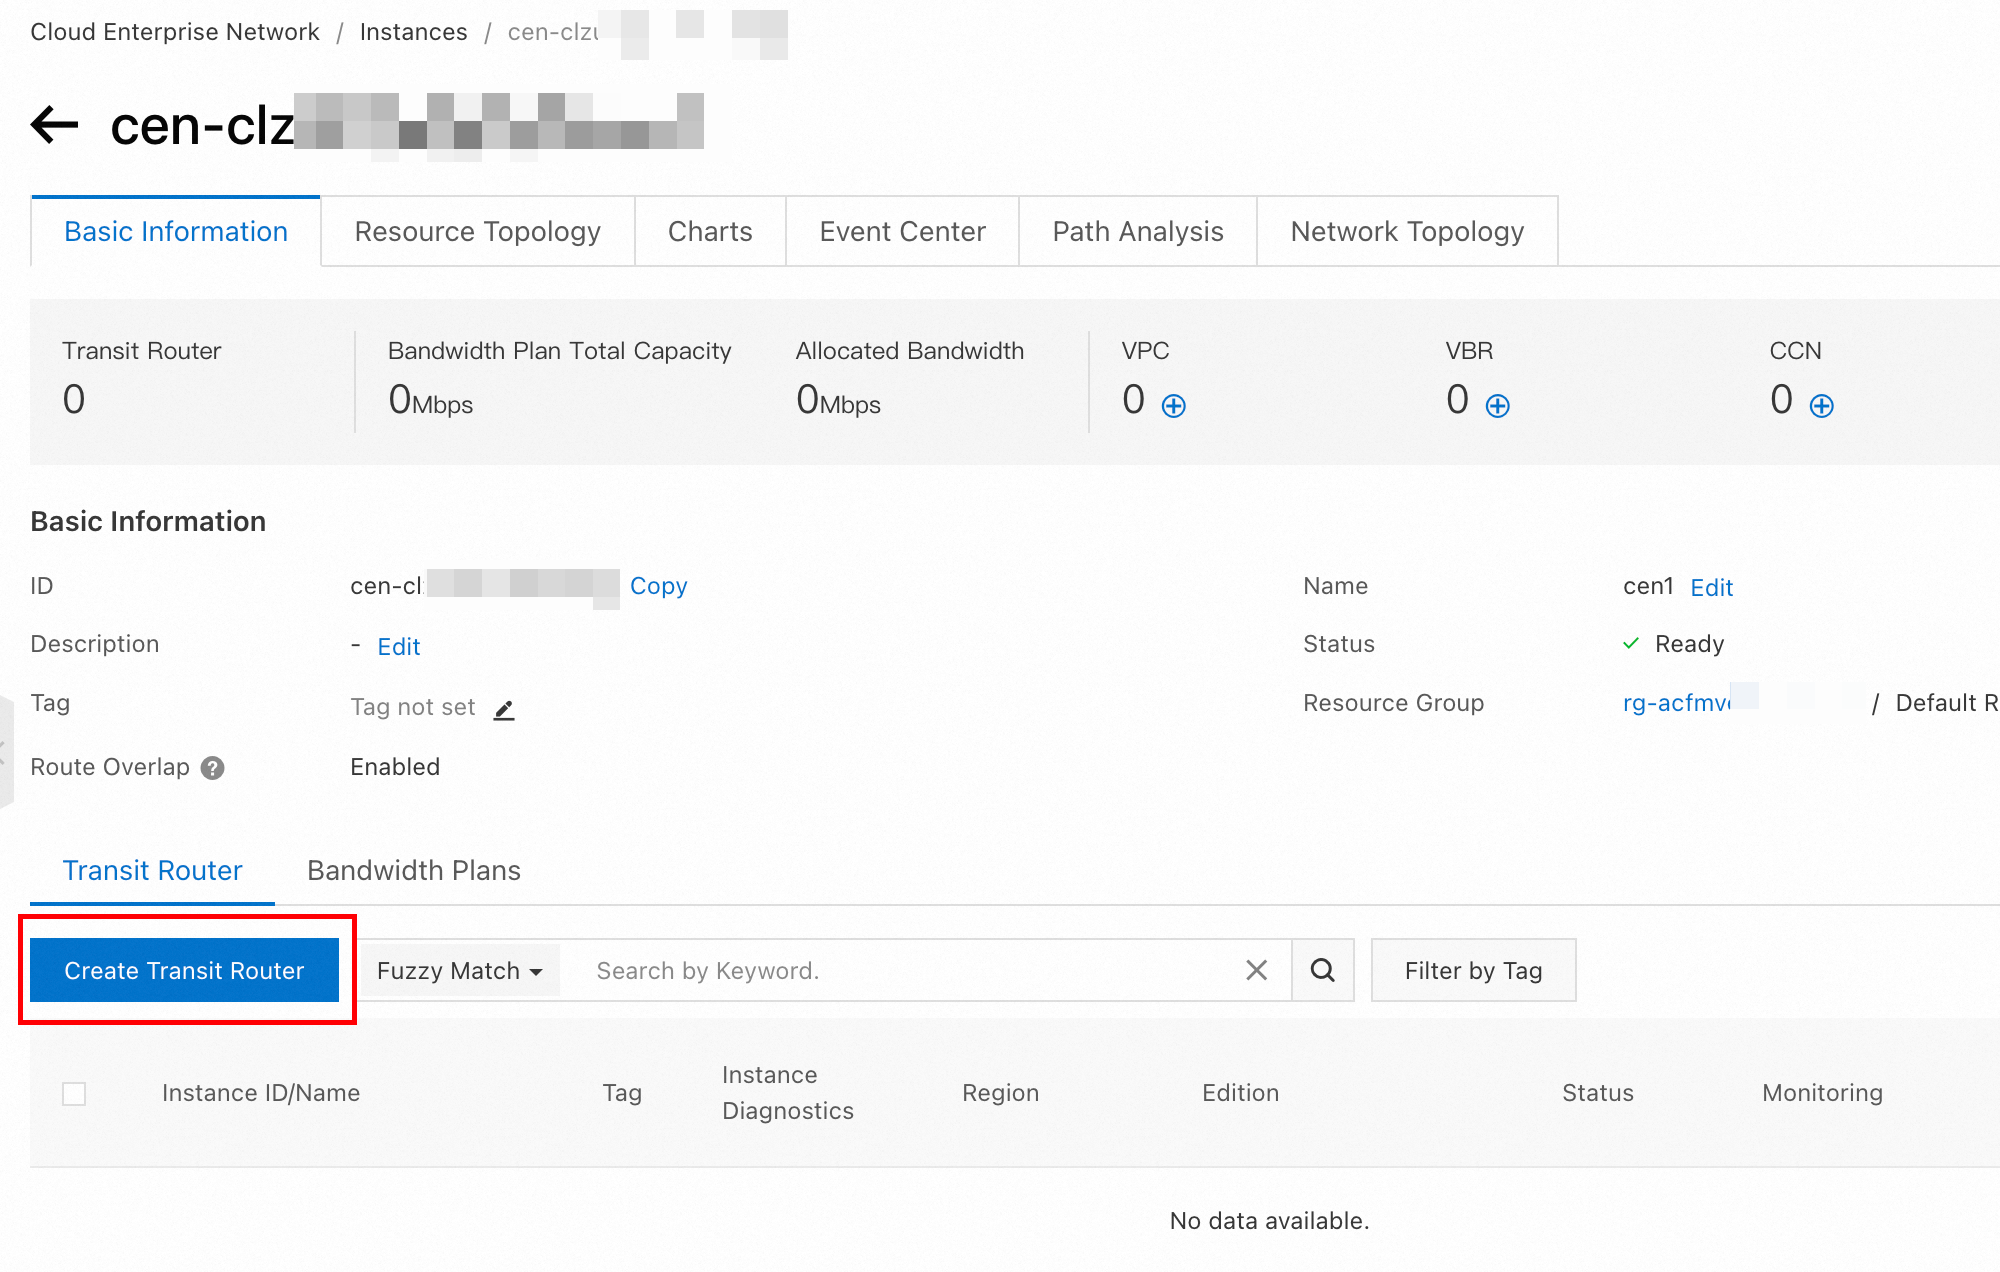
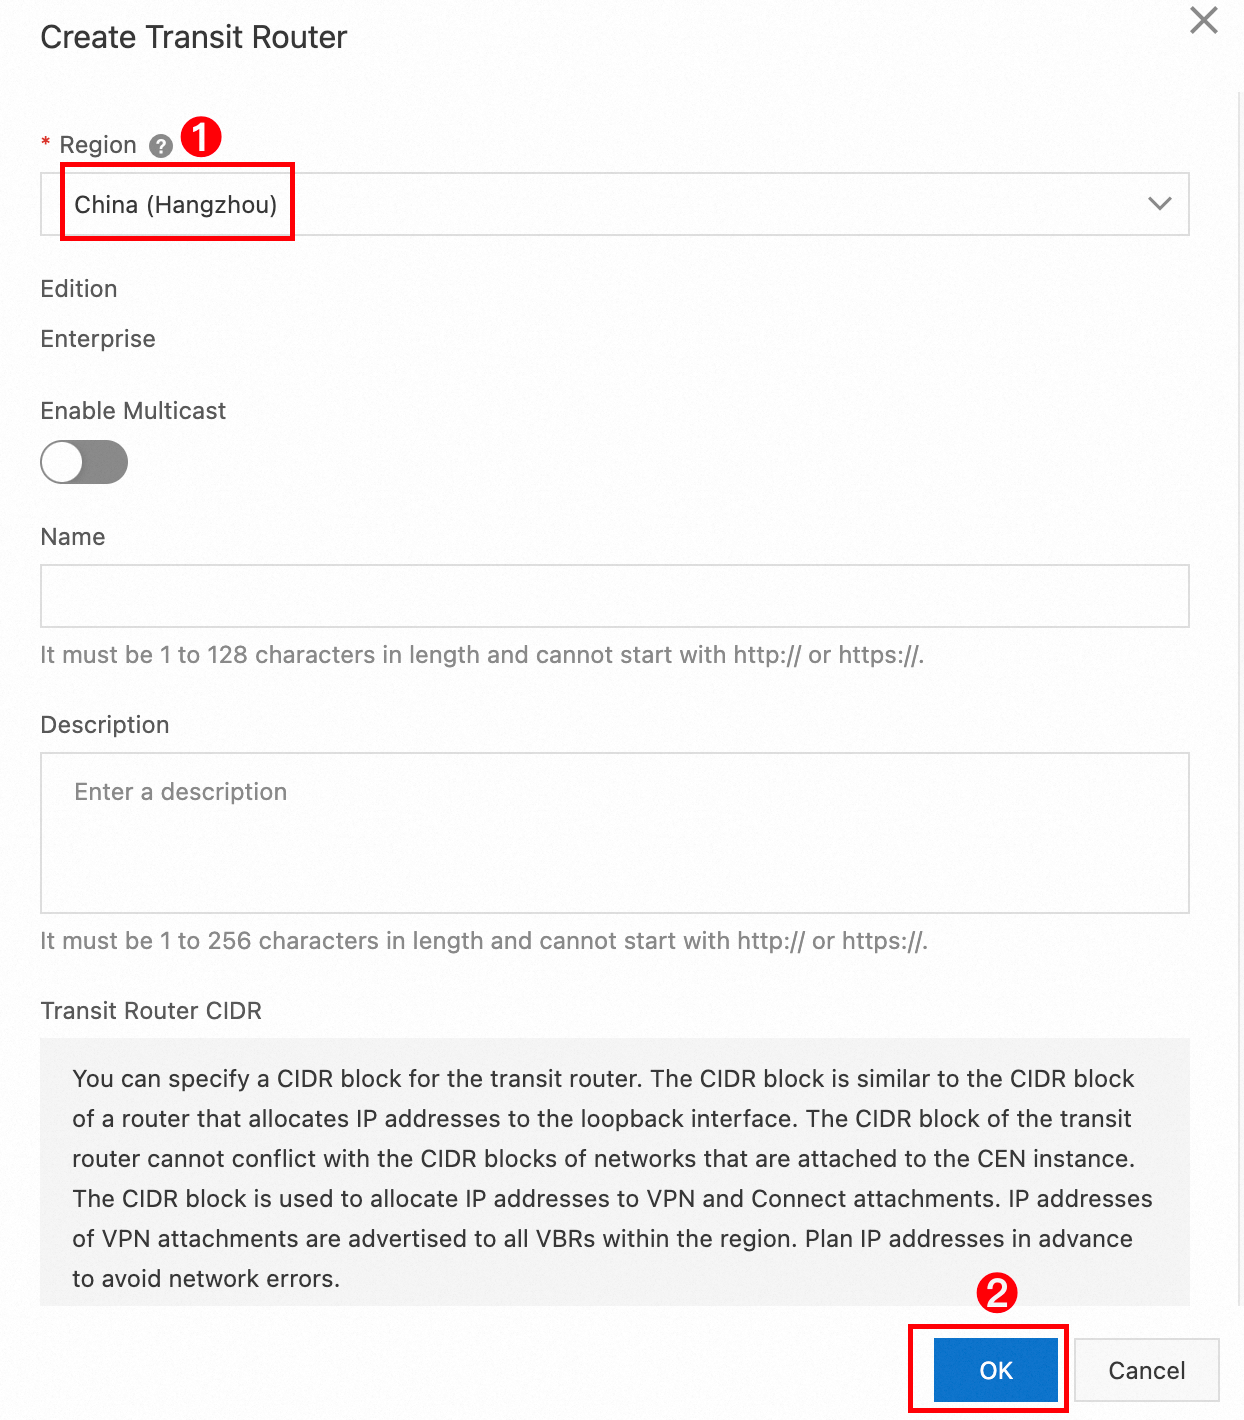
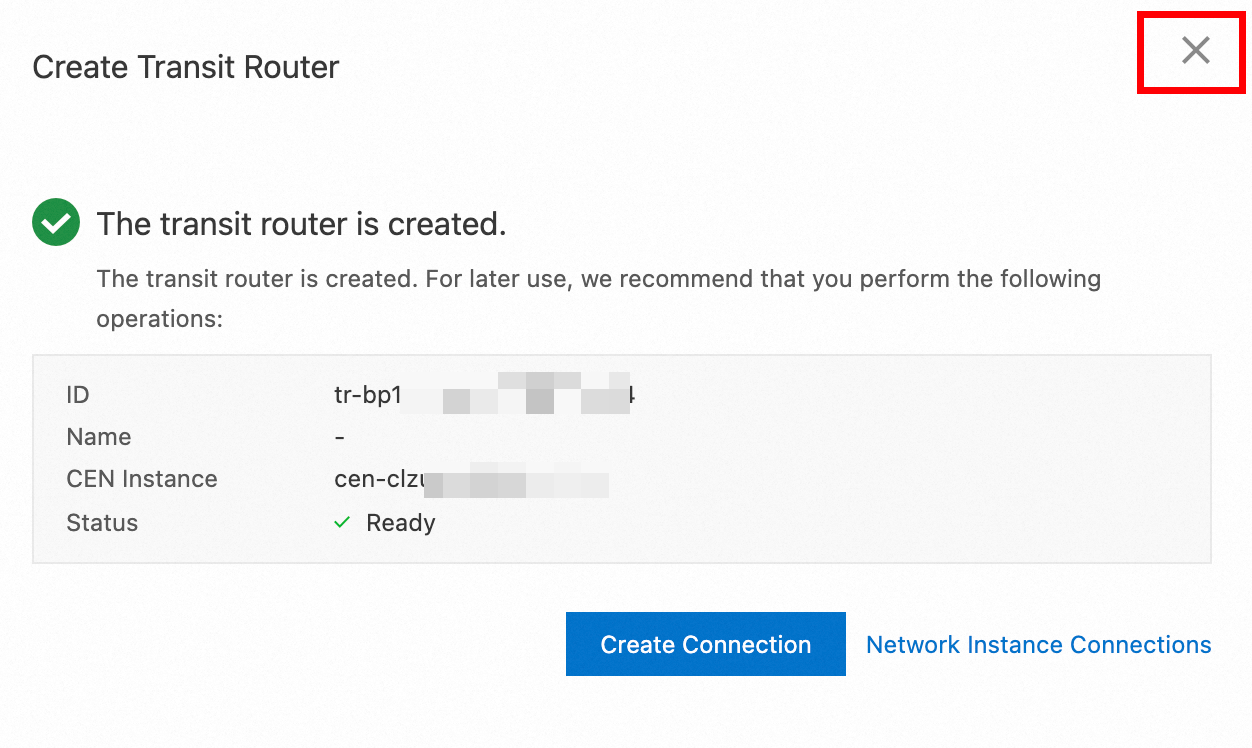
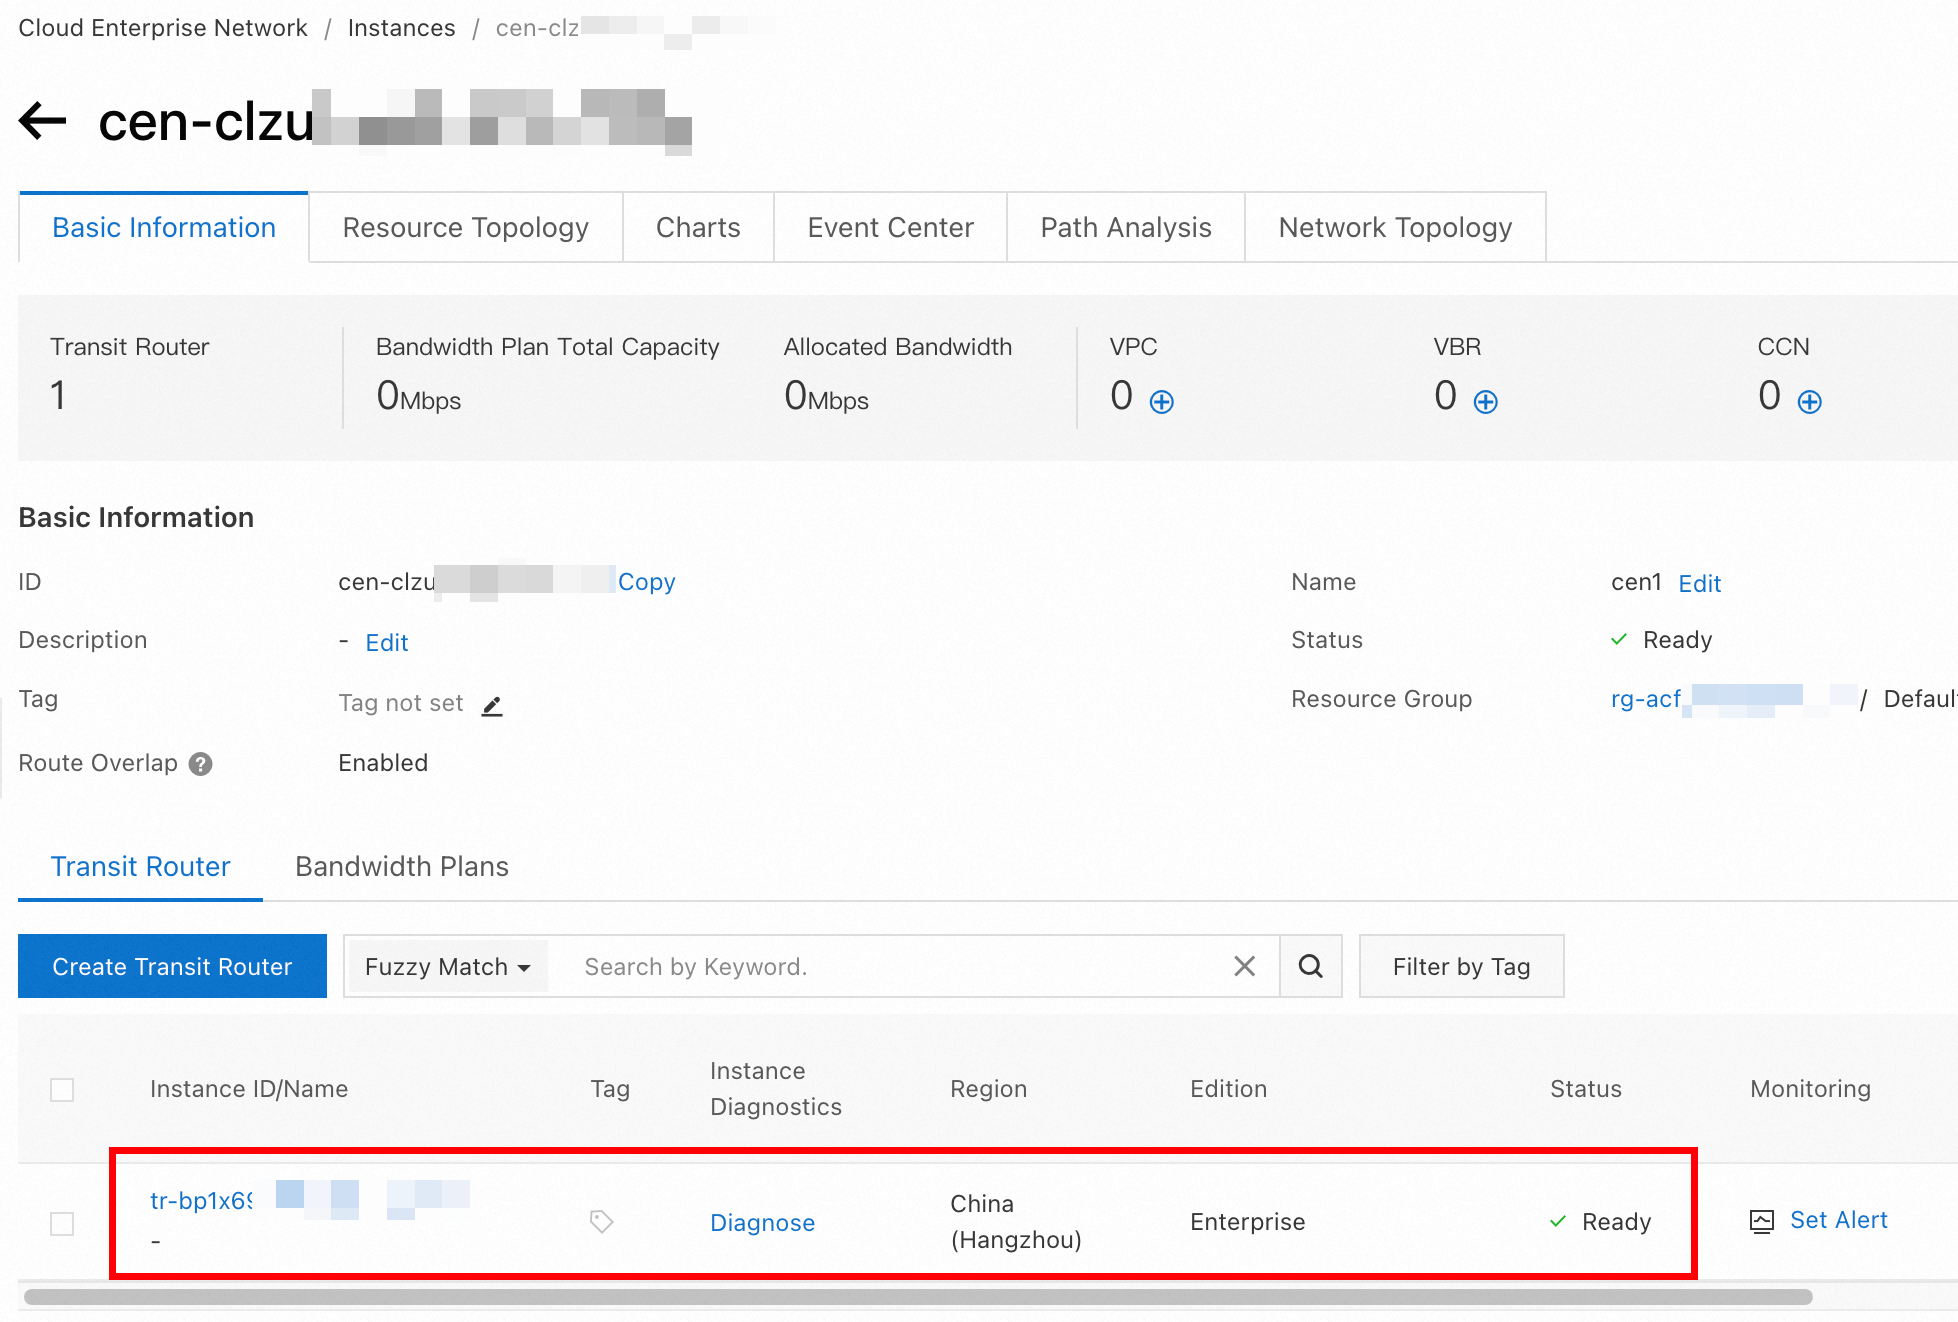
Step 2: Create a transit router
|
|
|
|
|
|
|
|
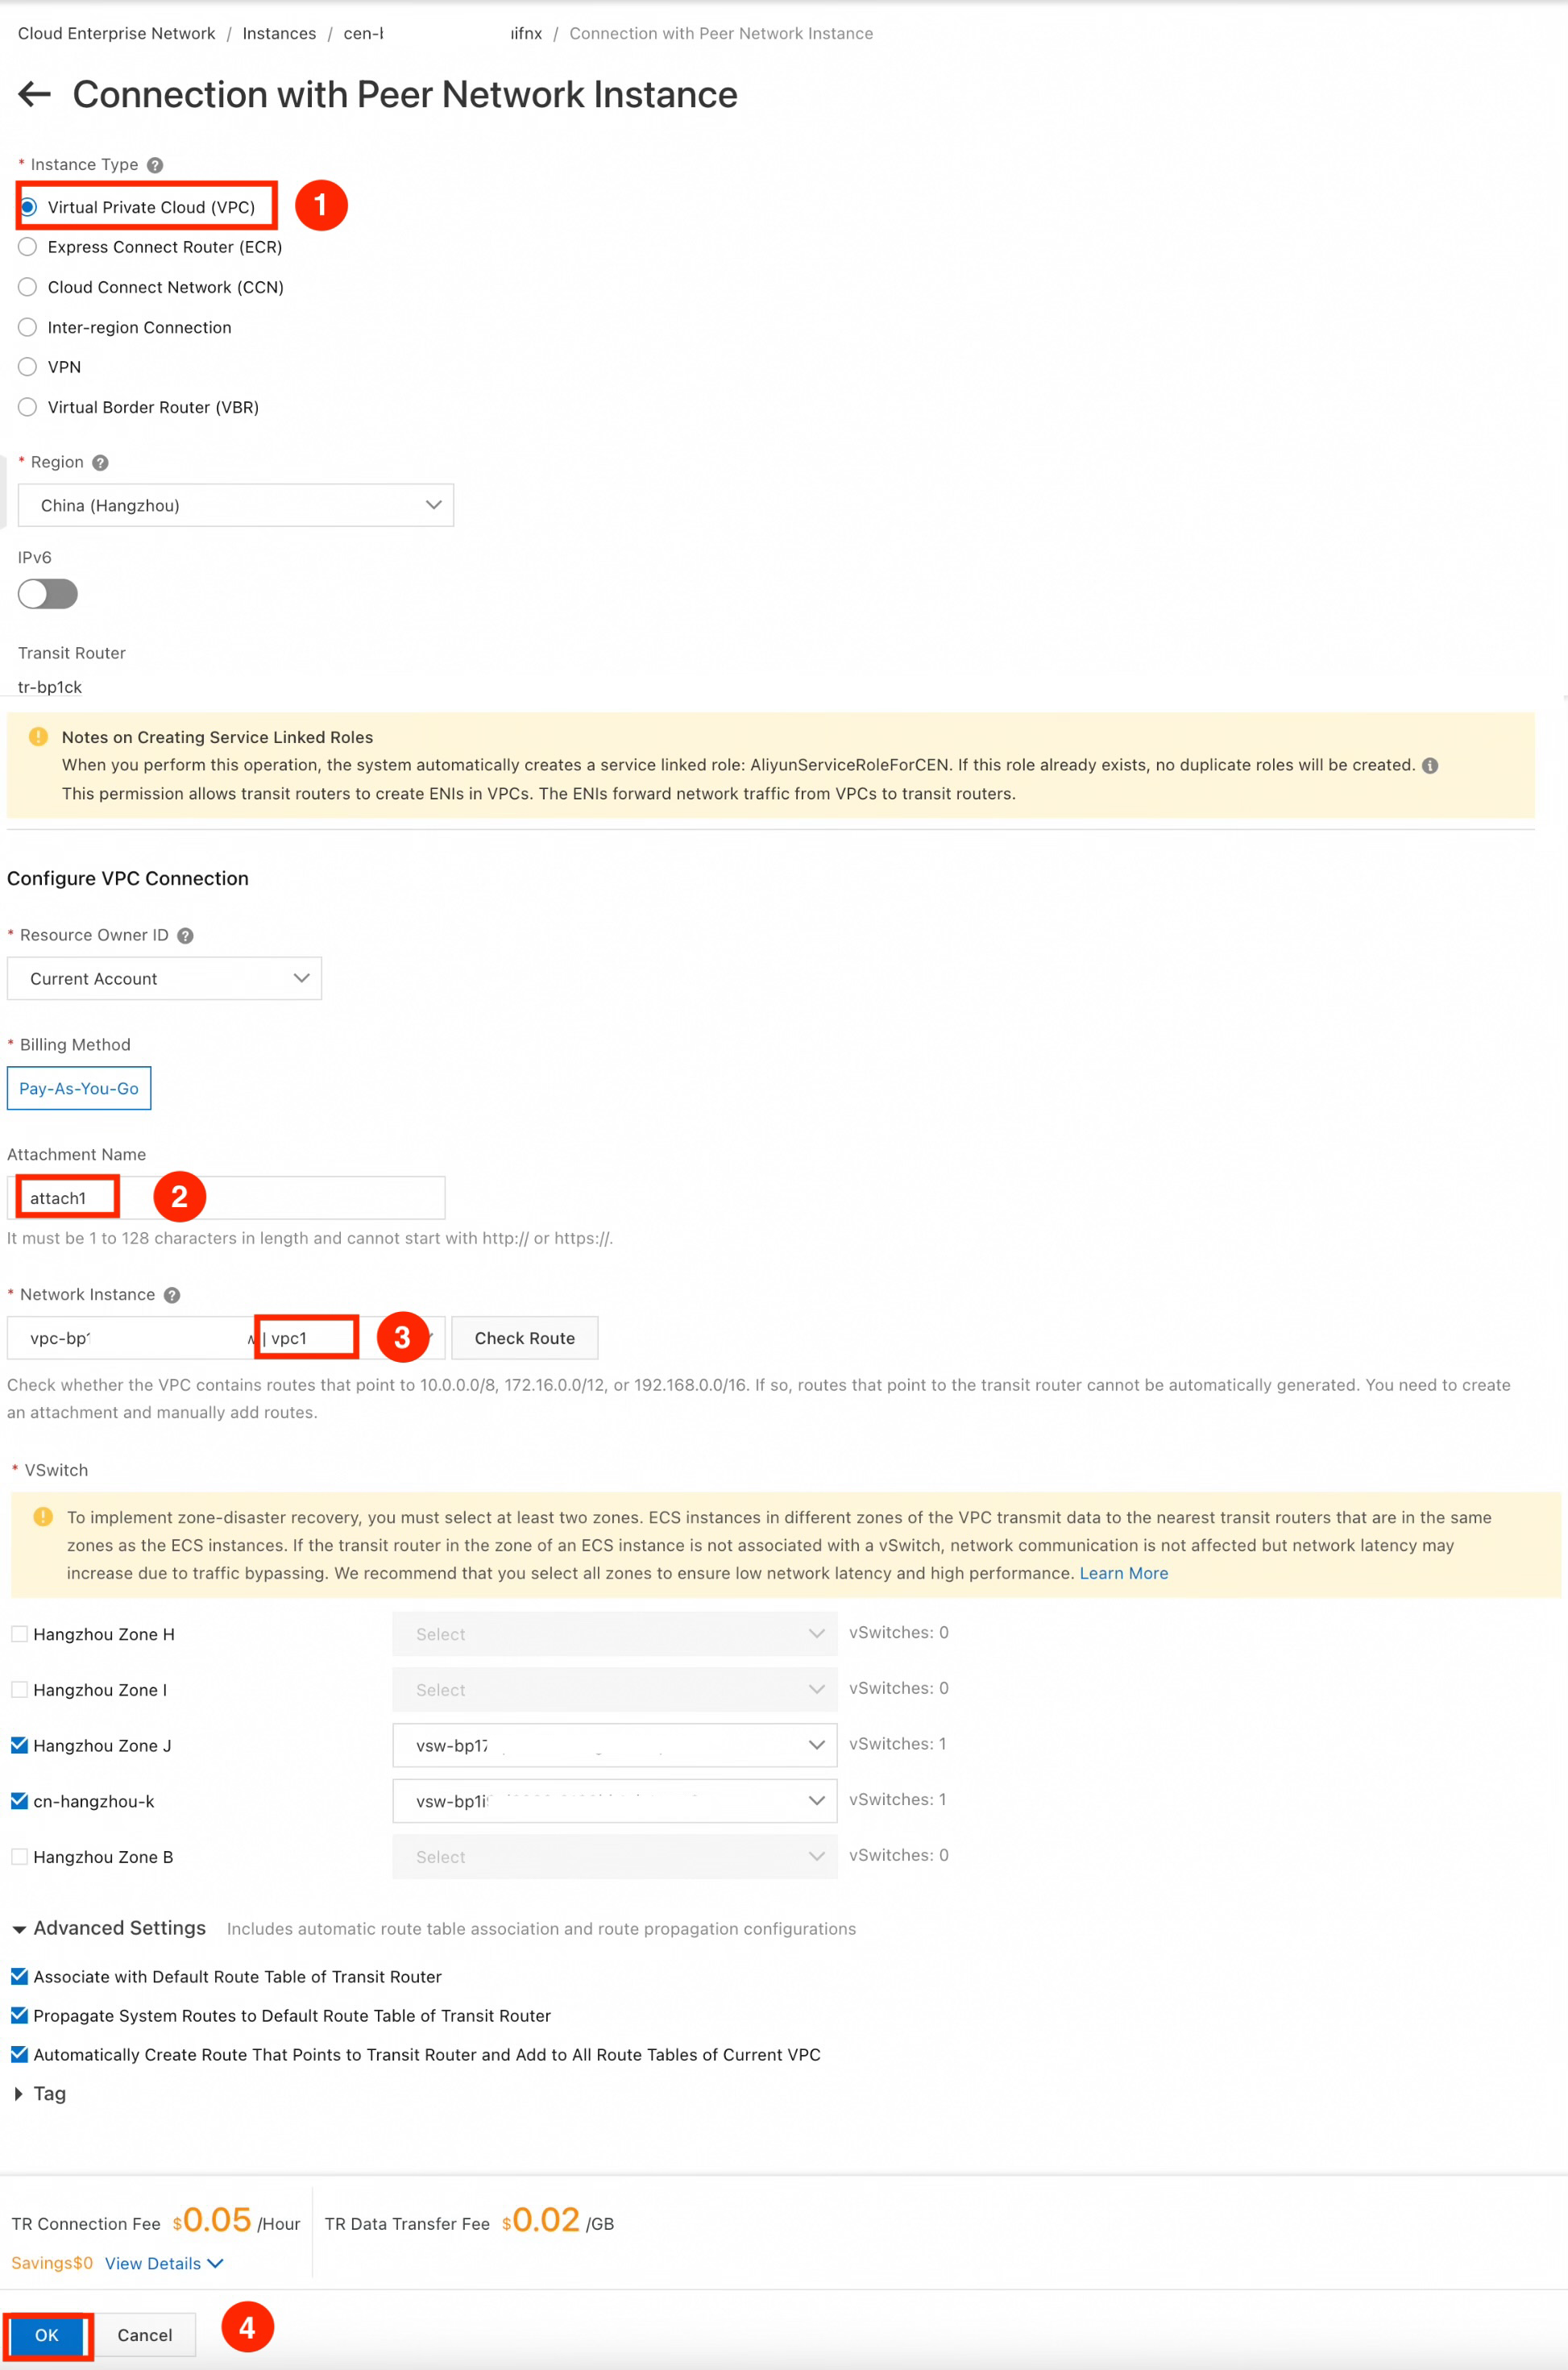
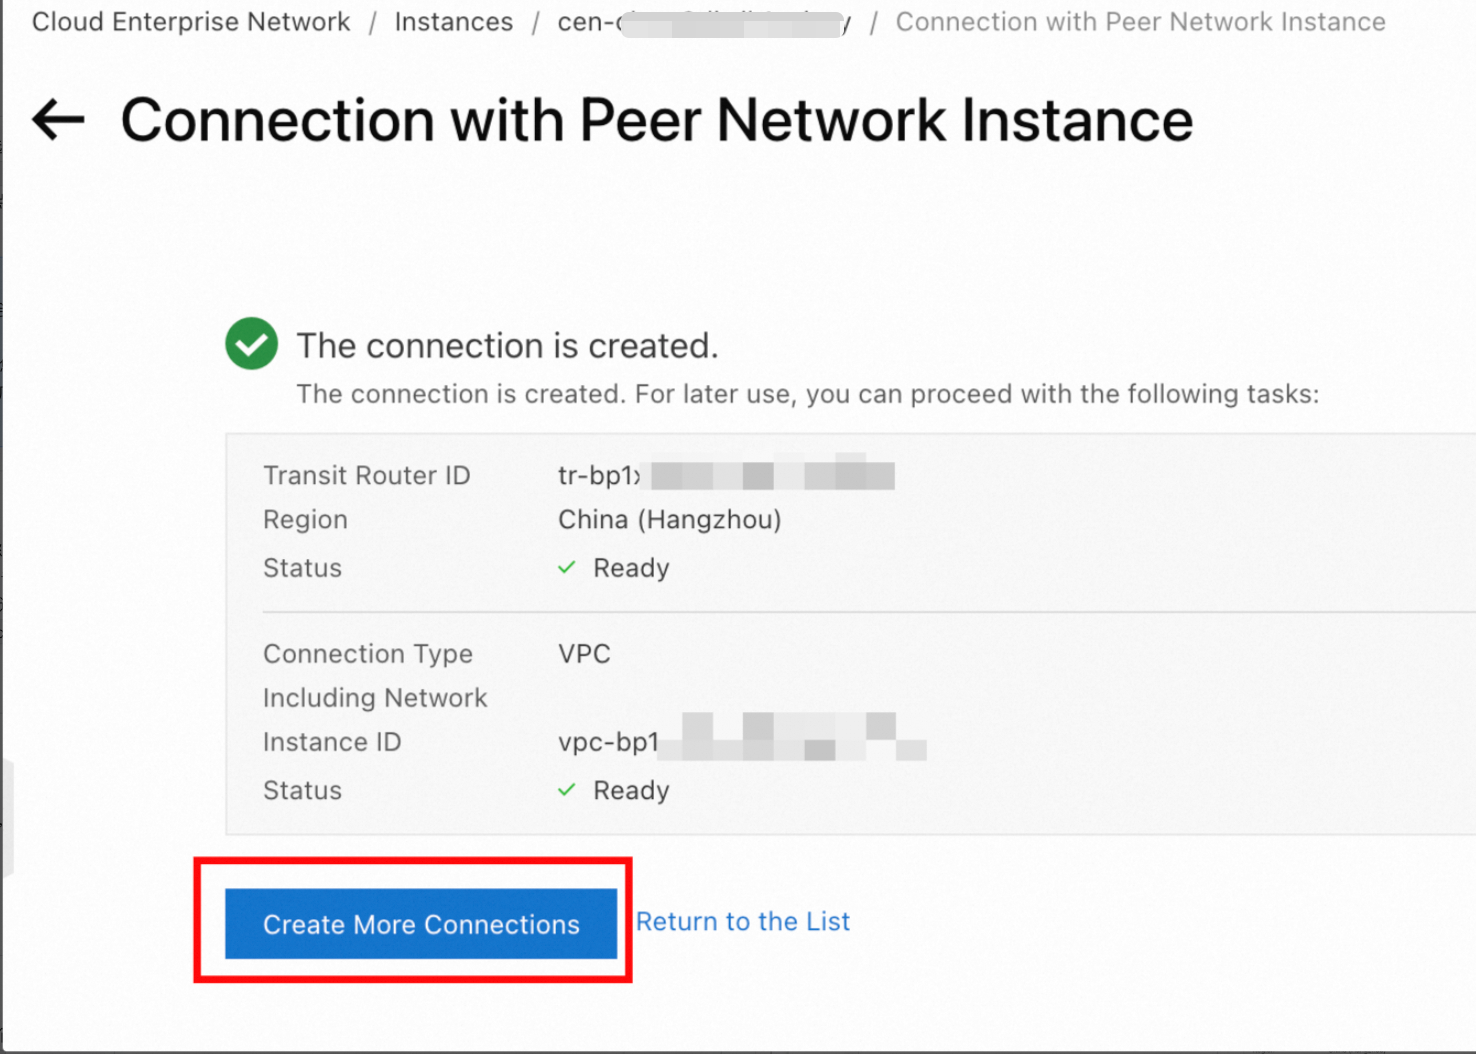
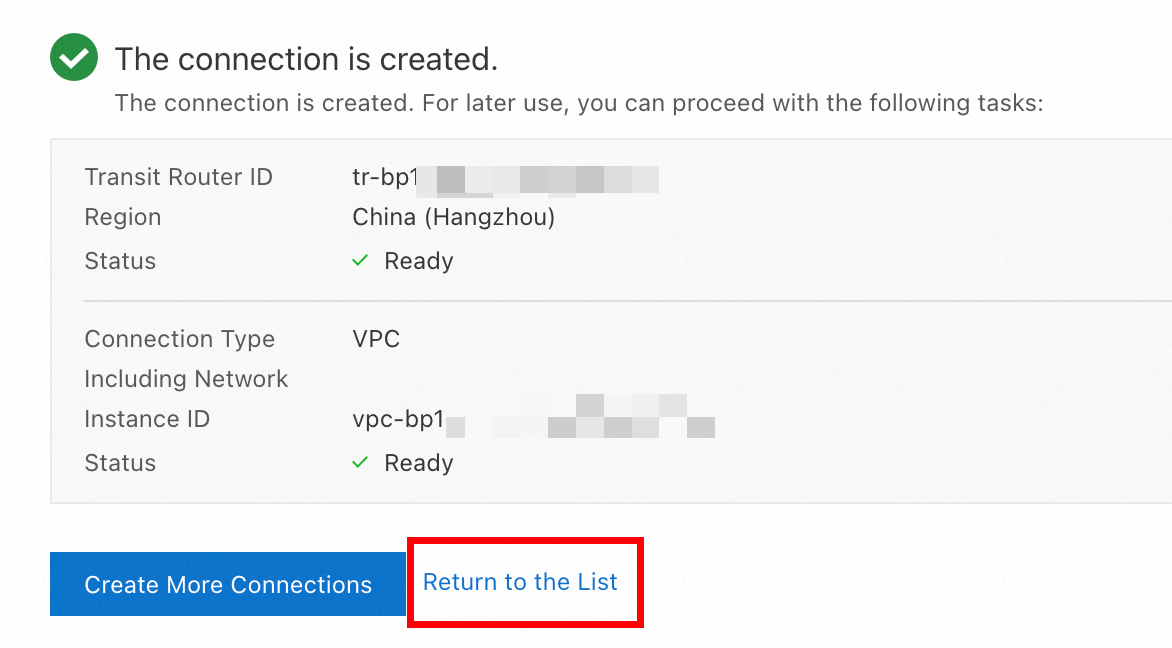
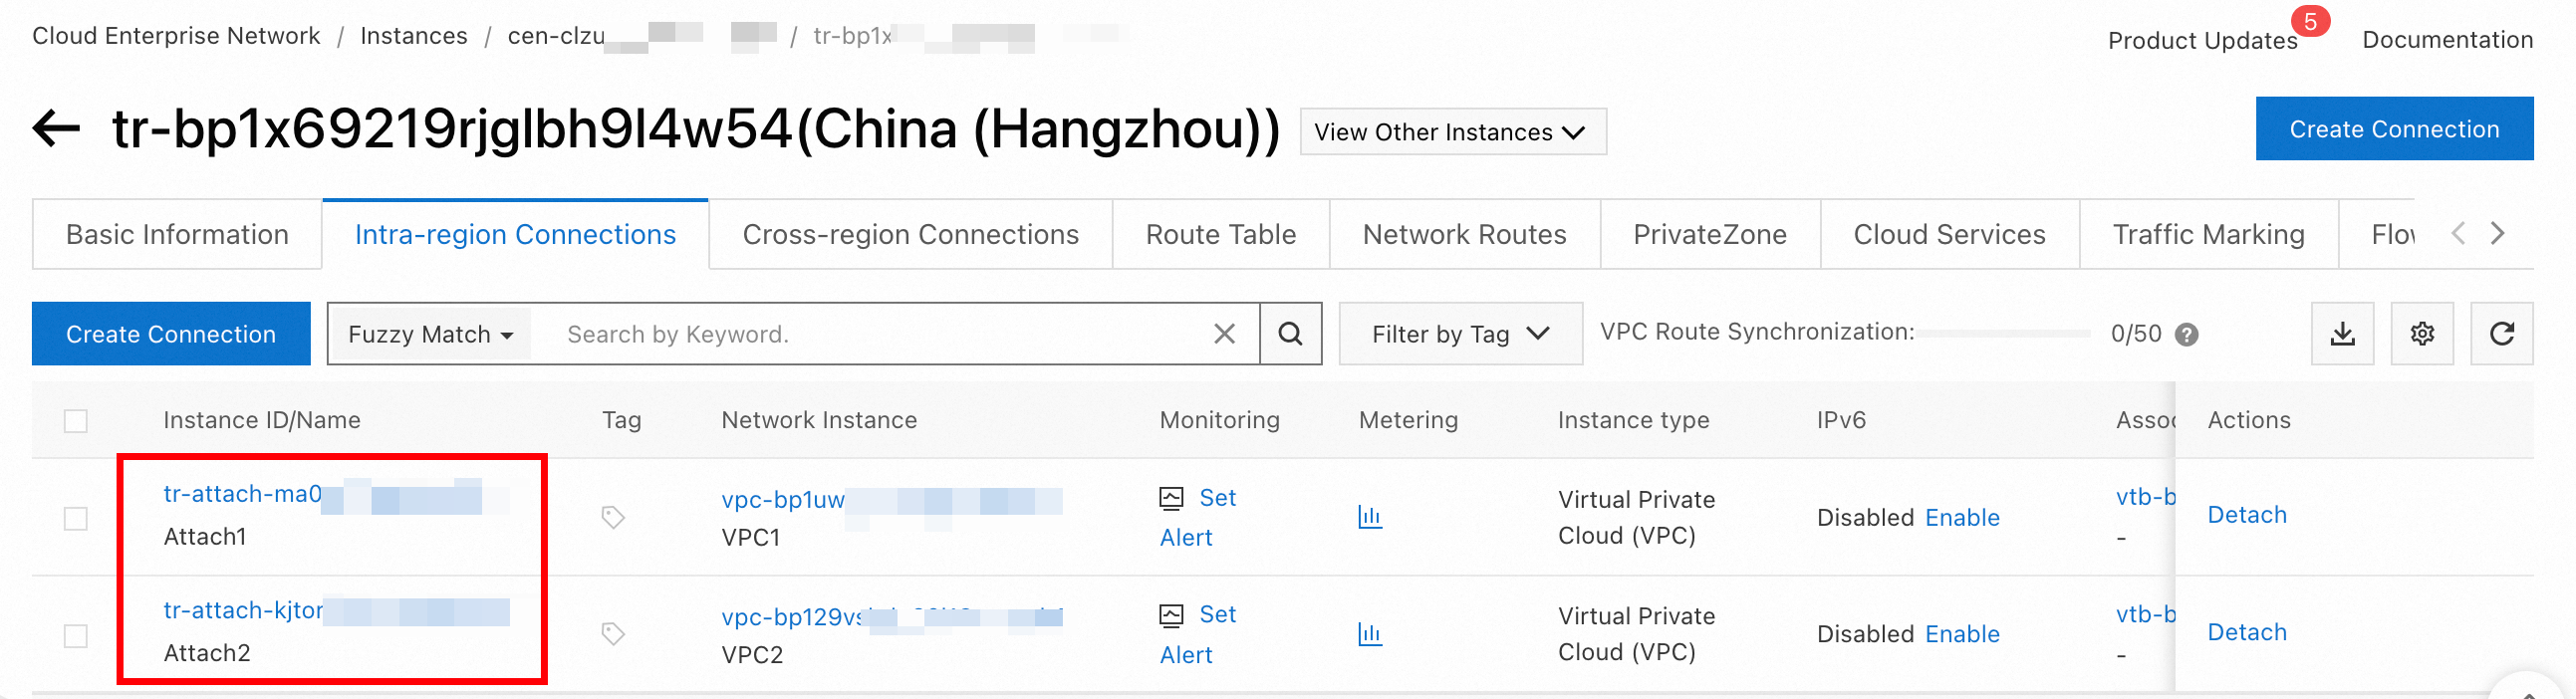
Step 3: Connect VPCs to the transit router
|
|
|
|
|
|
|
|
|
|

Step 4: Verify connectivity
Before verification, ensure that the security group rules for two ECS instances allow for communication between VPCs. For more information, see View security group rules and Add security group rules.
Log on to ECS1 and run the ping command to test the connectivity with ECS2.
ping 172.16.0.1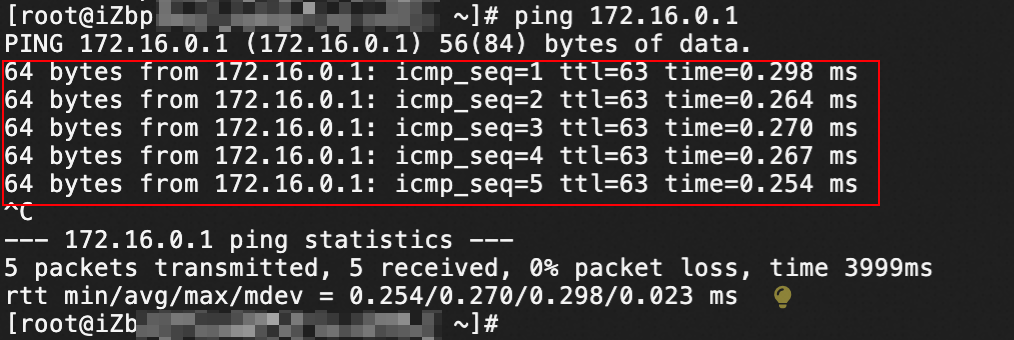
A ping response as shown in the preceding figure confirms the connections between VPC1 and VPC2.
What to do next
To visualize the network topology, see View resource topology.
To create connections between VPCs in different regions, see Connect VPCs in different regions.
To analyze traffic through the transit router, see Configure flow logs.