By Jeremy Pedersen
Welcome back for the 24th installment in our weekly blog series! This week, we'll take a look at how you can build your own "personal cloud", by deploying ownCloud using Alibaba Cloud's ECS and RDS services.
We'll do most of the deployment work using Terraform, so I assume a little bit of Terraform experience, but don't worry: even if you are new to Terraform, I'll be walking you through everything step-by-step. ^_^
ownCloud is a web application that helps you manage calendars, contacts, and documents. Essentially, it lets you recreate a lot of the functionality you get from services like Google Workspace (formerly G Suite) or Microsoft's Office 365.
If you are looking for the simplest possible solution, it's hard to beat existing managed services.
However, there are plenty of scenarios where running things yourself makes sense. For instance:
I have created a handy Terraform script that does 80% of the work for you. To use it, I will assume familiarity with git and terraform.
Many Linux machines will have git installed already, and trying to run git from the Terminal in macOS will prompt you to install, if it isn't already there (just follow the prompts).
Regardless of what OS you use, you will probably have to install Terraform yourself. Instructions for both Git and Terraform can be found here:
You can download all my Terraform example code (including the ownCloud setup code) by running the following command from a terminal (or PowerShell on Windows):
git clone https://github.com/jeremypedersen/terraformExamples.git
This will download a copy of my terraformExamples GitHub repository.
Note that it will be downloaded to whatever directory you were in when you ran the git command. Not sure where that is? You can run pwd from the command line, to find out which directory you are in, like this:
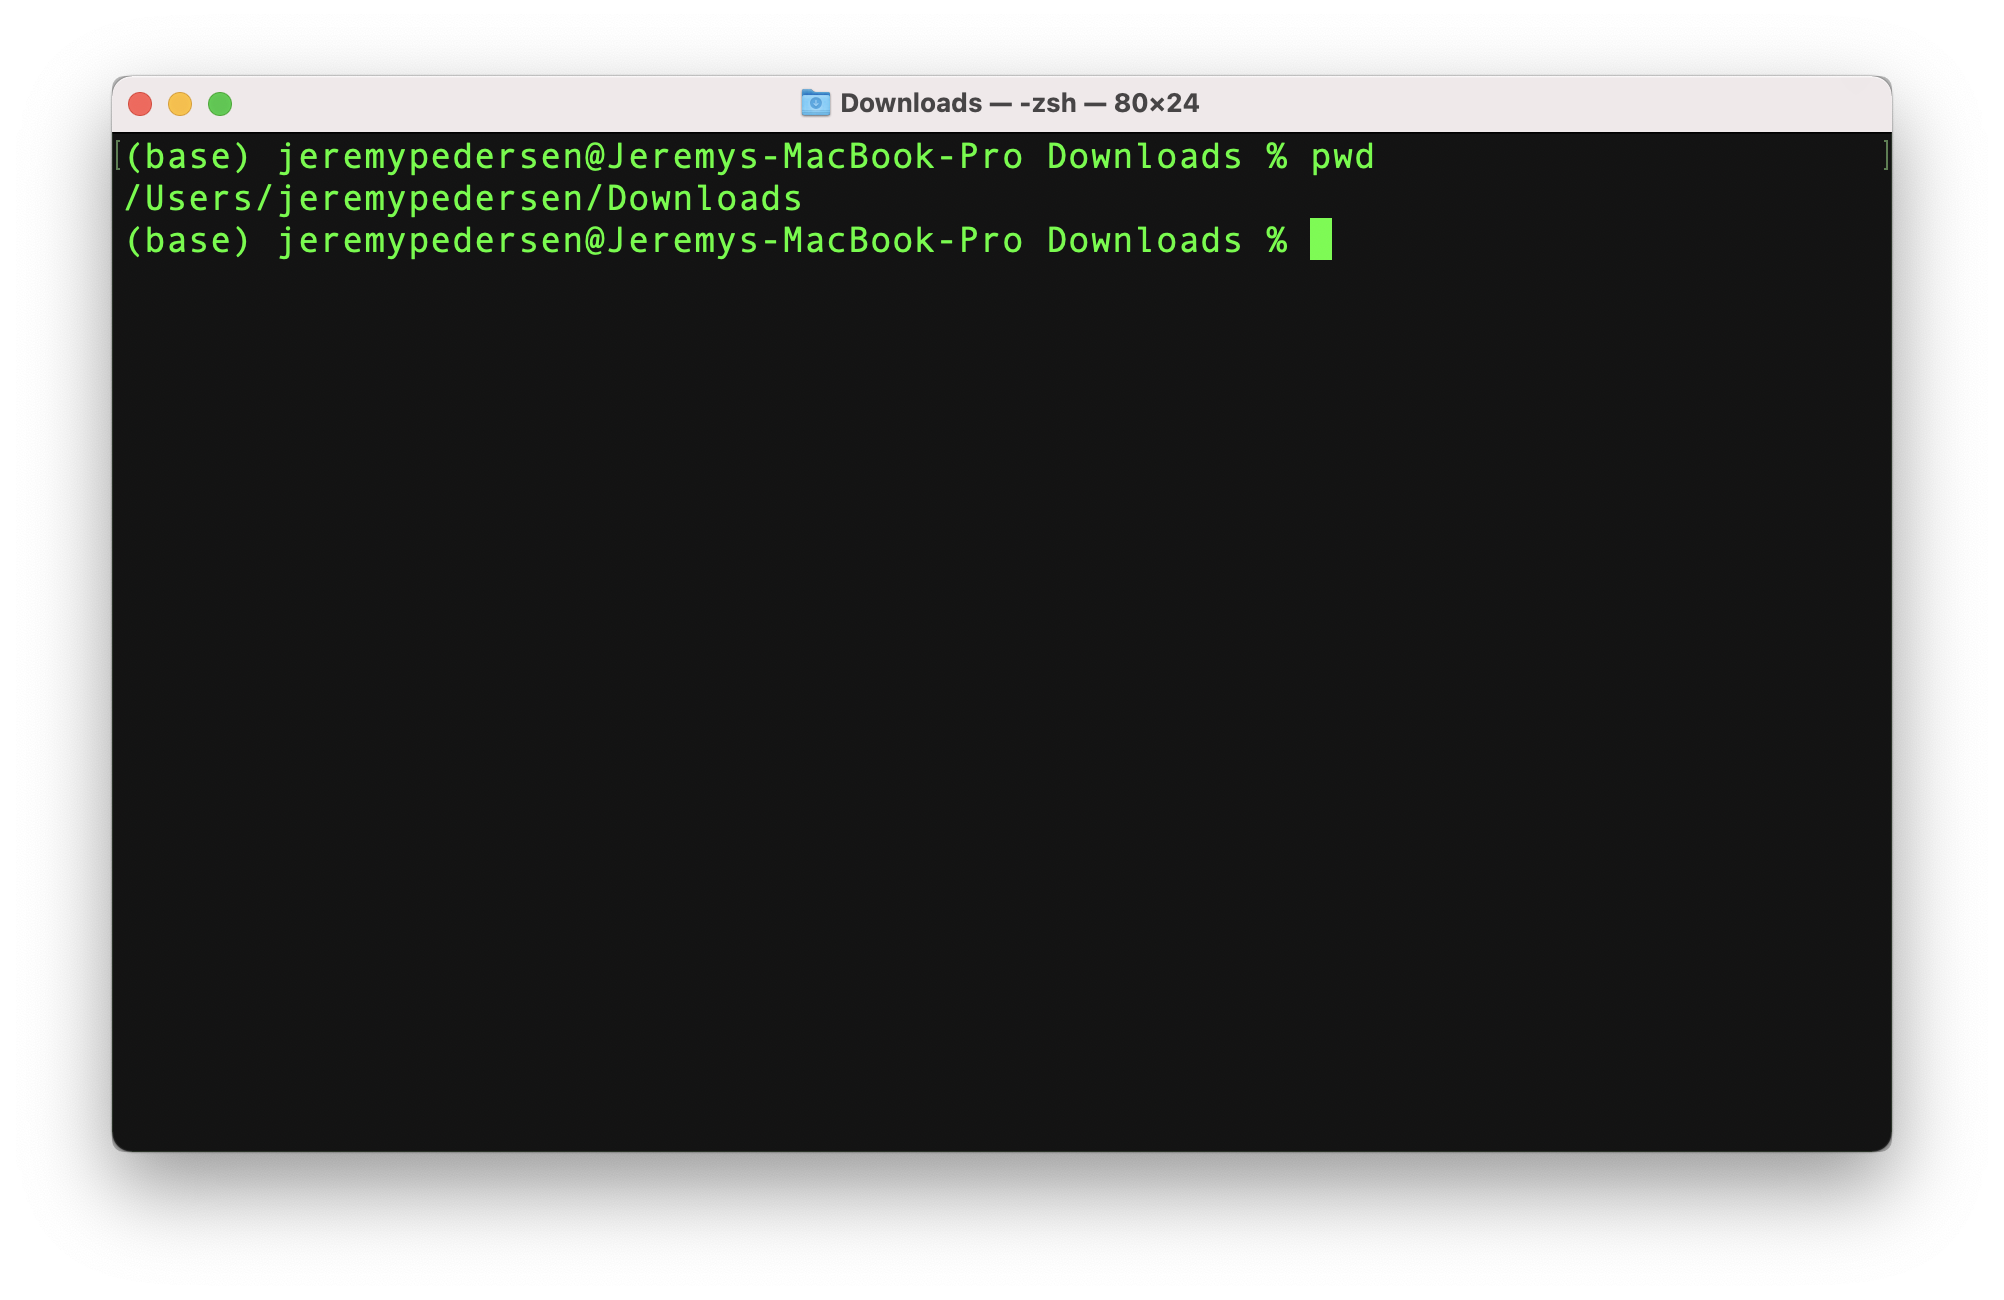
Now, from your terminal window, navigate to the document-management-owncloud directory, like this:
cd terraformExamples/abc/document-management-owncloud
Done? Good. Now, create a terraform variables file, like this:
cp terraform.tfvars.example terraform.tfvars
Open that file in your favorite text editor, and insert a valid access key, access key secret, and password for your MySQL database.
You might also want to change the "region". By default, the Terraform script will set up your RDS database and ECS virtual machine in ap-southeast-1 (Singapore). You can change that by editing the "optional" settings in terraform.tfvars.
If you haven't set up an Alibaba Cloud Access Key or Secret before, take a look at these docs:
For your MySQL password, be sure to choose something long and complex that will satisfy MySQL's strong password requirements. If you need some help generating a decent password, you can use the command line tool pwgen. On Linux, install it with your favorite package manager (yum, rpm, apt, whatever!) and on macOS, install it via brew, with brew install pwgen. You can get brew here. It's a great tool: I highly recommend it!
If you happen to be on Windows but still want a package manager, try Chocolatey. It does for Windows users what brew does for macOS users.
Running the Terraform code should be as easy as:
terraform initAnd then (on Linux or macOS):
./setup.shIf you are on Windows, you won't be able to run the setup.sh script, so you should directly run terraform instead, like this:
terraform apply --auto-approveThis will start and run terraform, which should:
Just wait for the script to finish.
Now that our Terraform code has finished running, we just need to set up ownCloud itself.
Take a look at the output of the Terraform script:

One of the items listed will be your ECS instance's public IP address, which you should paste into a web browser.
That will take you to the ownCloud setup page, which will prompt you for some additional information:
All that information is available in the output from the terraform script (as above).
Provide that info on the ownCloud setup page, as shown here:
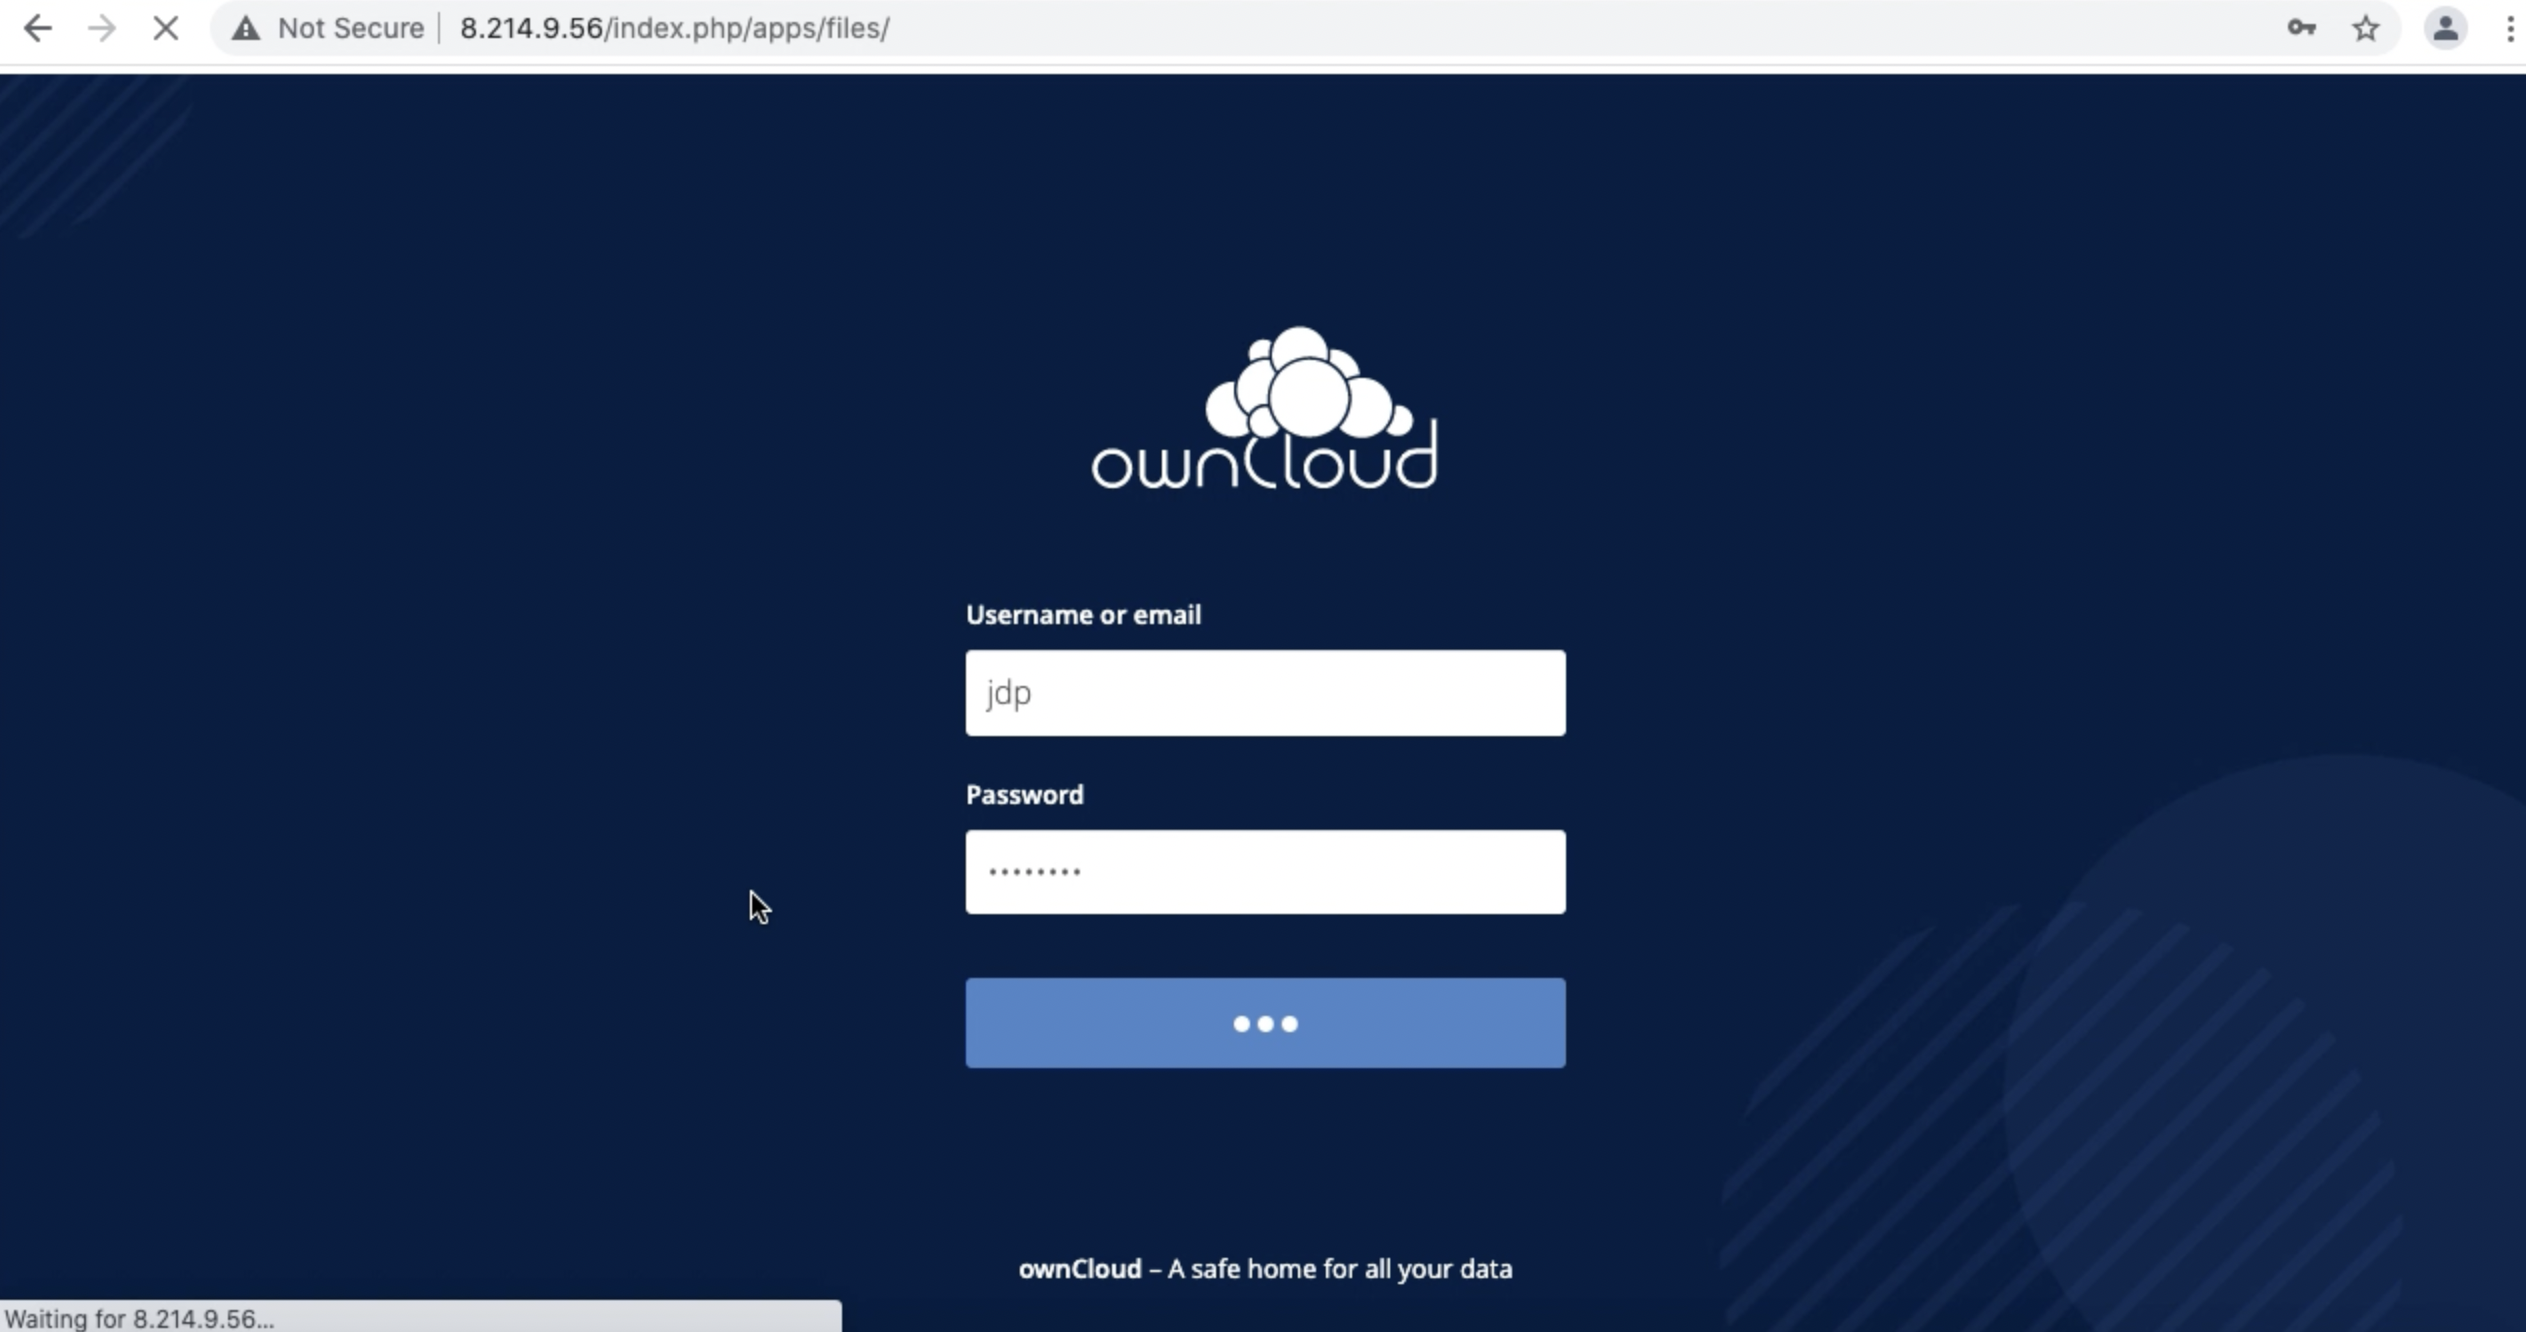
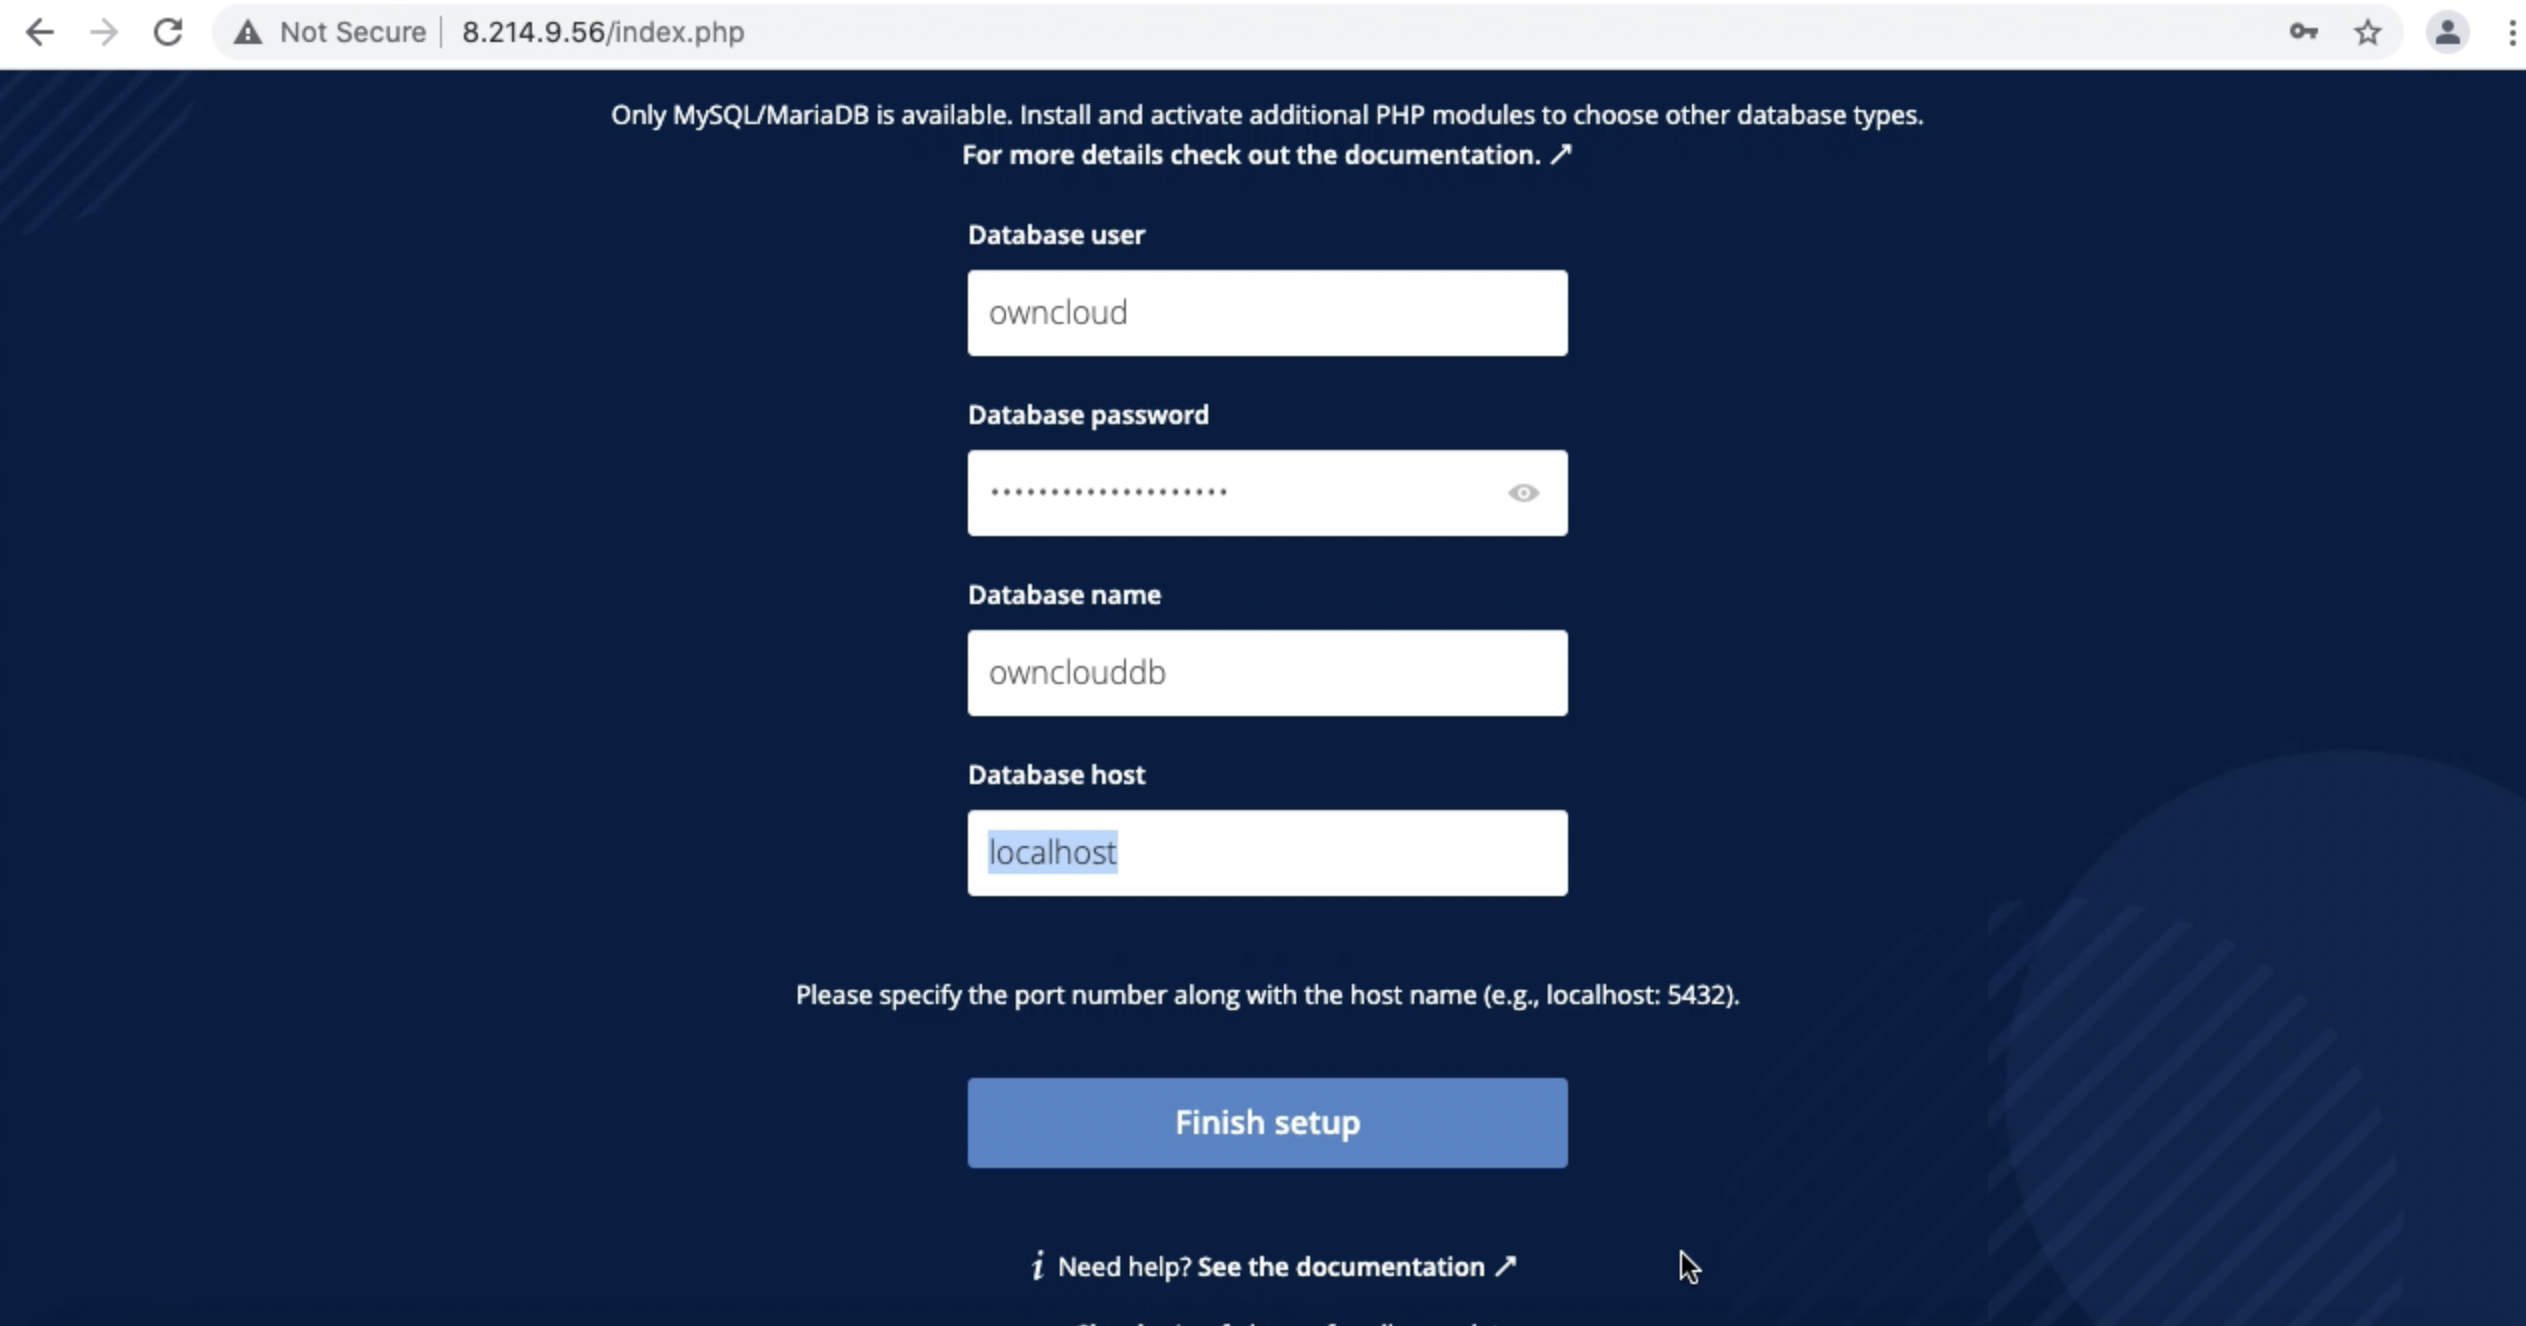
Note: Make make sure to include :3306 at the end of the "Database host" connection string. So in my case, I would set my "Database host" to rm-gs5rn48a51h6t9c84.mysql.singapore.rds.aliyuncs.com:3306
Click on Finish Setup and that's it! You should have a fresh, working ownCloud install:
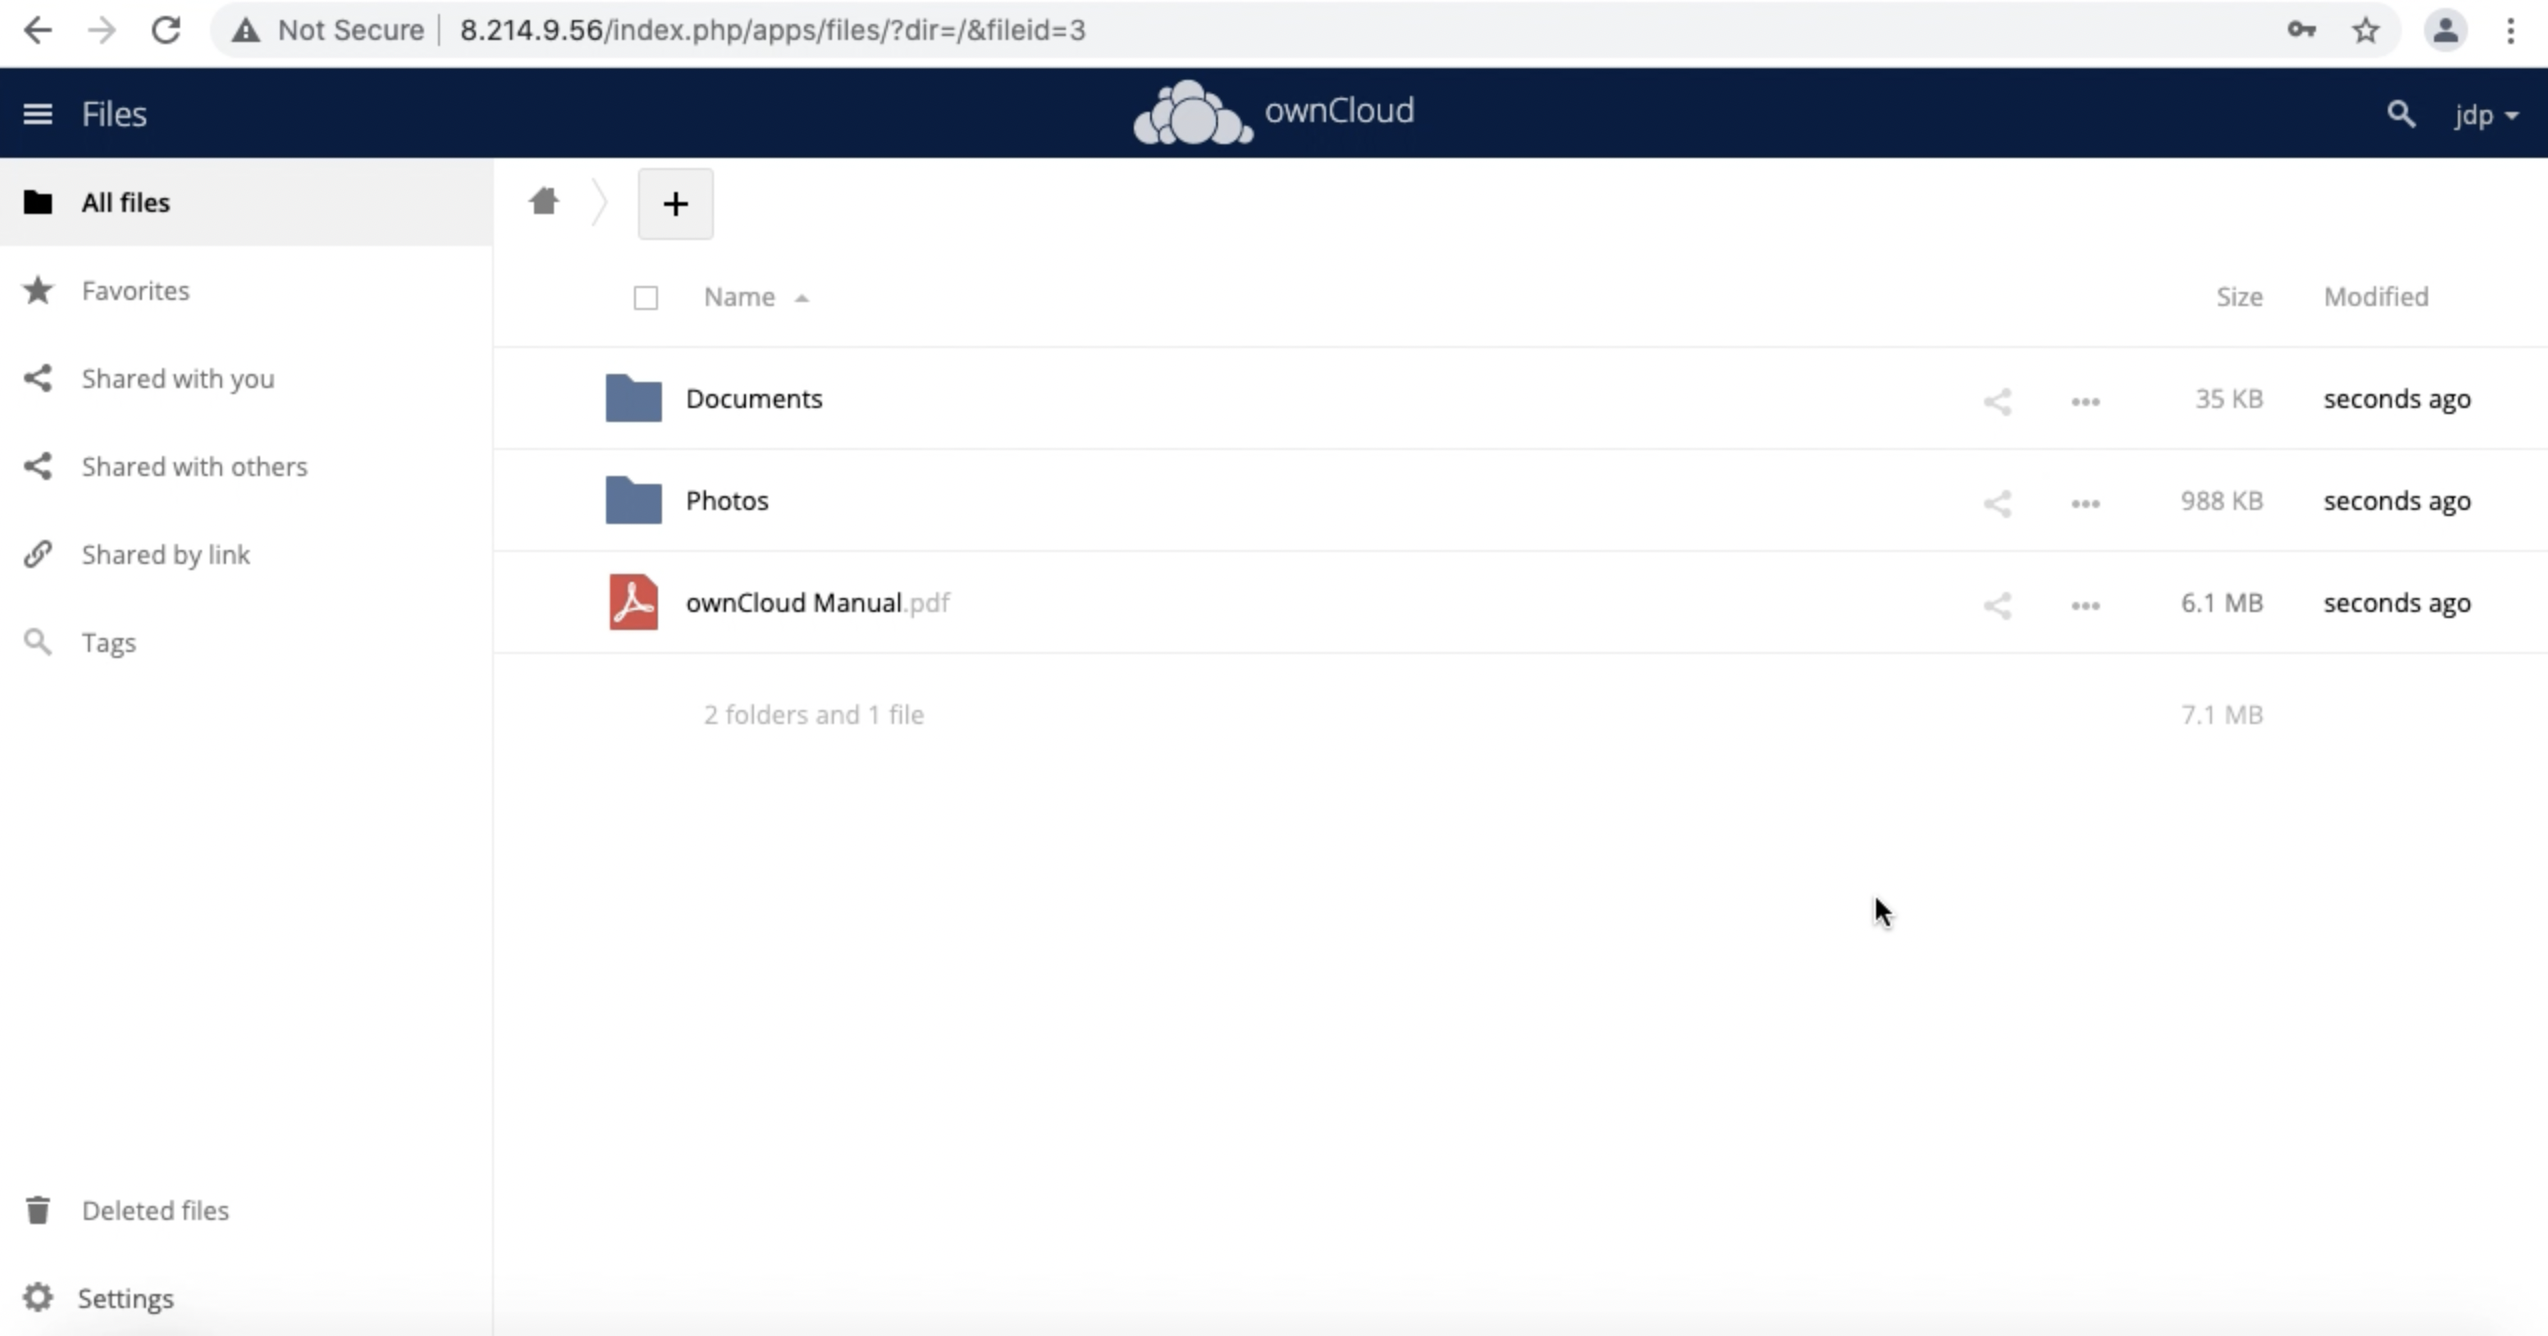
When you're done playing with this environment, you can easily shut everything down (to avoid a bill, of course) by running either:
./destroy.shor
terraform destroy --auto-approve
rm -f *.pem
That's all for this week, see you next week!
Great! Reach out to me at jierui.pjr@alibabacloud.com and I'll do my best to answer in a future Friday Q&A blog.
You can also follow the Alibaba Cloud Academy LinkedIn Page. We'll re-post these blogs there each Friday.
Friday Blog - Week 25 - DevOps First Steps: Build and Deploy Docker Containers With Kubernetes
JDP - April 15, 2022
JDP - August 12, 2021
JDP - October 8, 2021
JDP - August 27, 2021
JDP - September 15, 2021
JDP - July 15, 2021
 Alibaba Cloud Academy
Alibaba Cloud provides beginners and programmers with online course about cloud computing and big data certification including machine learning, Devops, big data analysis and networking.
Learn More ApsaraDB RDS for MySQL
An on-demand database hosting service for MySQL with automated monitoring, backup and disaster recovery capabilities
Learn More ApsaraDB RDS for PostgreSQL
An on-demand database hosting service for PostgreSQL with automated monitoring, backup and disaster recovery capabilities
Learn More ApsaraDB RDS for SQL Server
An on-demand database hosting service for SQL Server with automated monitoring, backup and disaster recovery capabilities
Learn MoreMore Posts by JDP